Create a Workflow to Automate Your File Processing
Detailed tutorial on creating, configuring, and executing automated workflows using Filestack’s robust workflow file APIs..
Login to Developer Portal
To create a workflow, log in to your Filestack account with your email and password. Inside the Dev Portal, you’ll see a menu running down the left-hand side of the page. Click on “Workflows”, and you’ll be taken to the Workflows List Page.
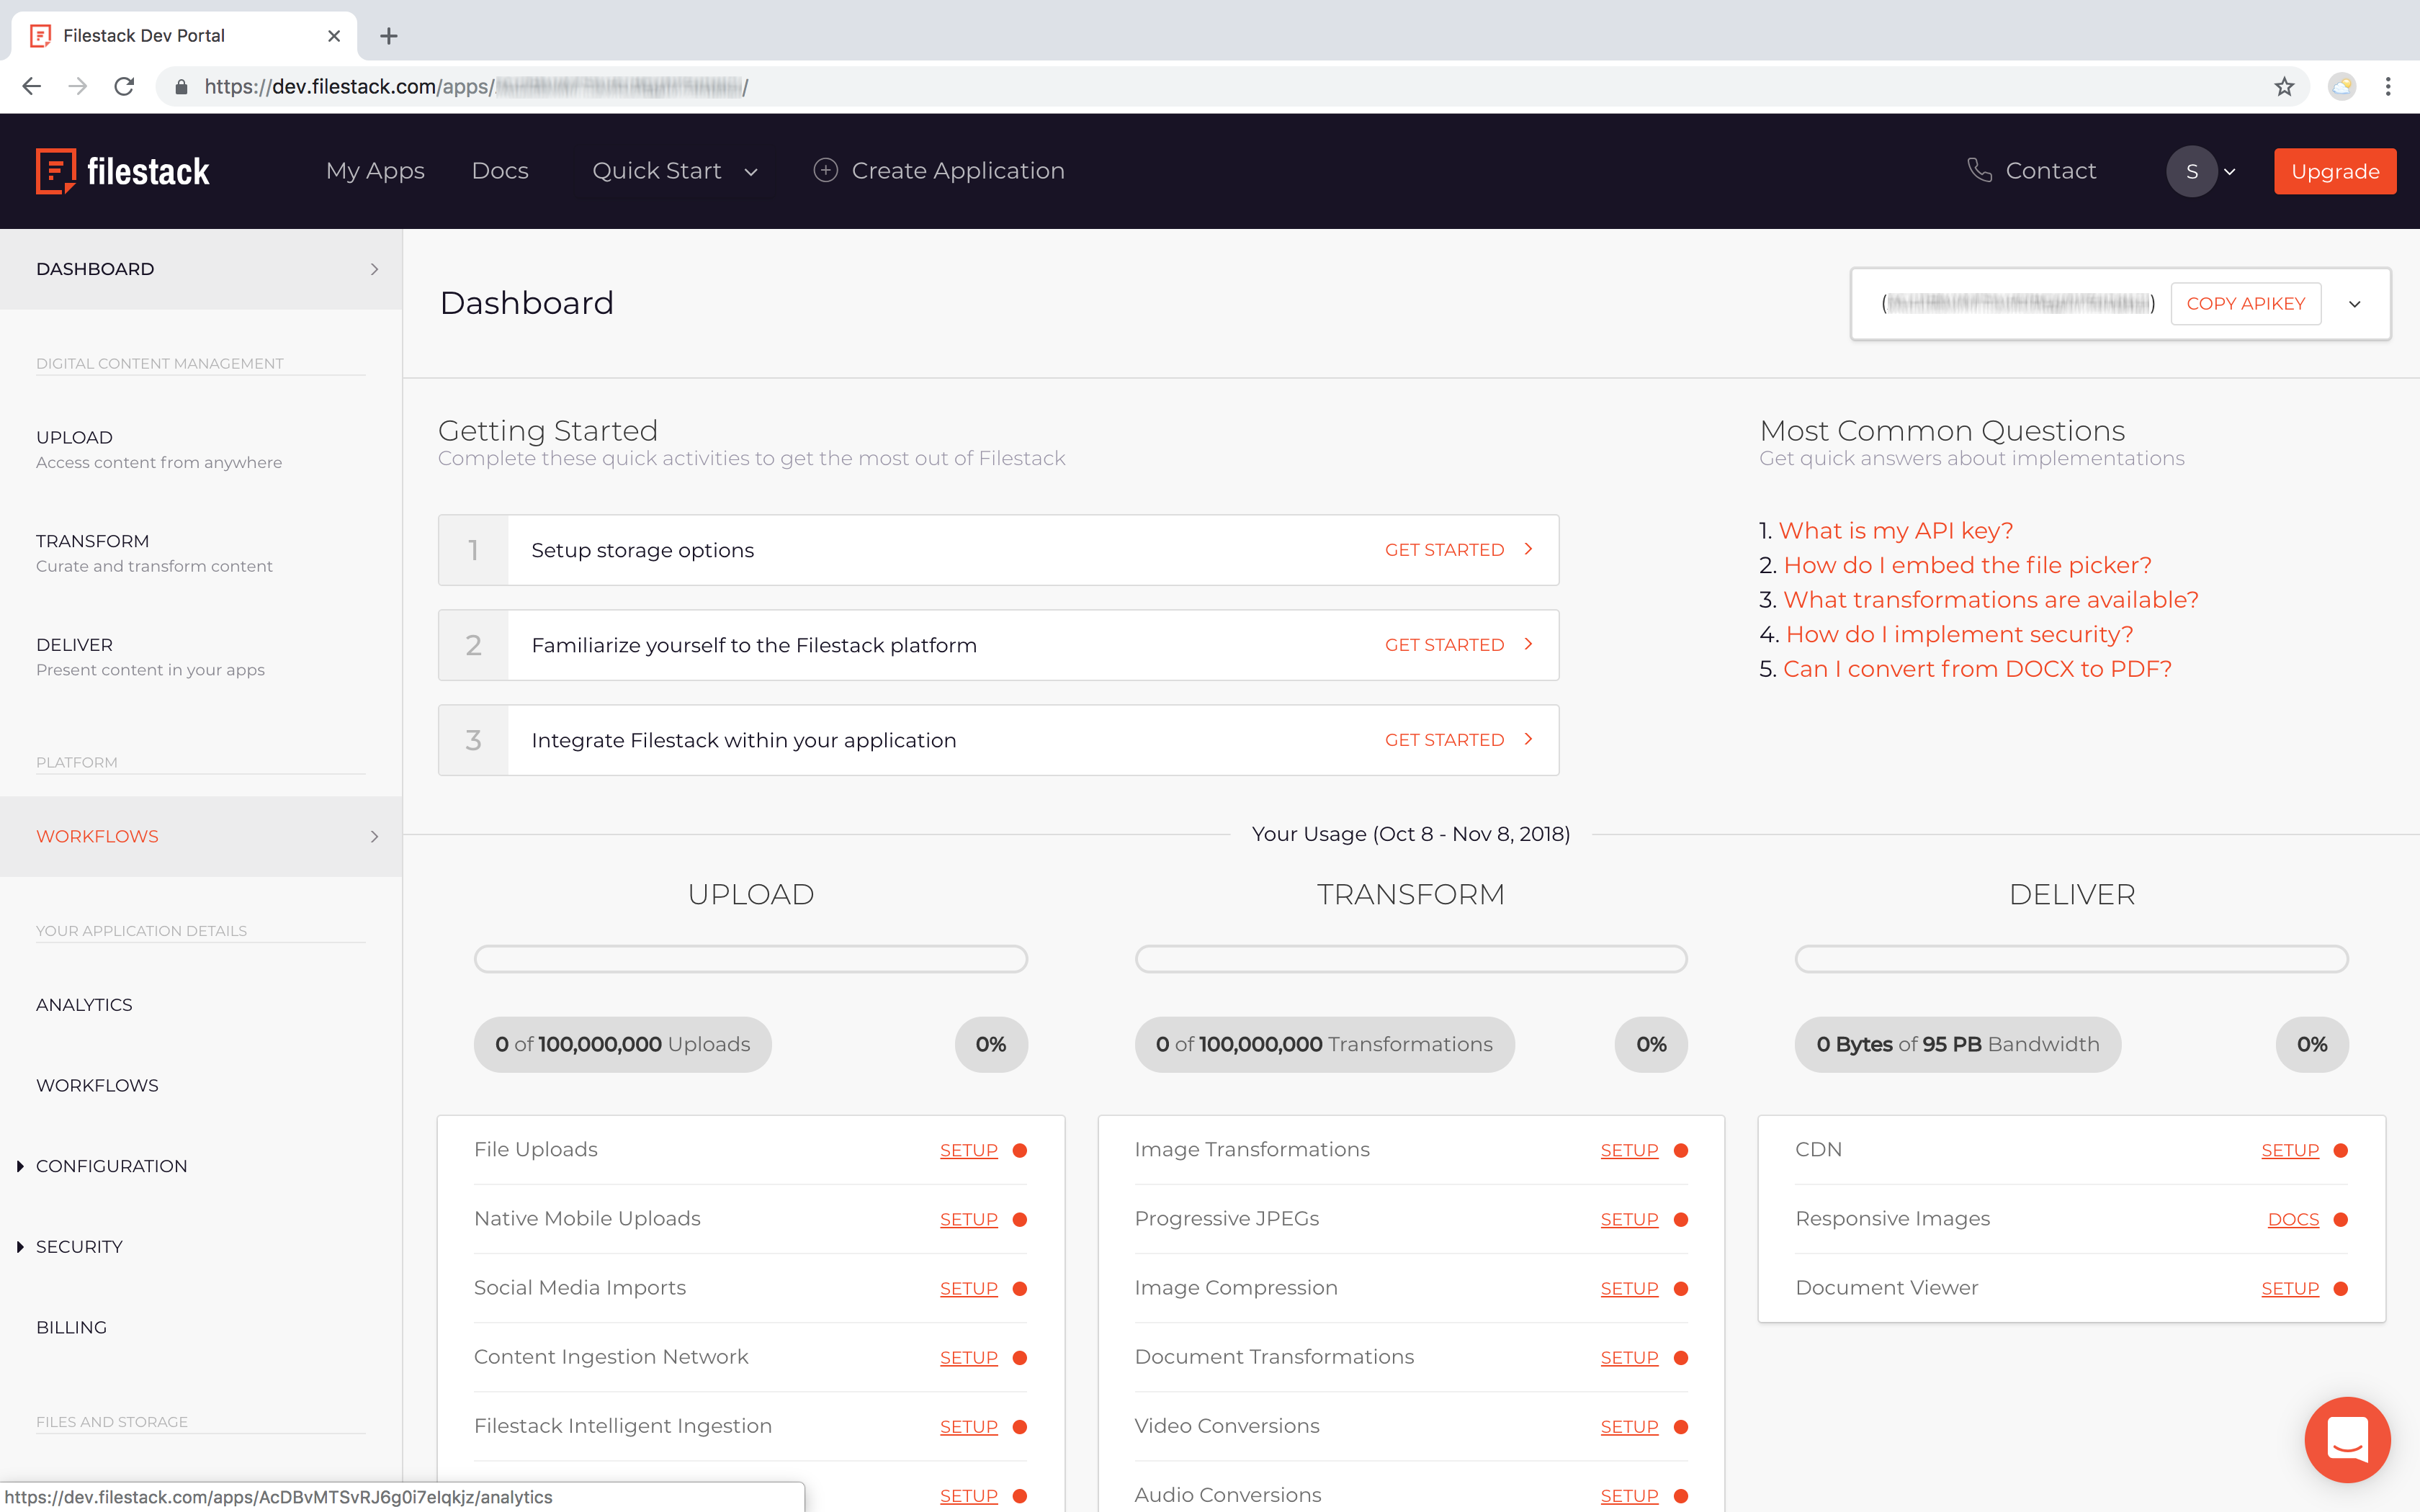
Create New Workflow
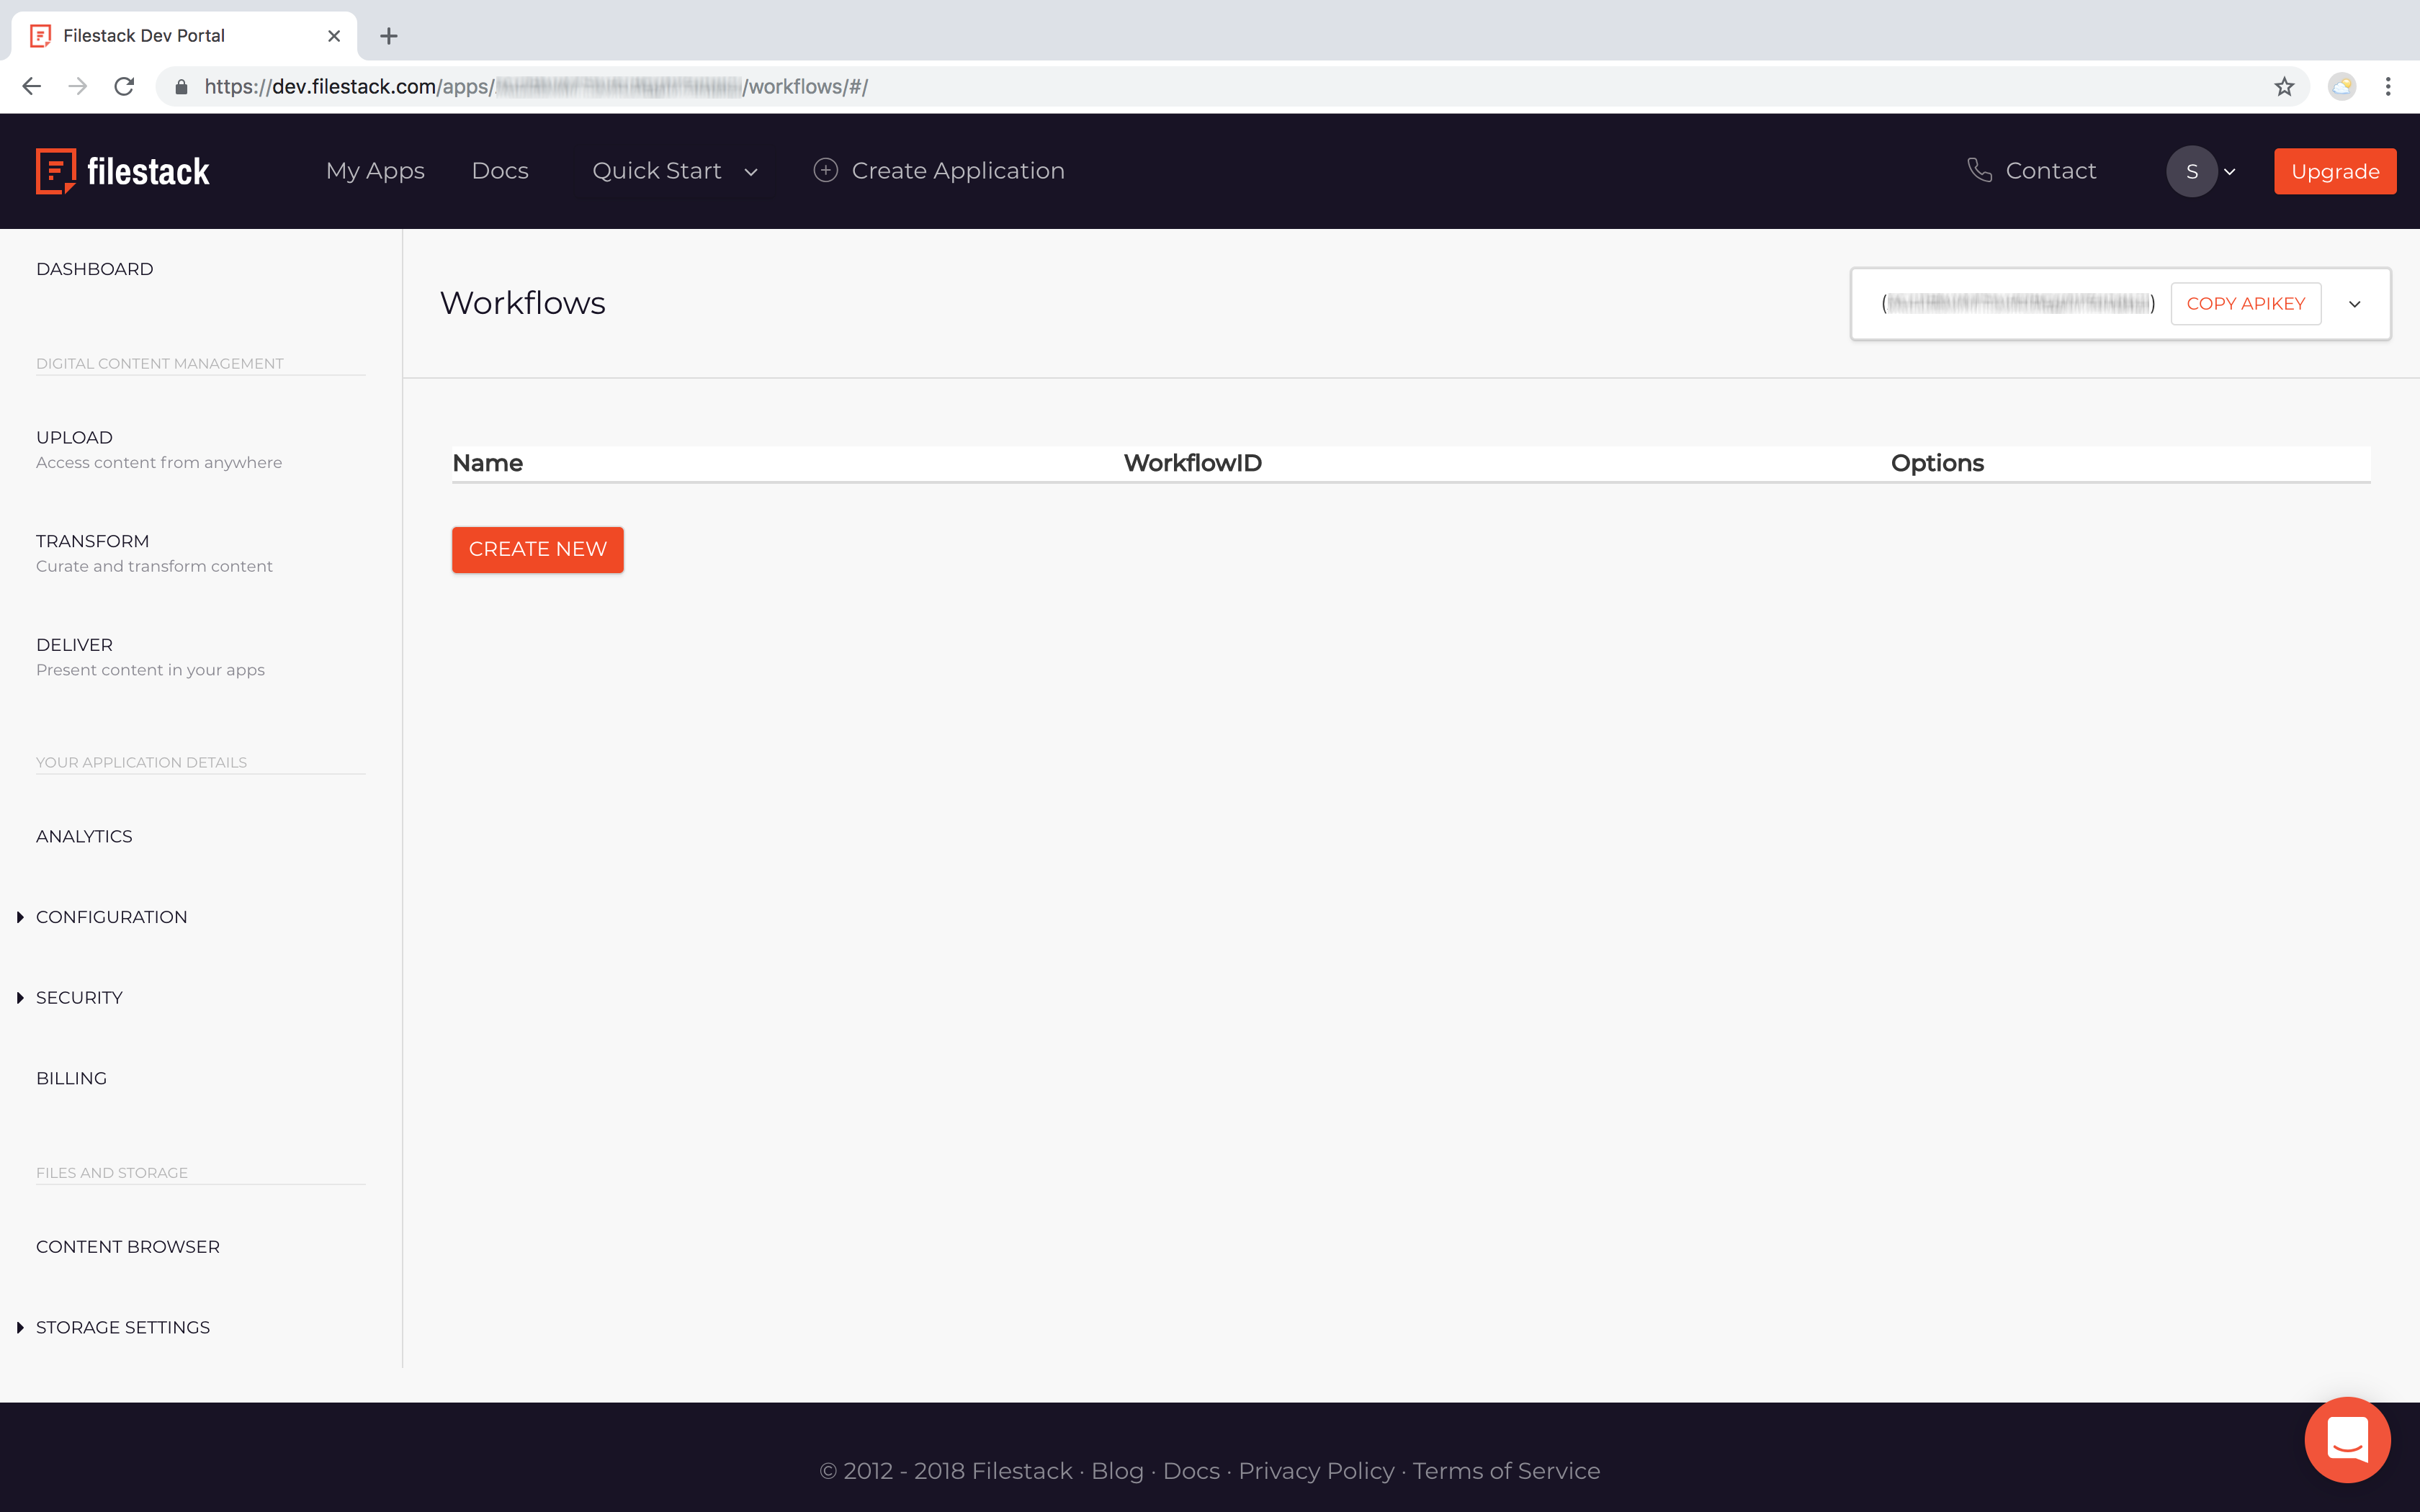
On the Workflows List Page, click the orange ‘Create New’ button to create a new Workflow.
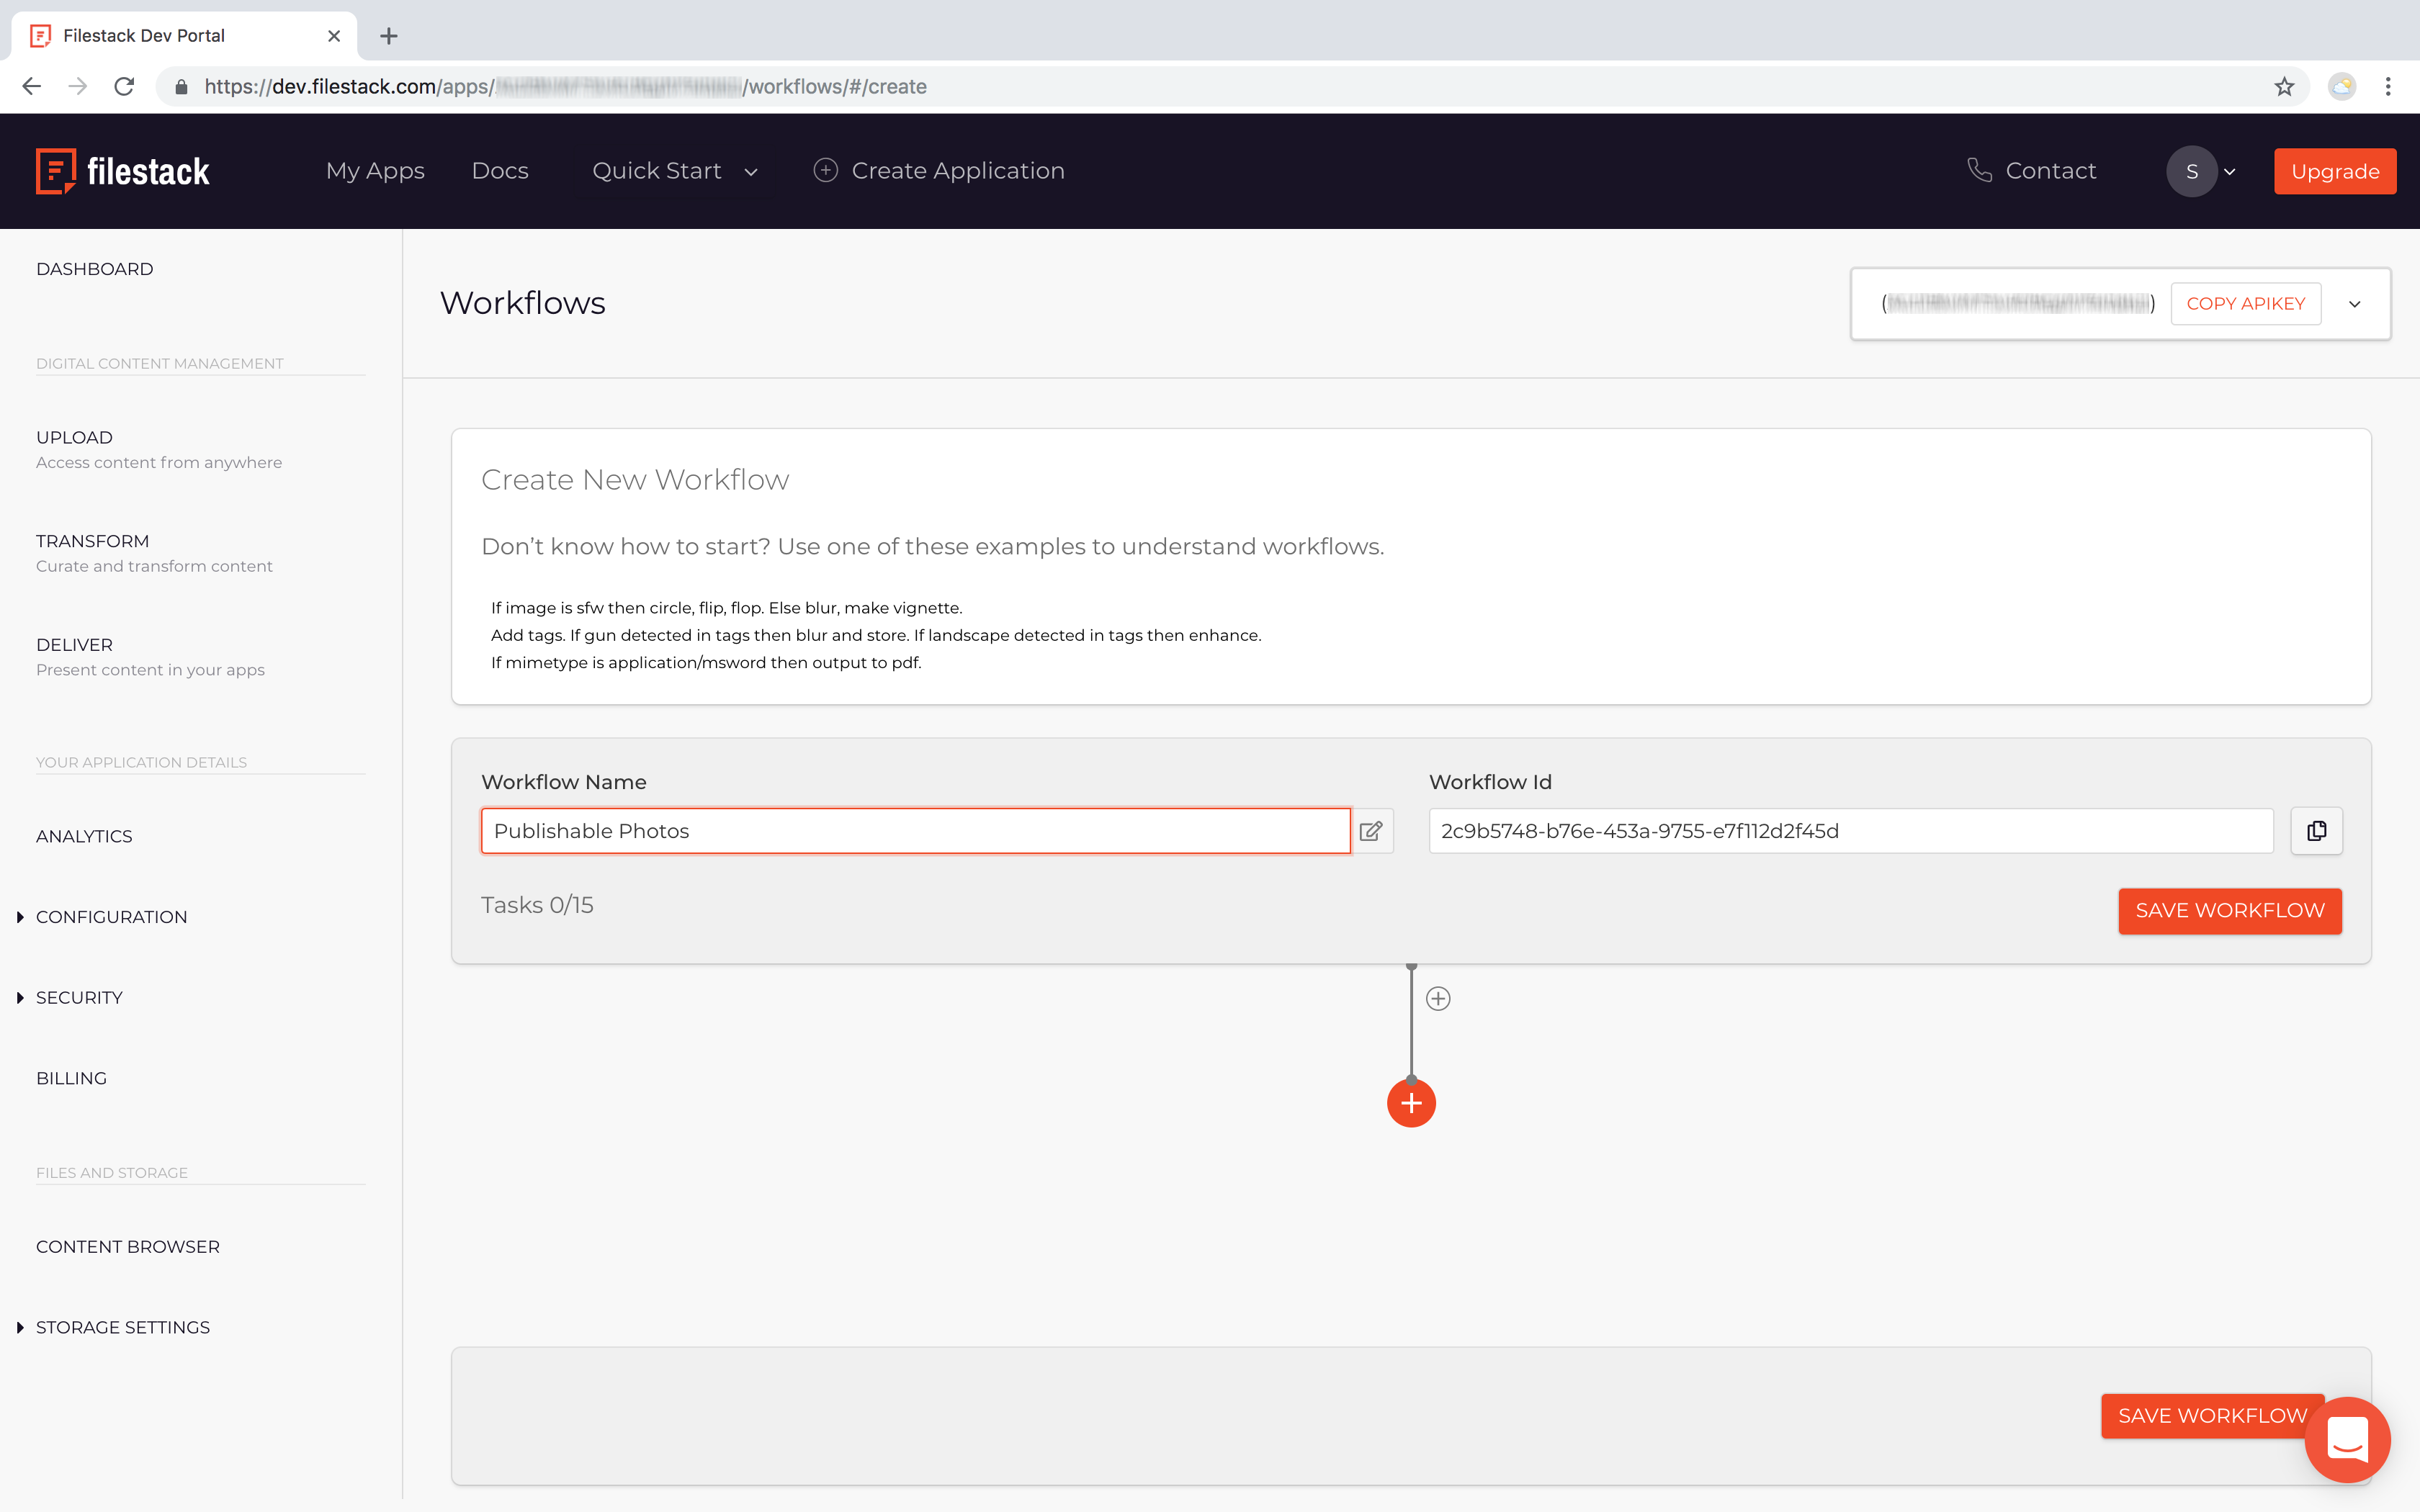
Name your new Workflow, then click the orange circle with the + icon to begin selecting your first ‘Task’ – a step in your Workflow that will evaluate and/or transform your incoming files when they are received.
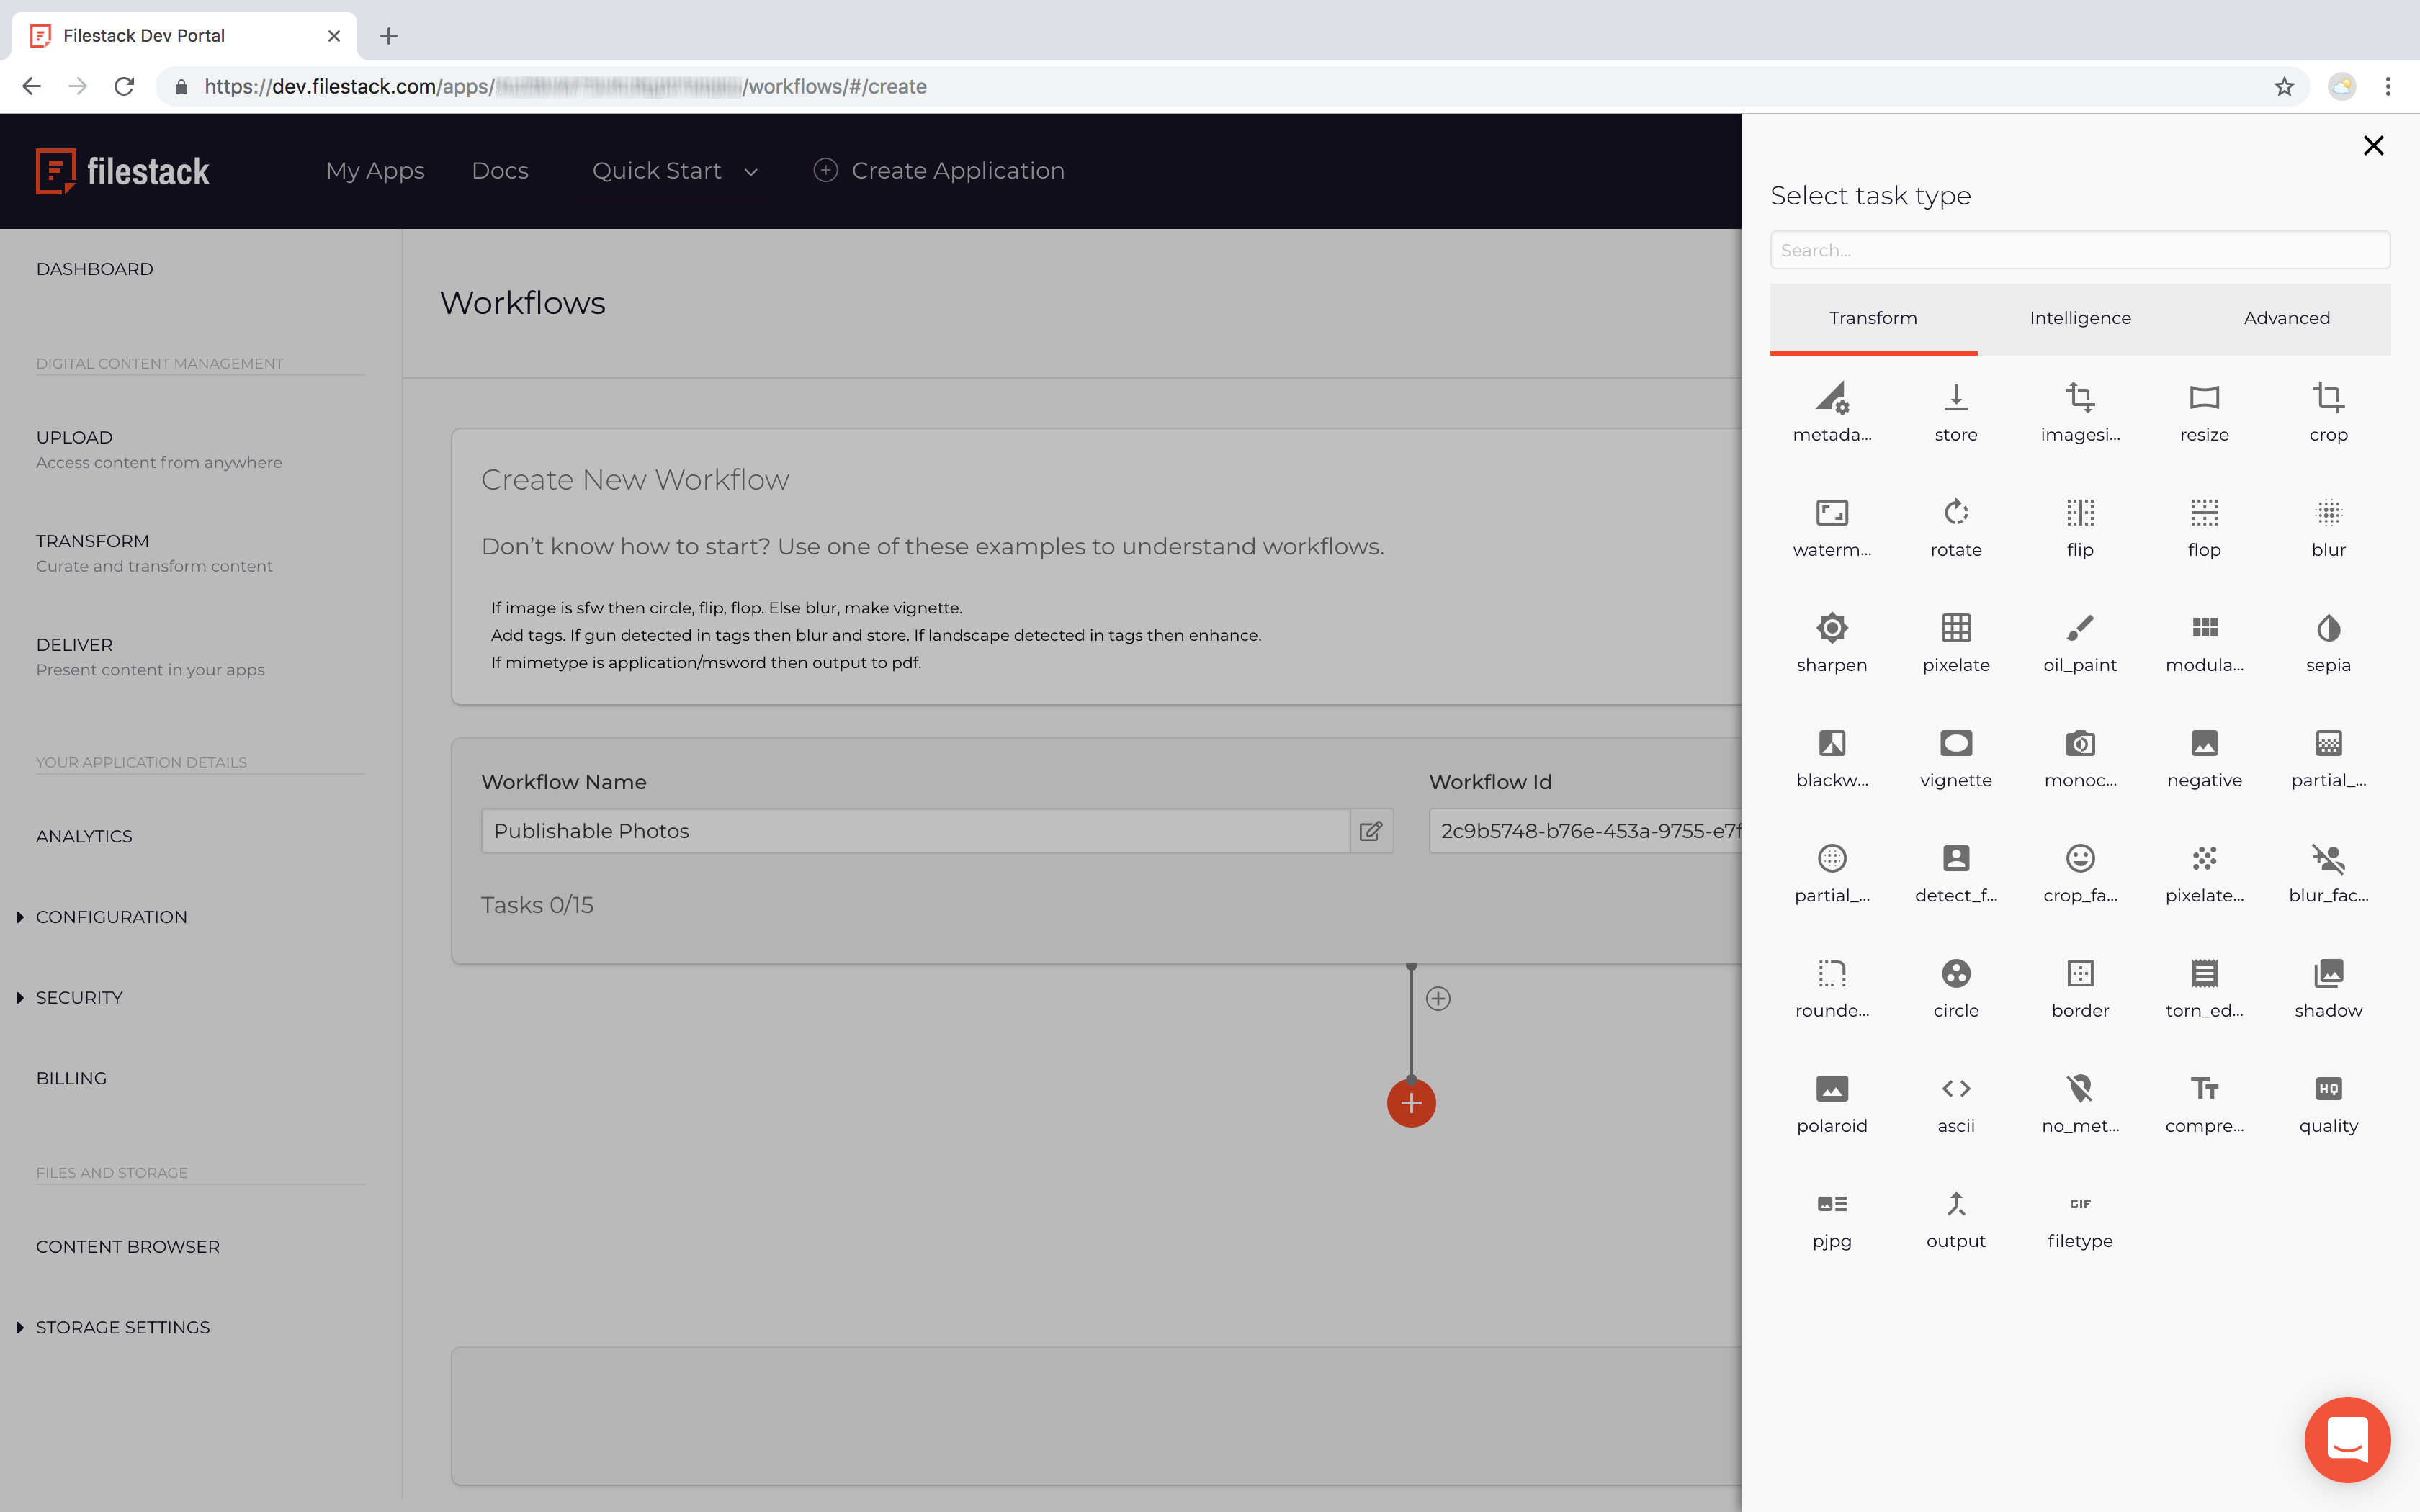
Configure tasks
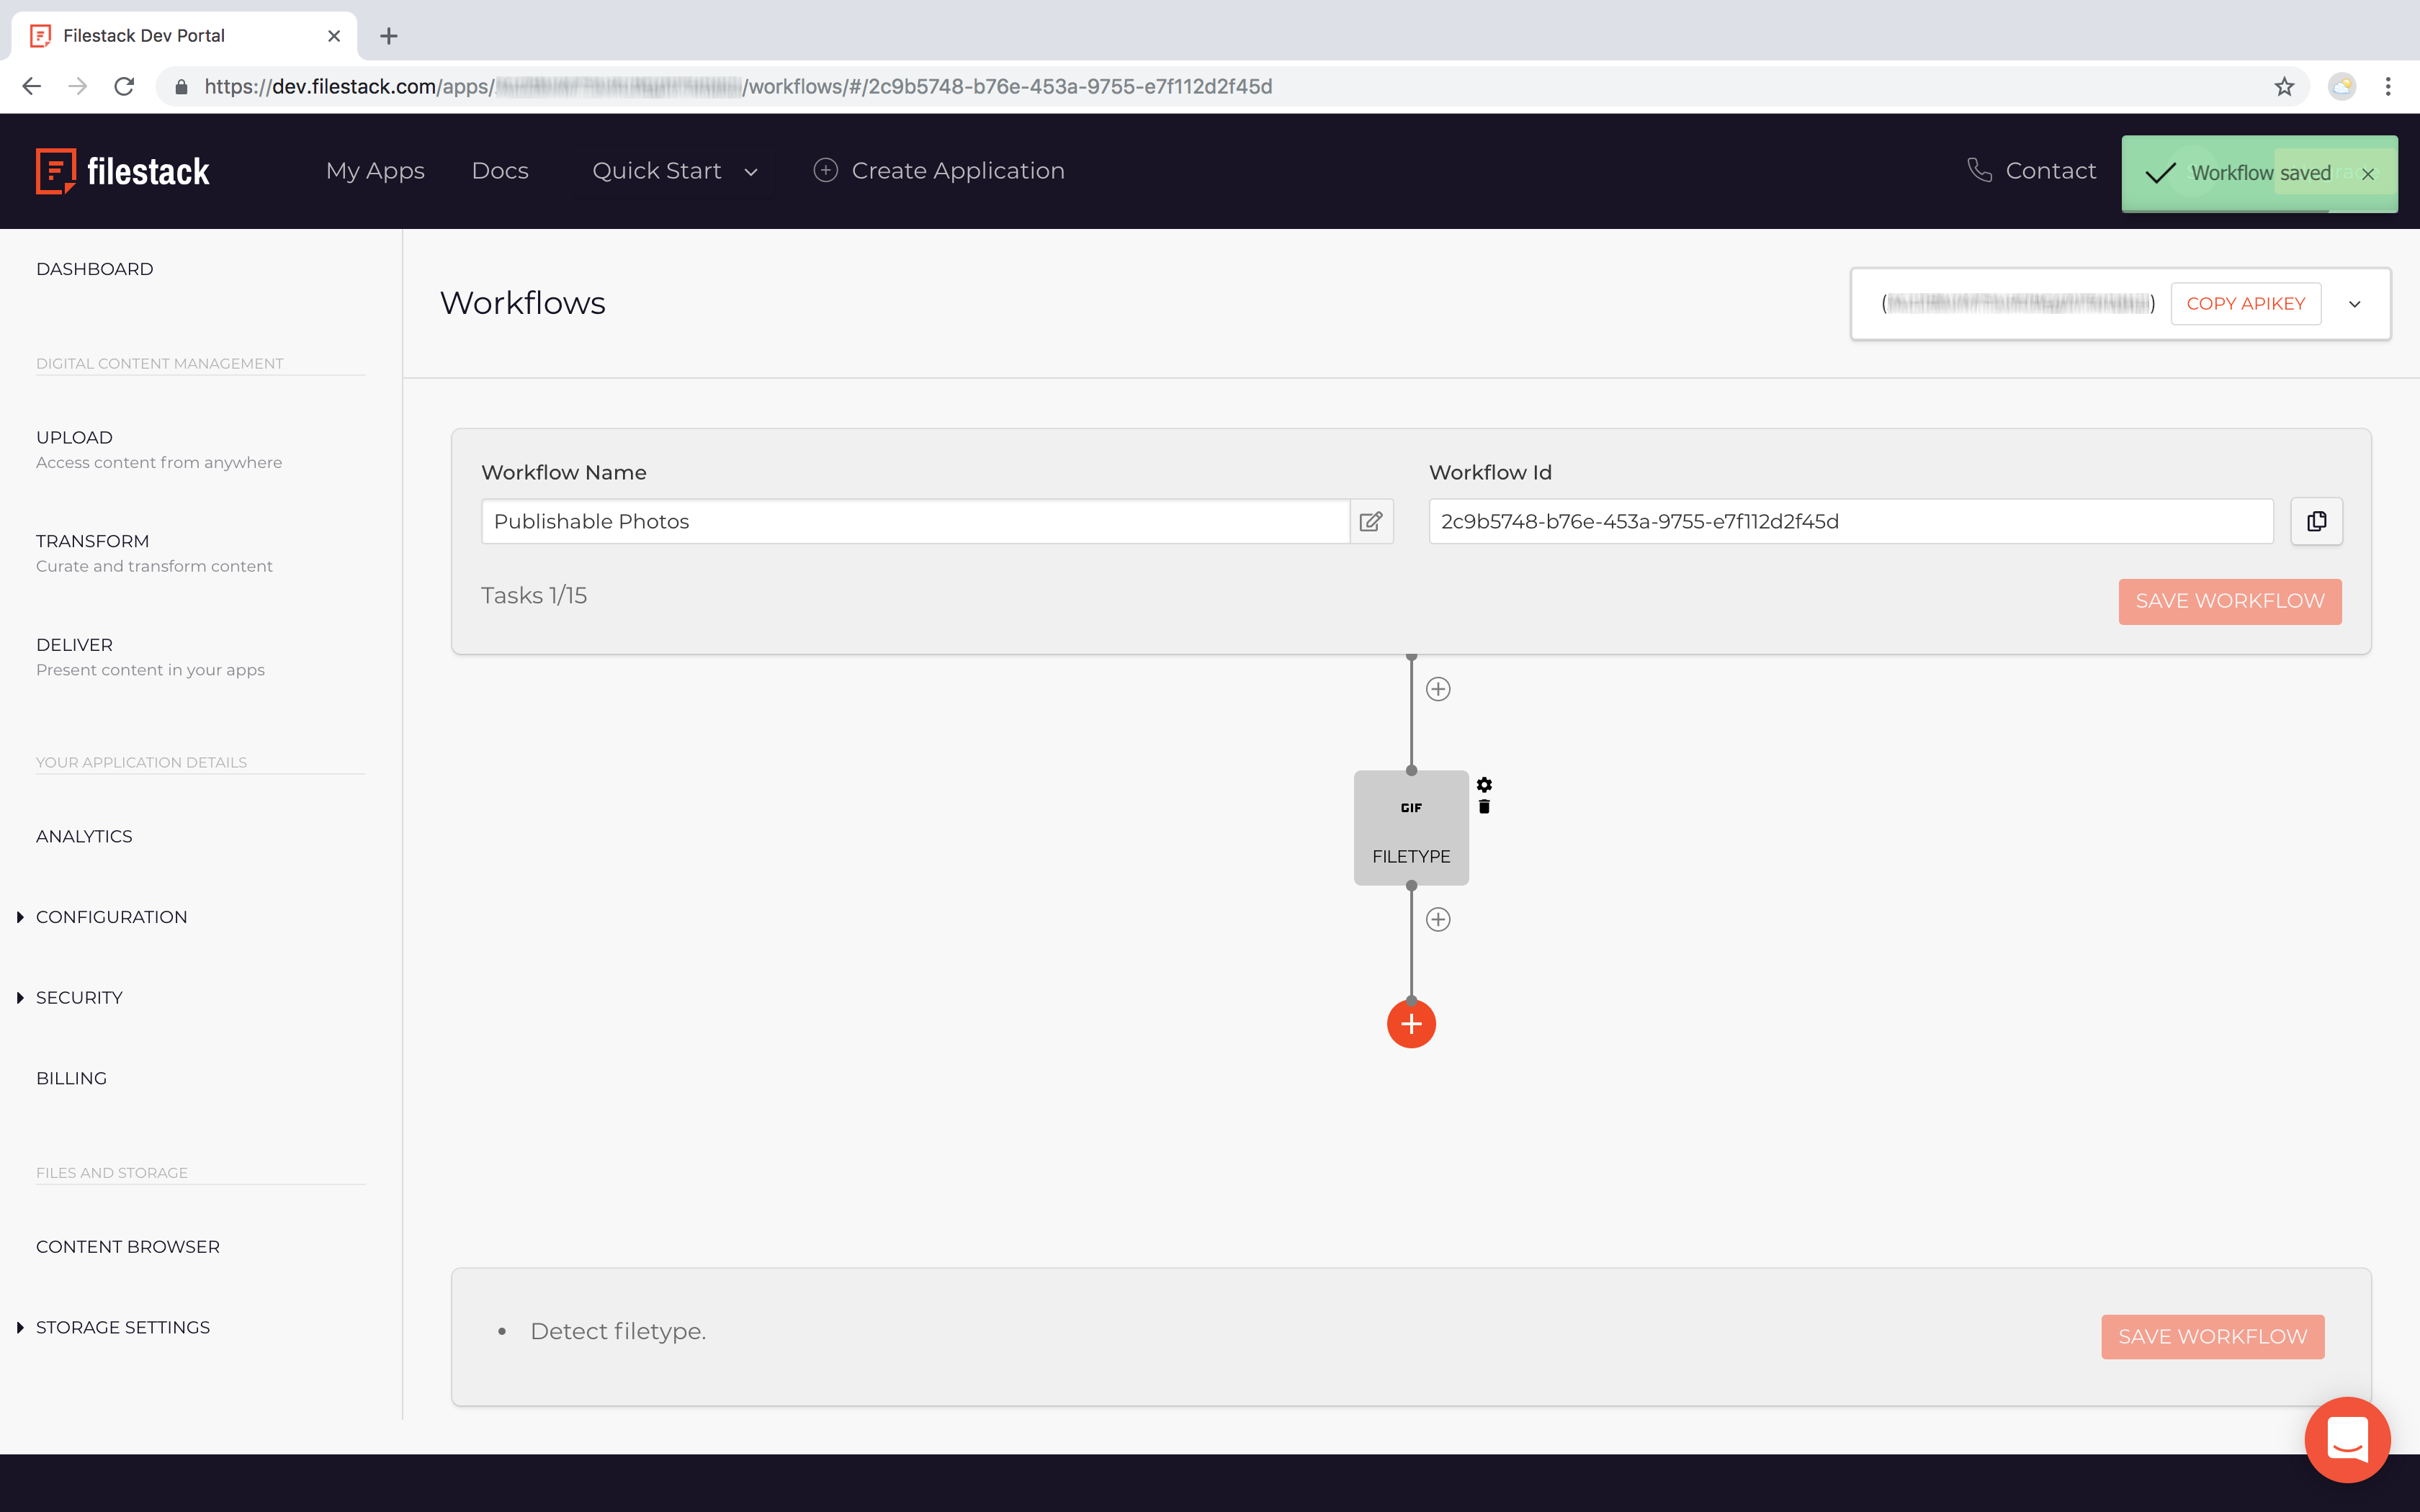
From the Task Panel, select any task. In this example, we’ve selected “filetype” to begin this Workflow by detecting what type of file is being received.
OPTIONAL: Name the Task. REQUIREMENT: The Task name must be unique. It’s OK to leave the default, random value as the Task Name if desired.
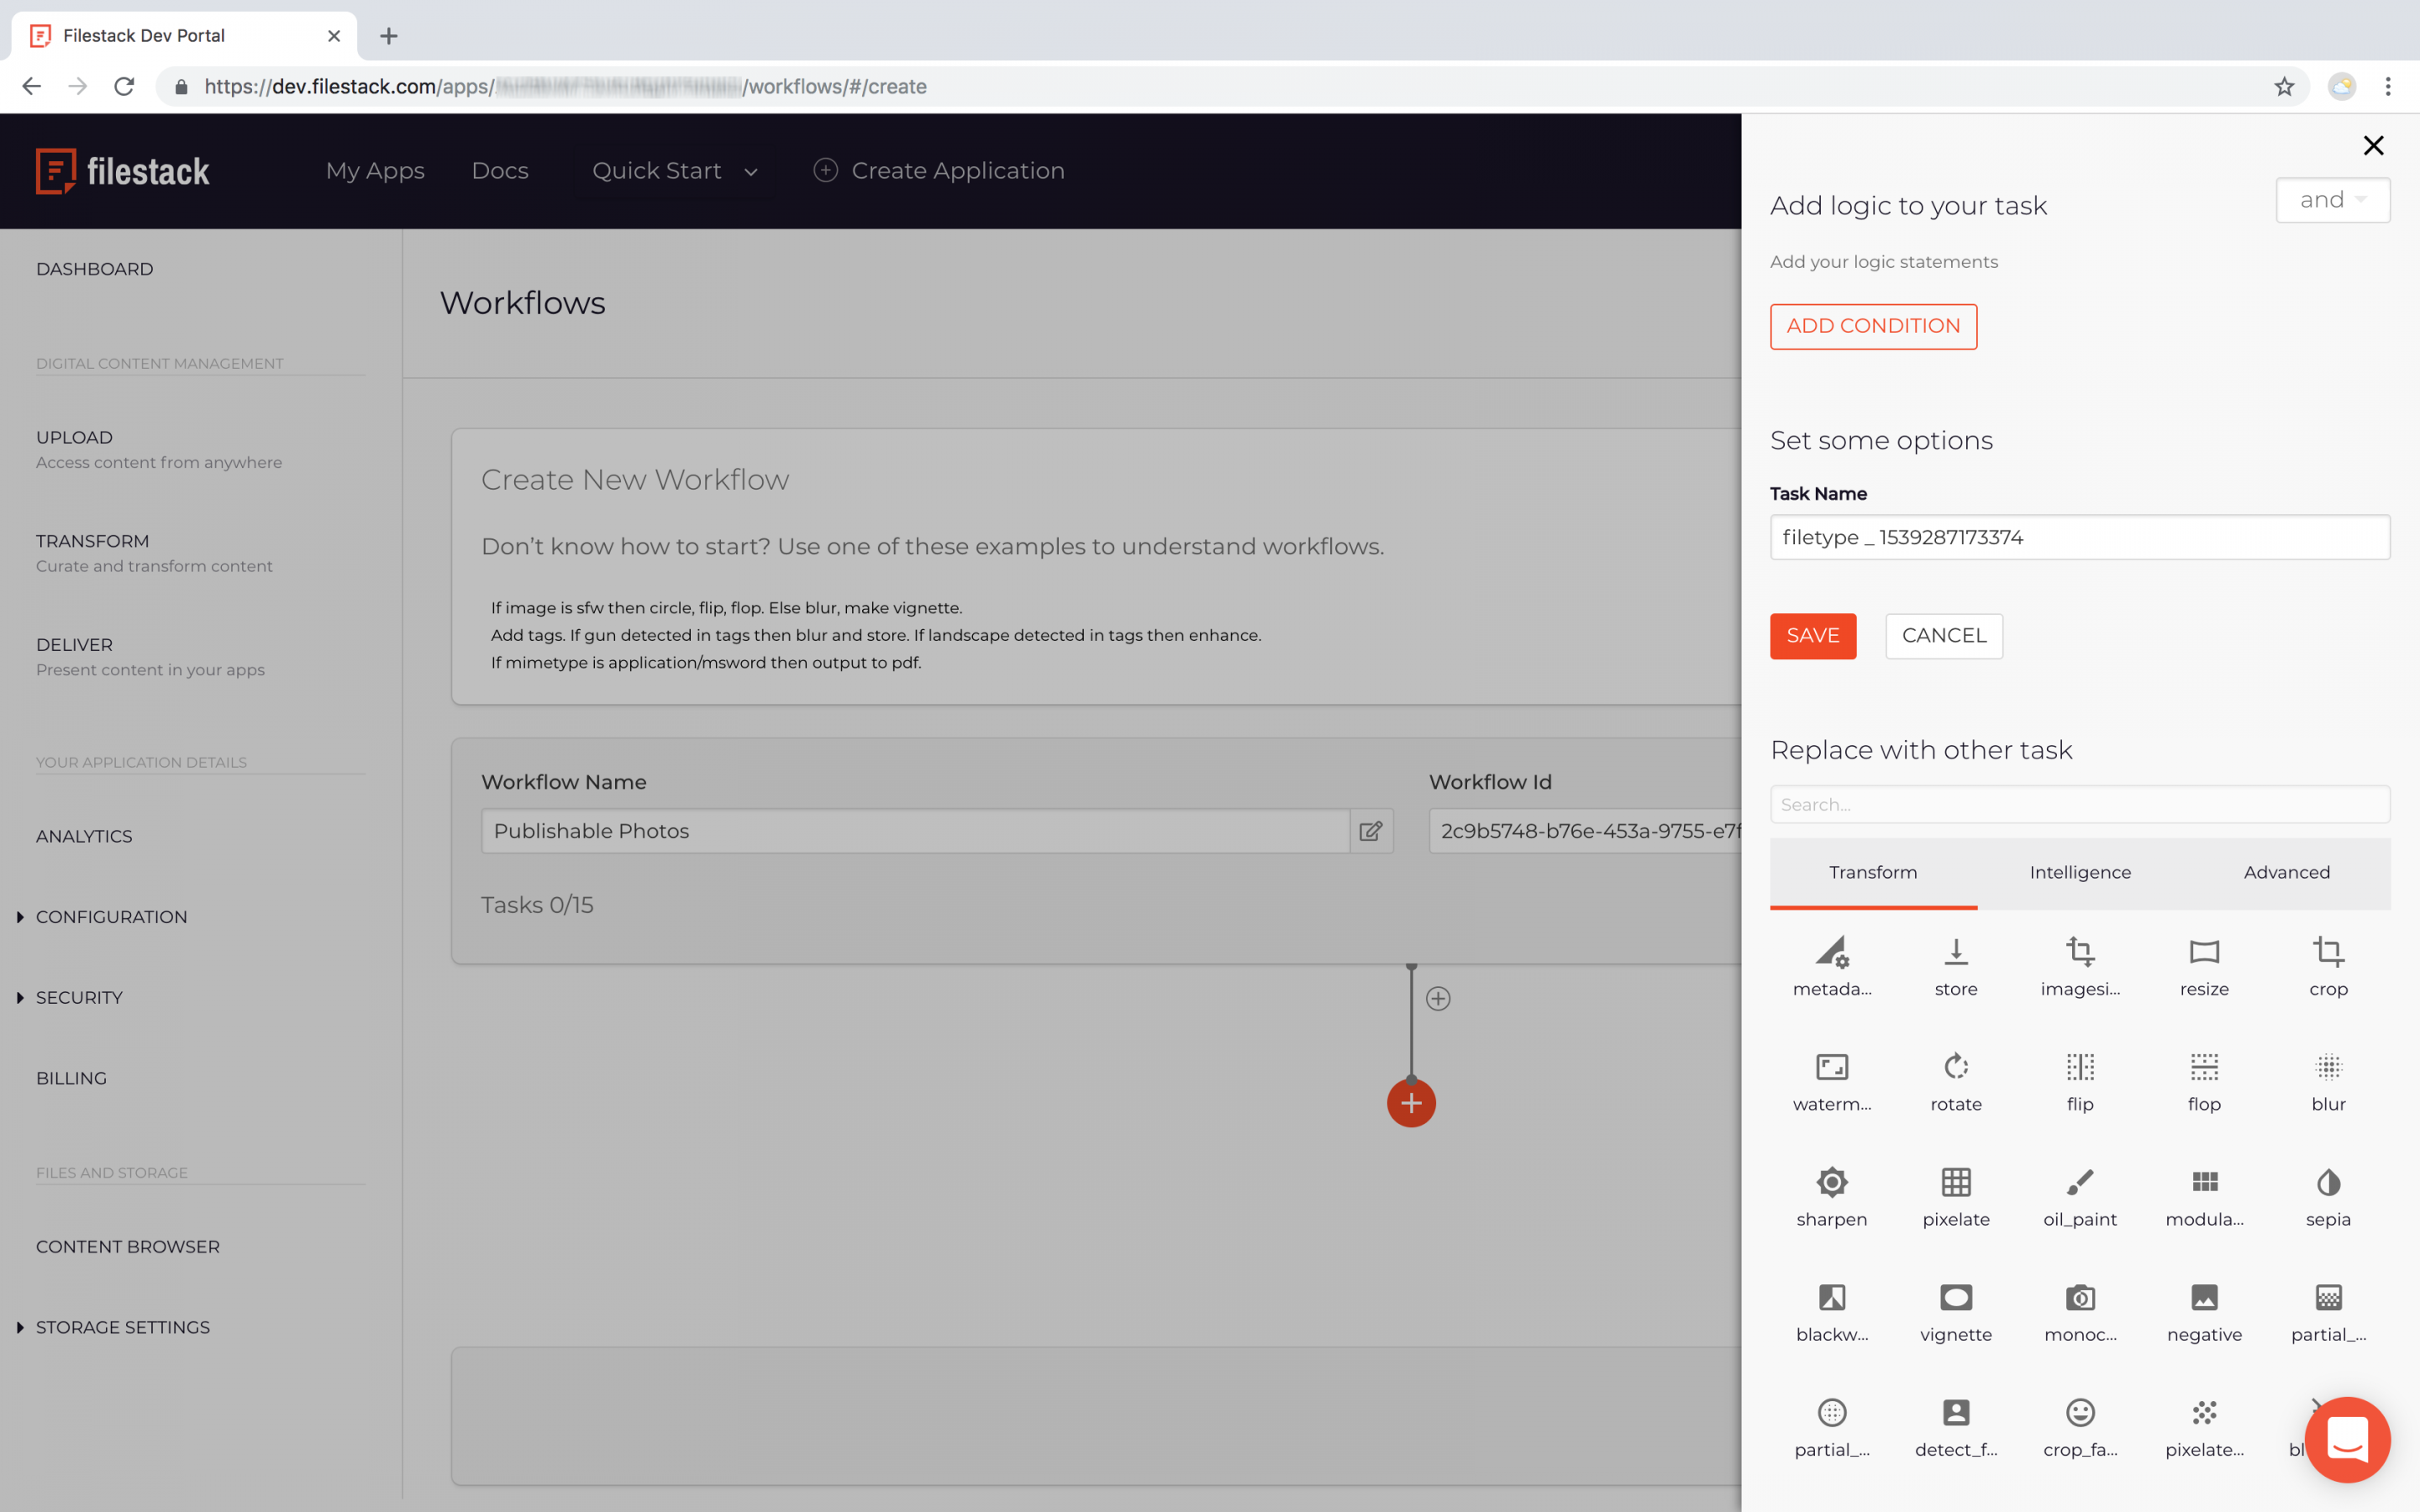
Click the orange ‘Save’ button in the Task Panel (both Workflow & Task will be saved).
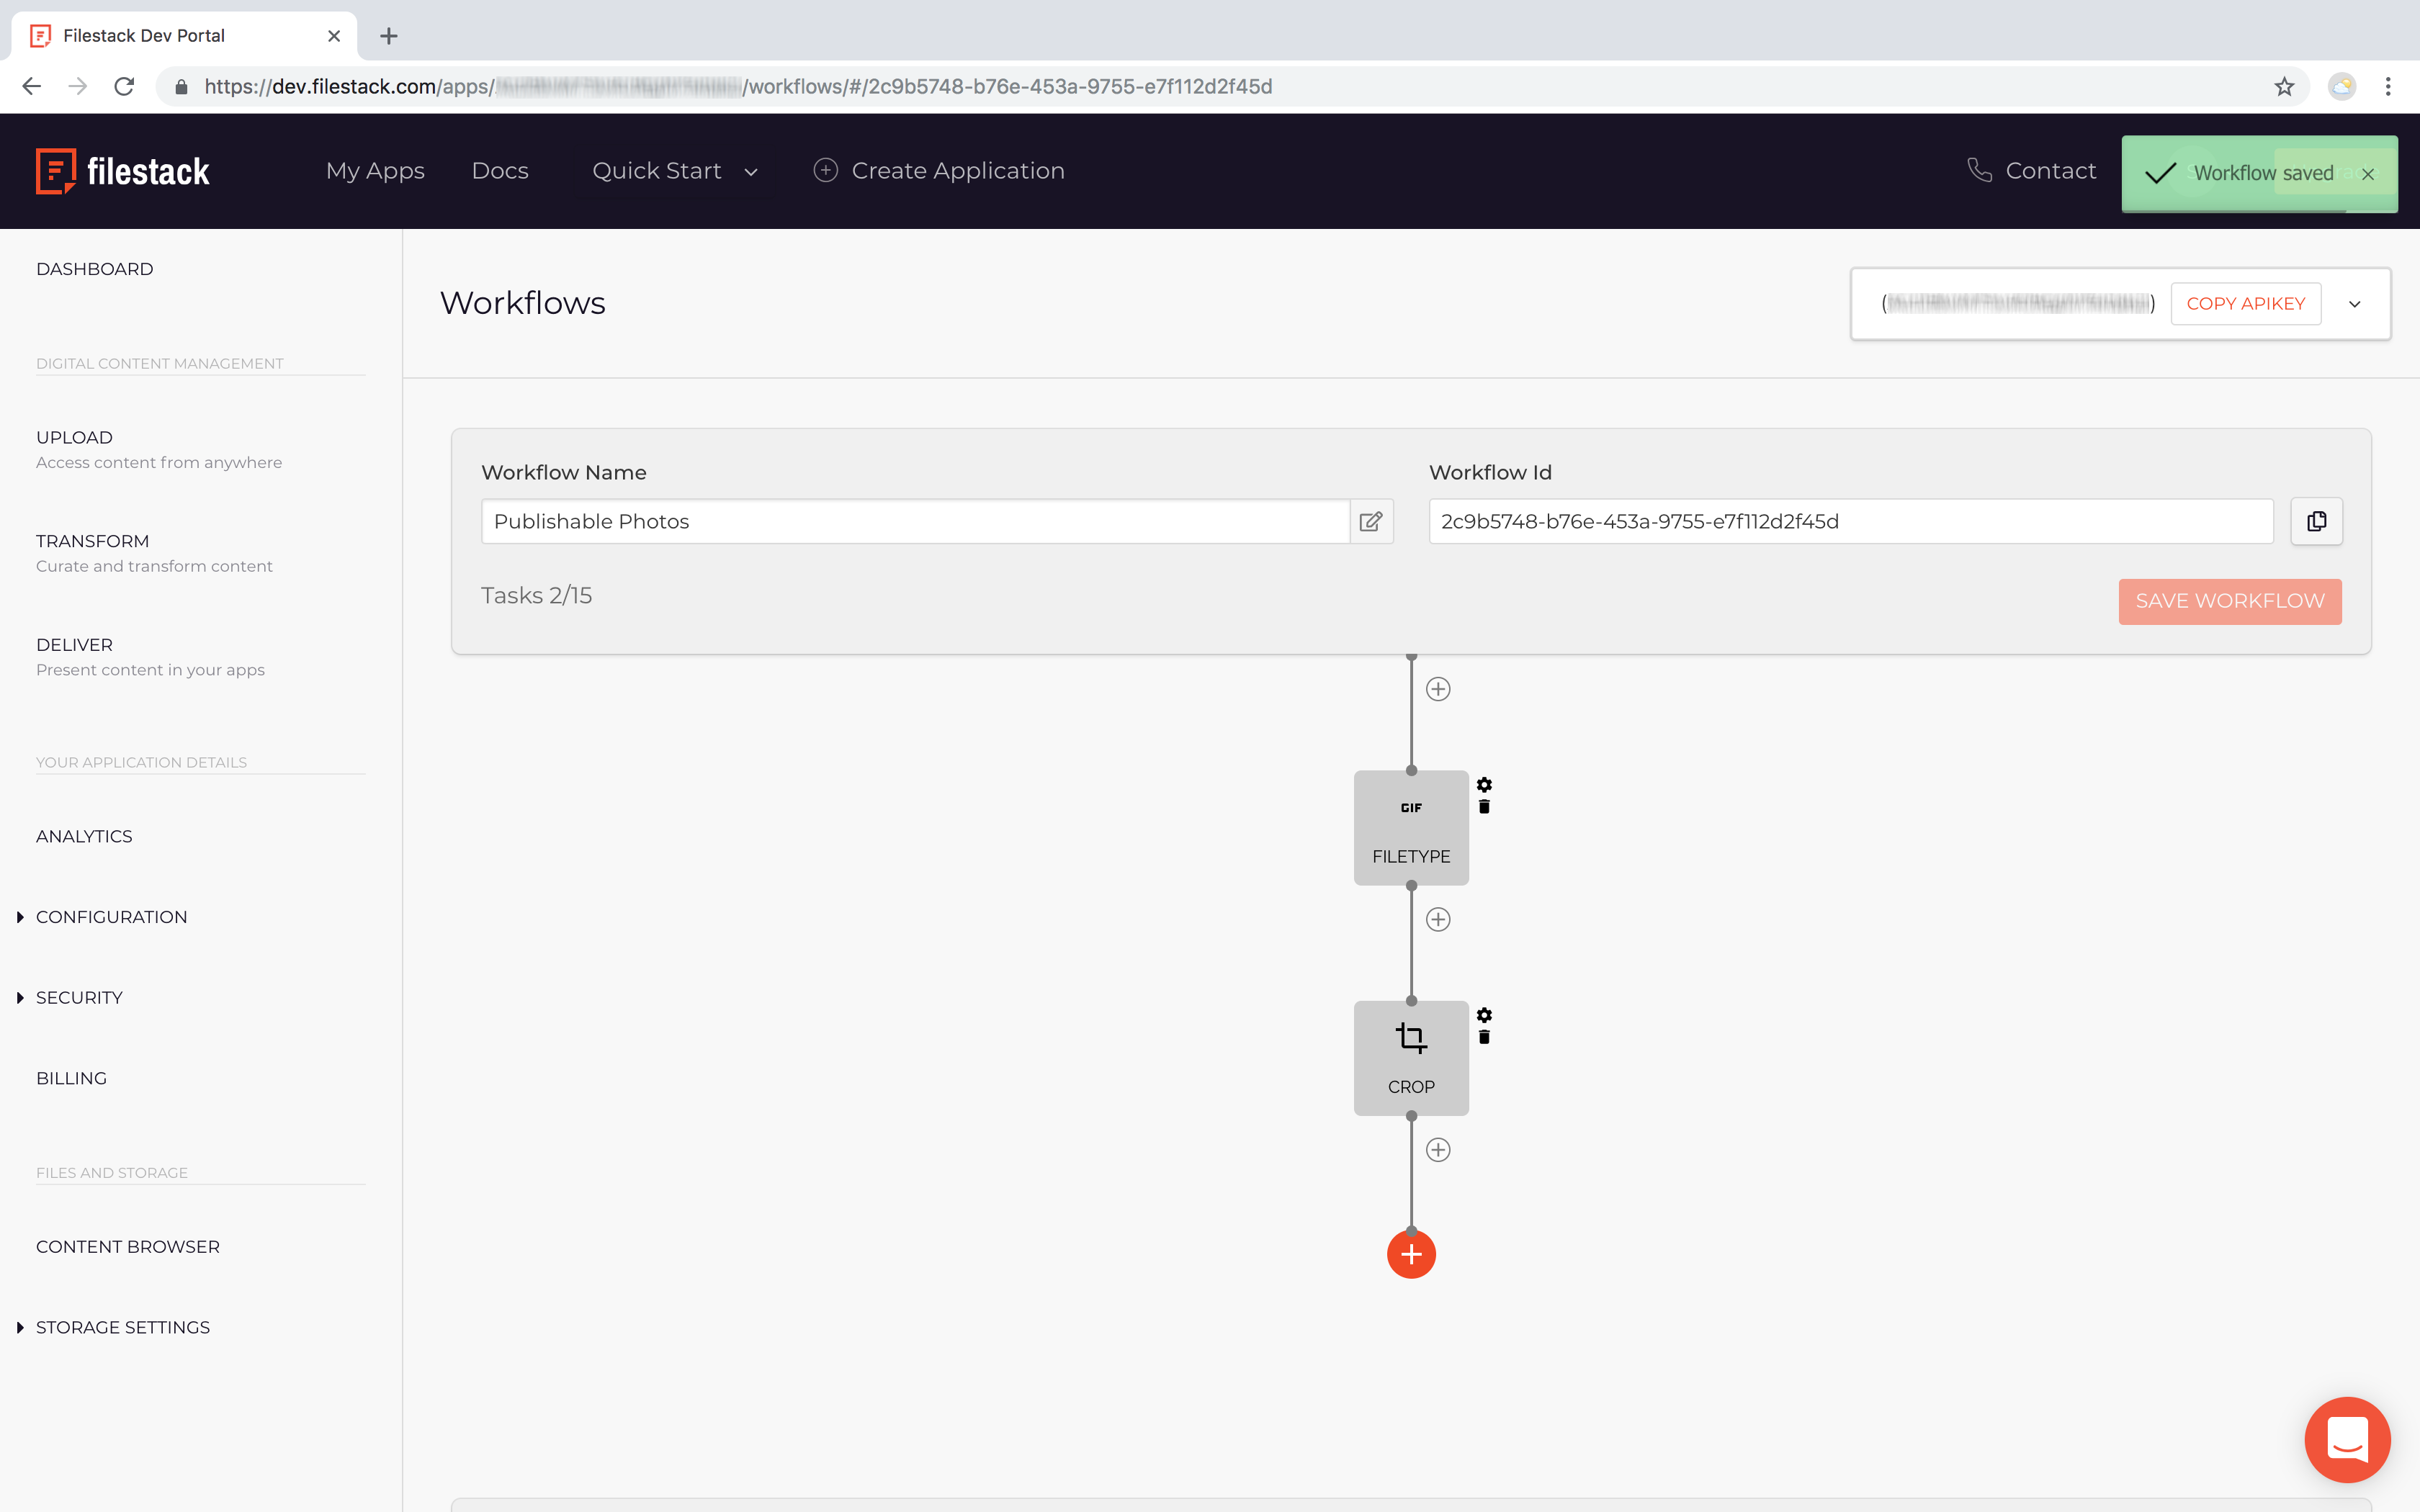
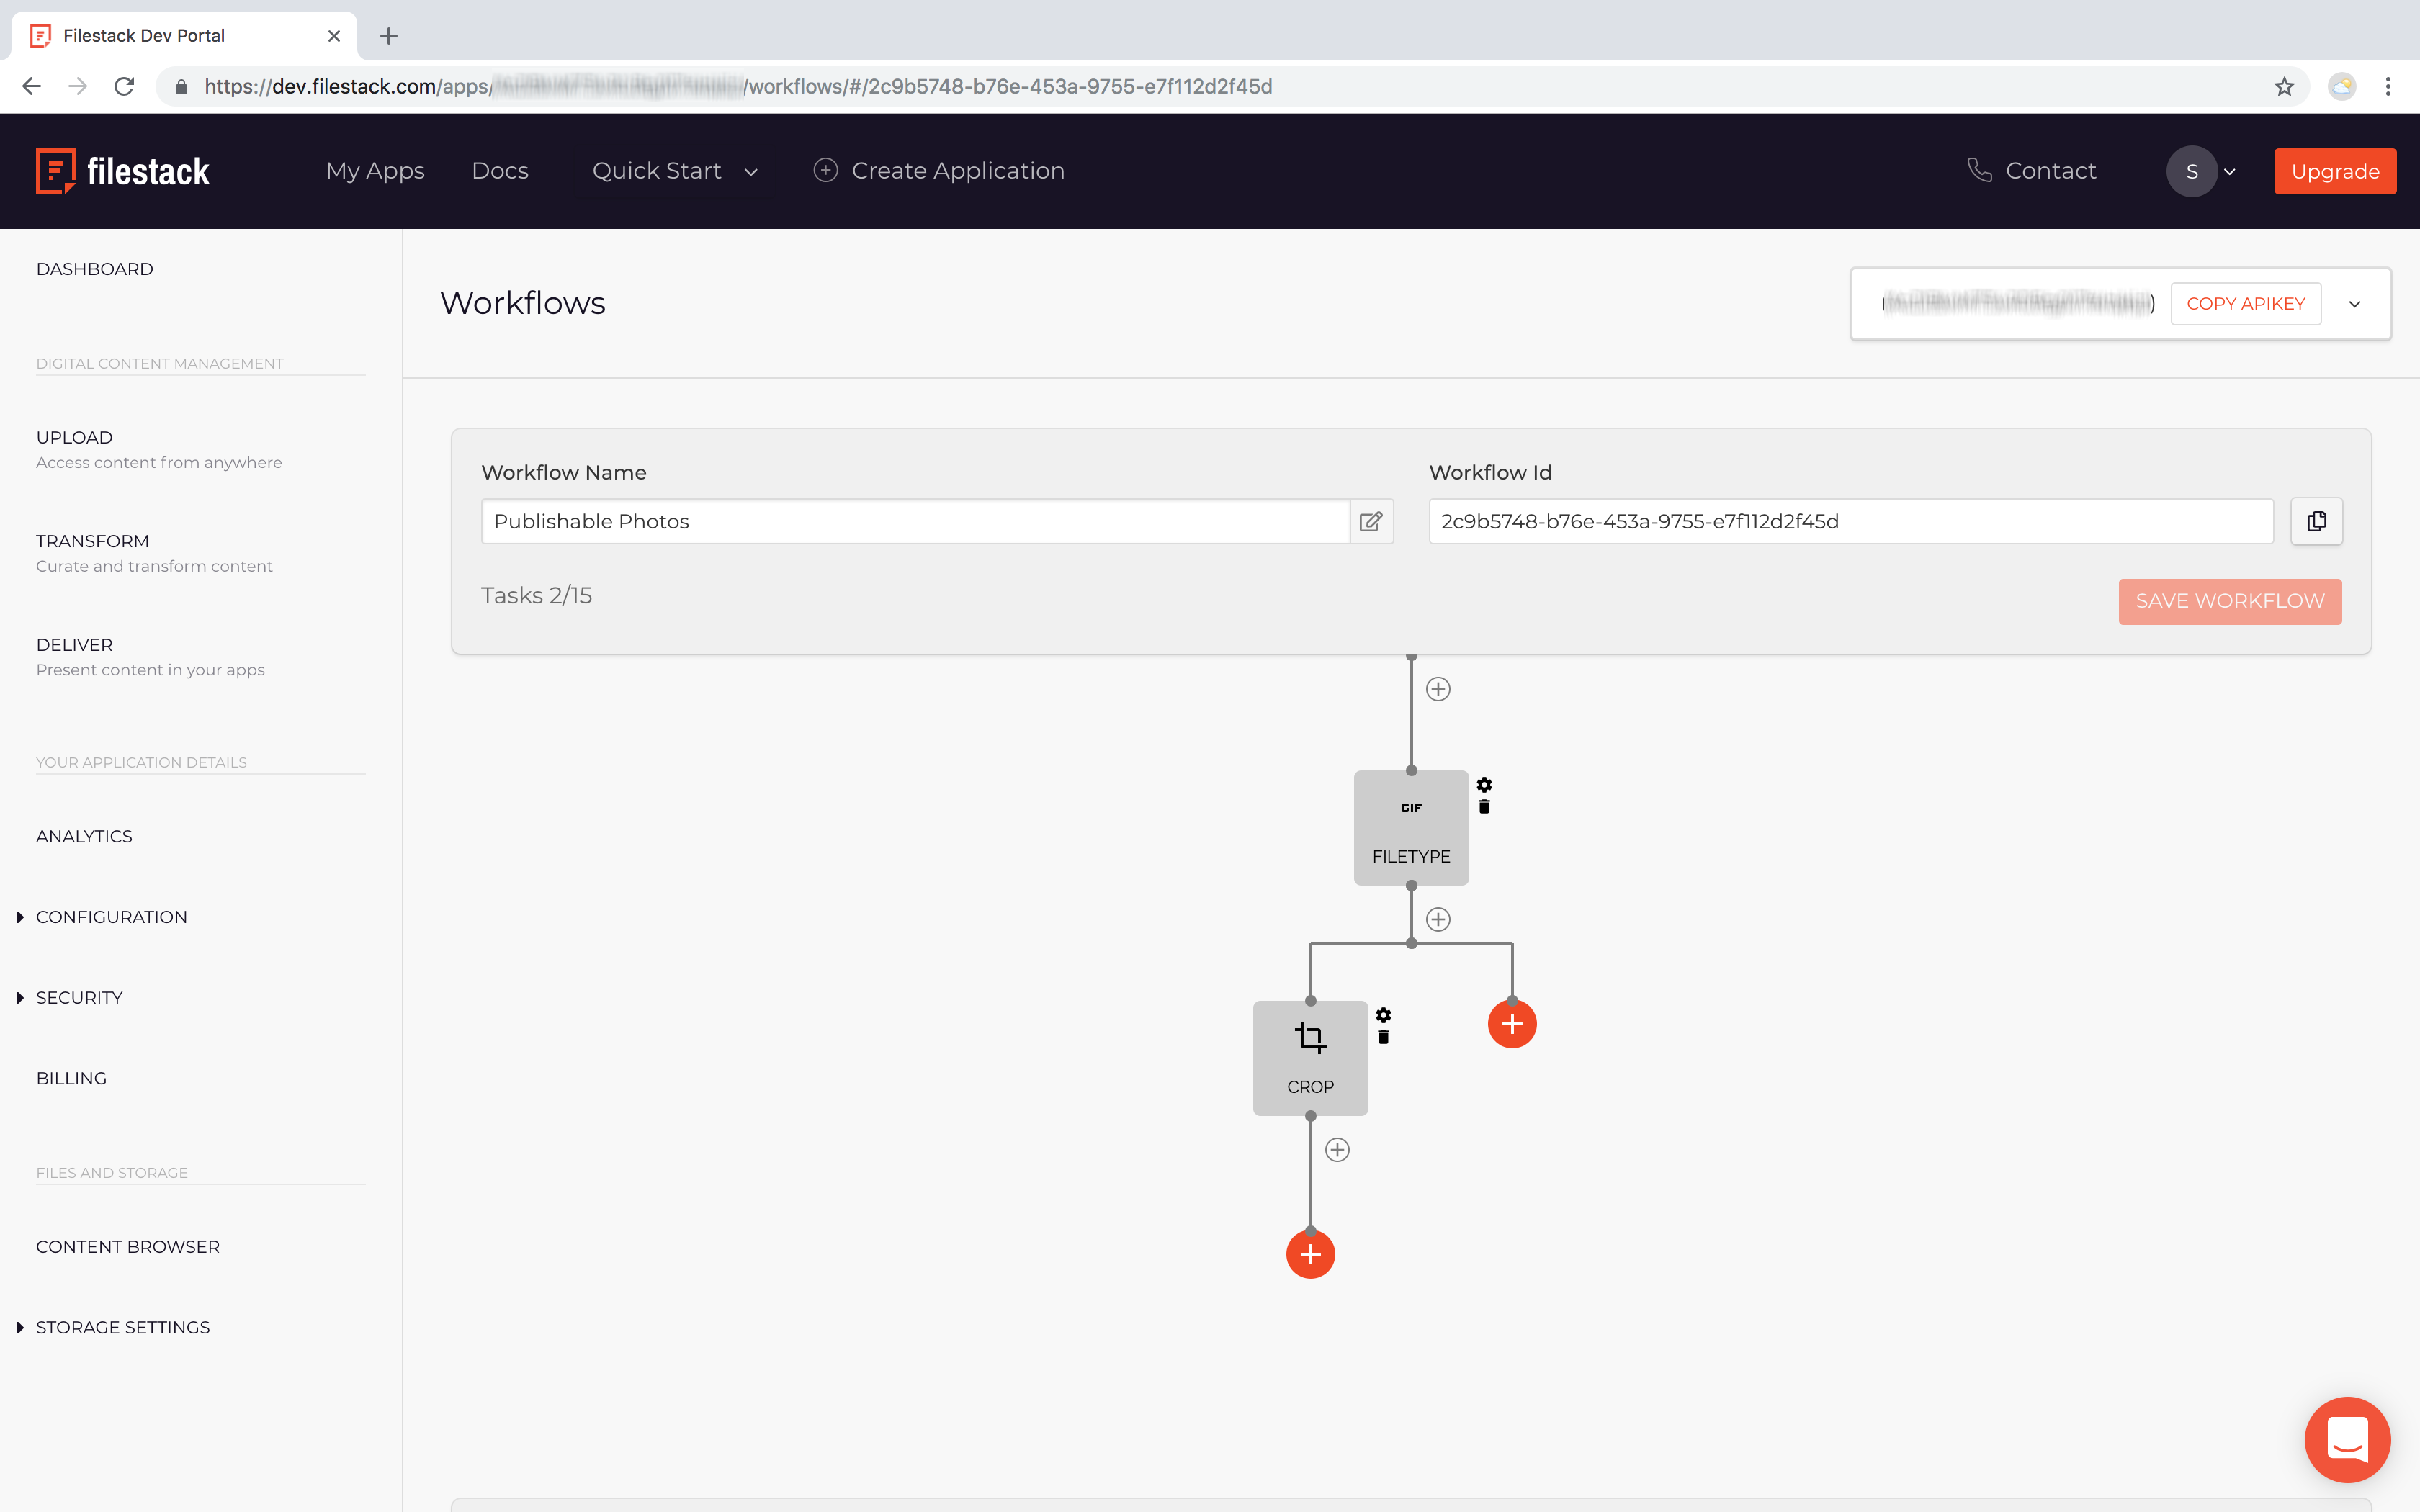
Continue to build out your Workflow by selecting the second task. Apply any logic conditions desired. In this example, we want to determine whether an uploaded file is of the type JPEG or PNG. Insert an anchor point, and cropping dimensions. For condition, path = mimetype, to determine type. Add condition/Value.
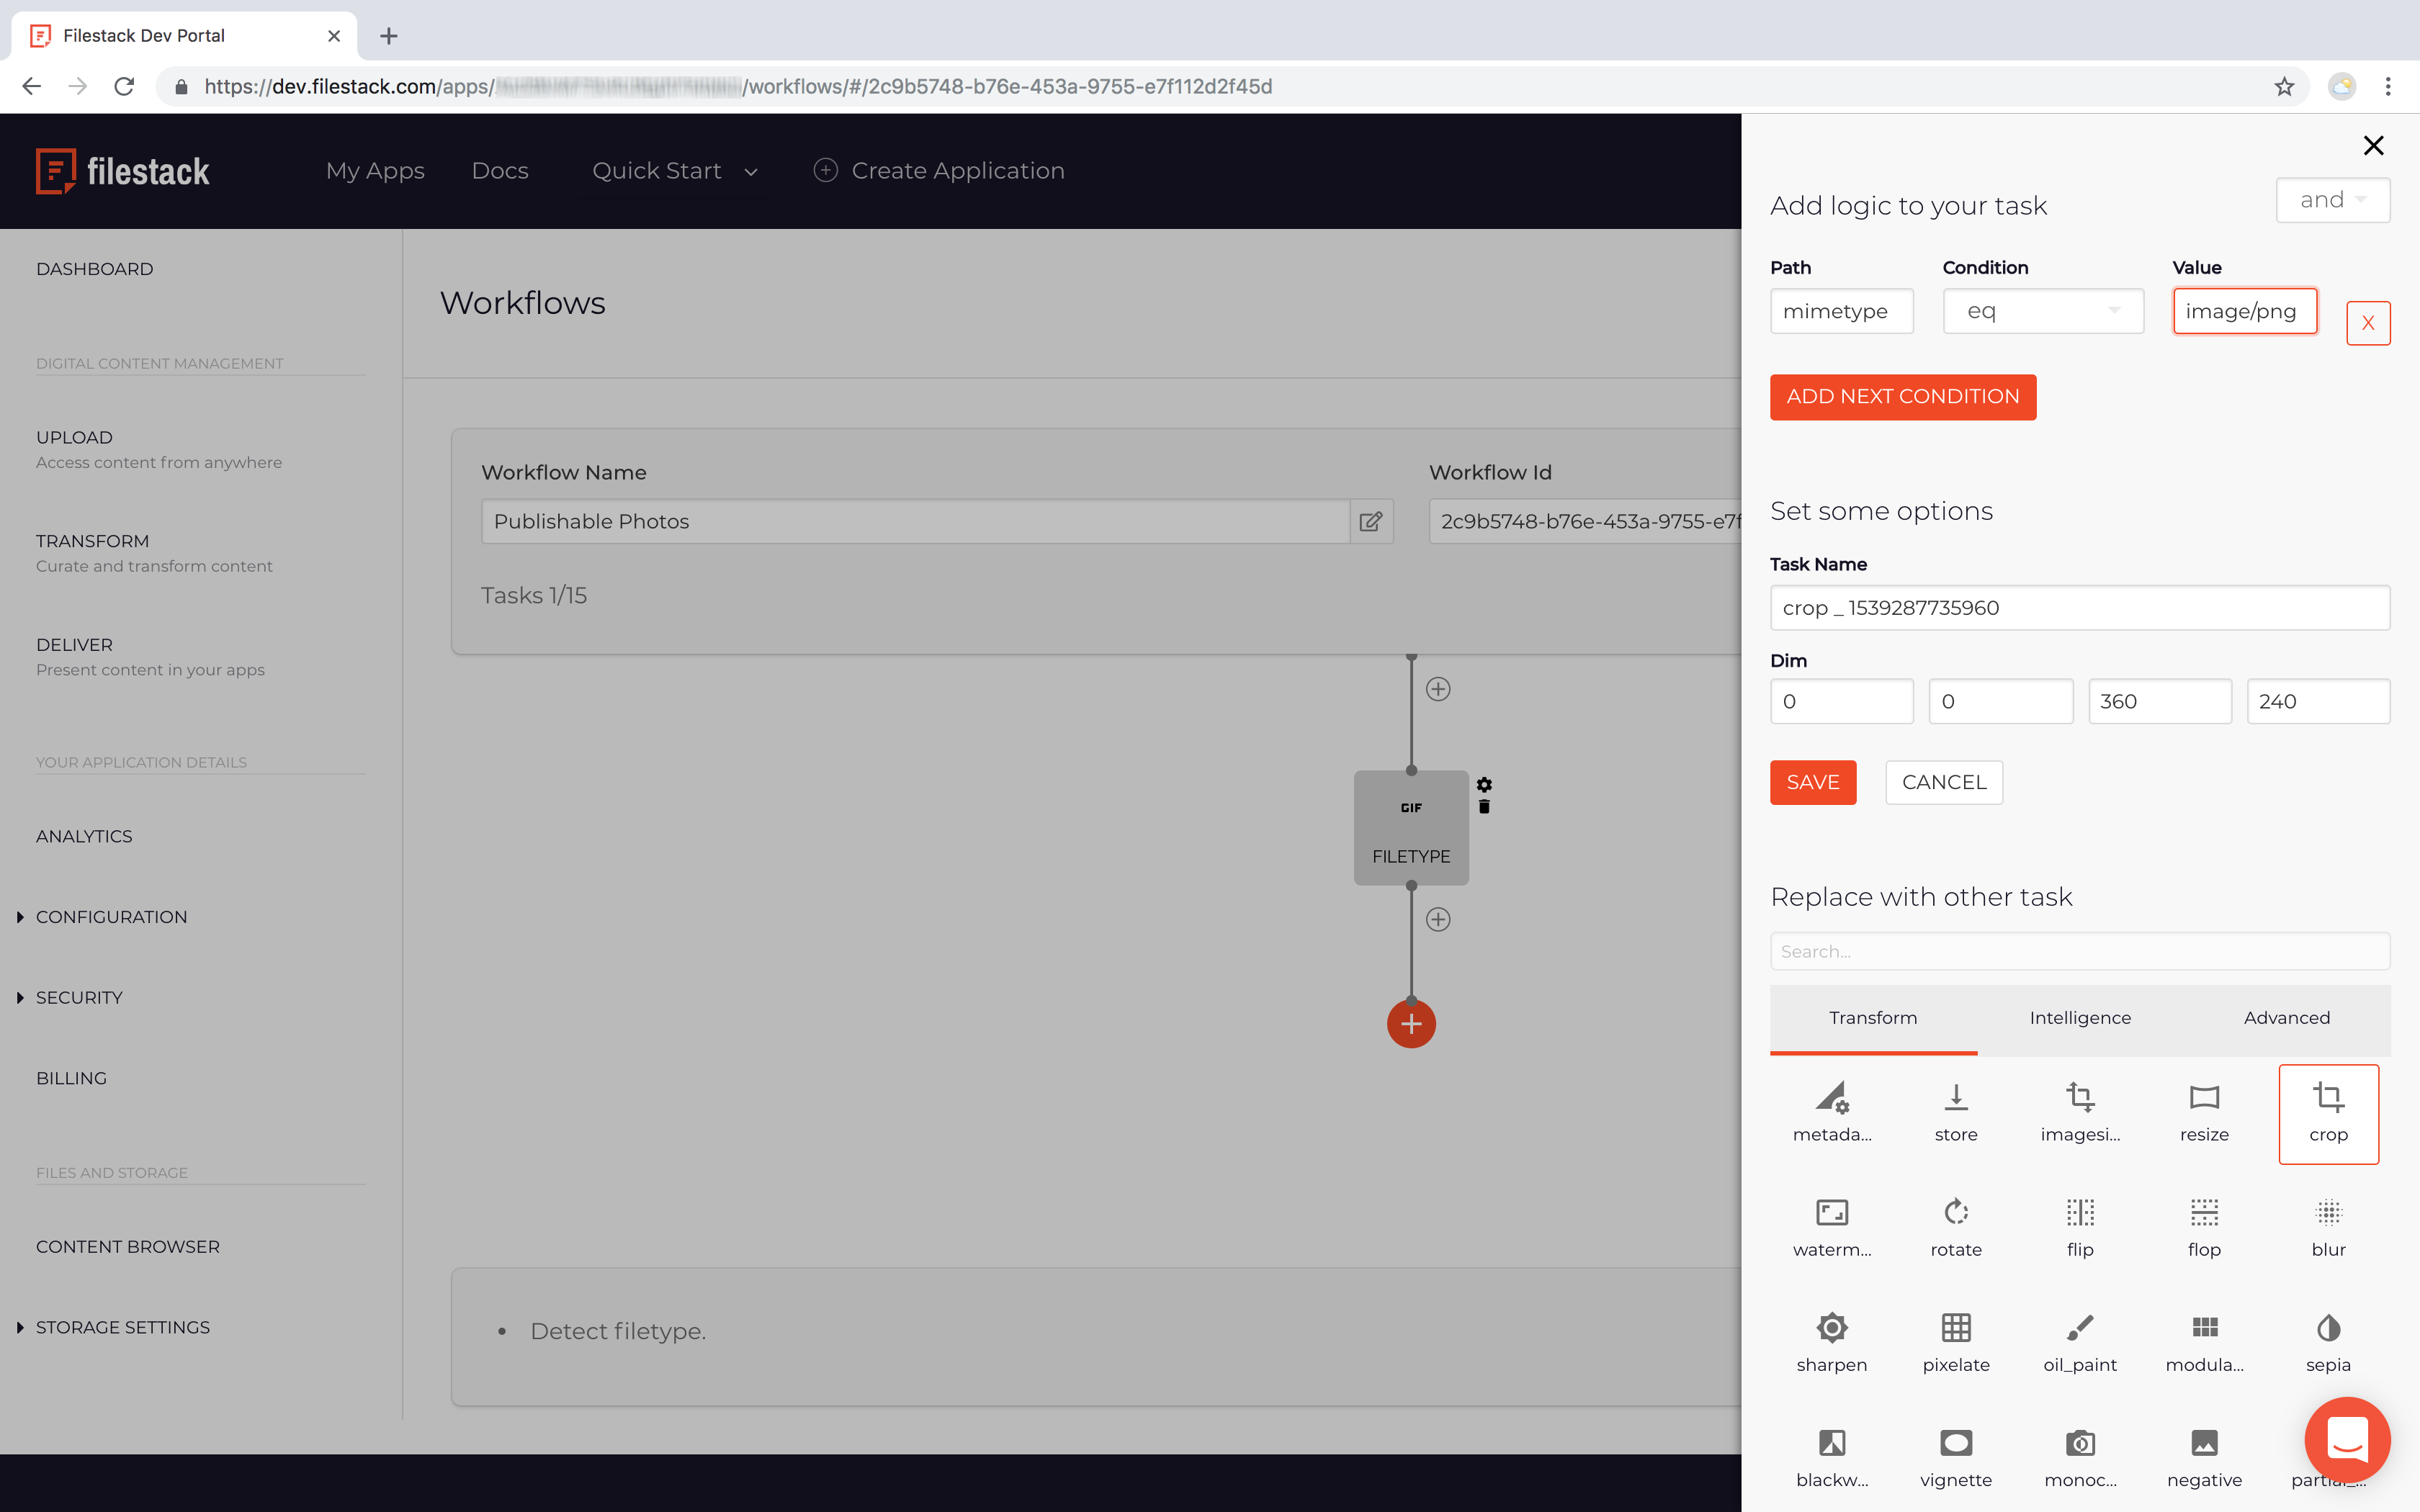
Save Task, will save workflow.
Create a new branch for PNG files.
Store JPEG based on the condition.
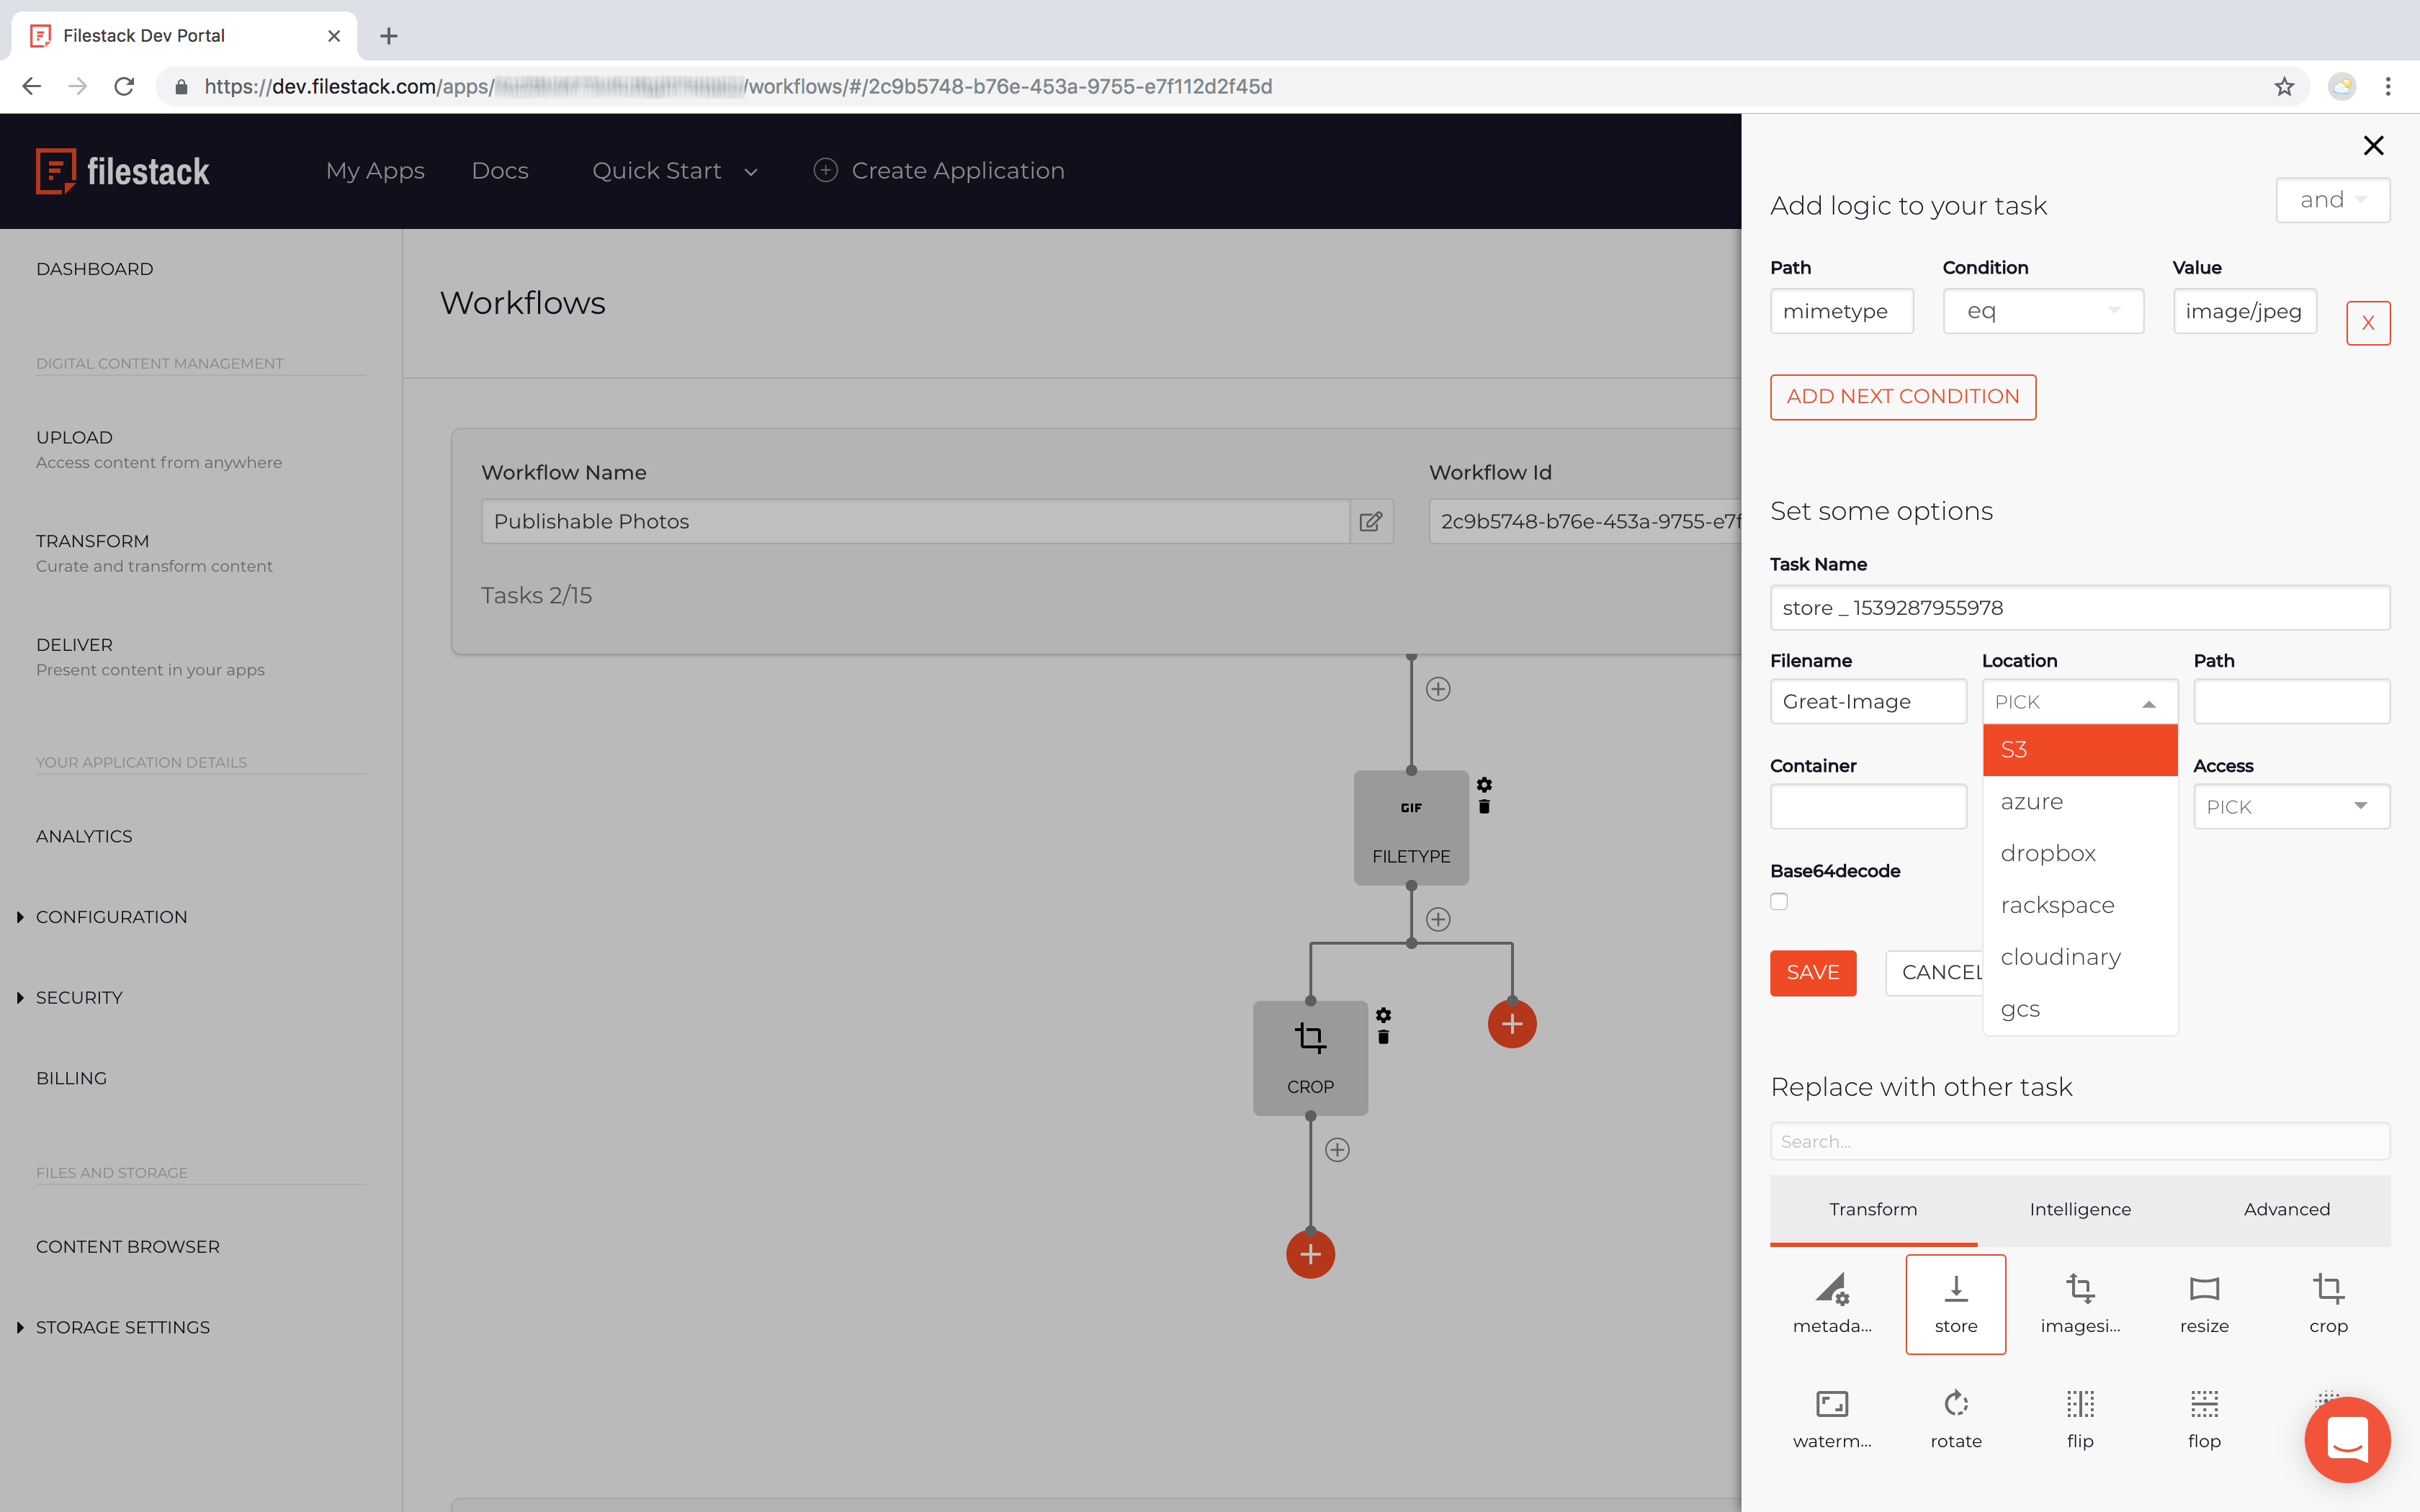
Save Task, will Save Workflow.
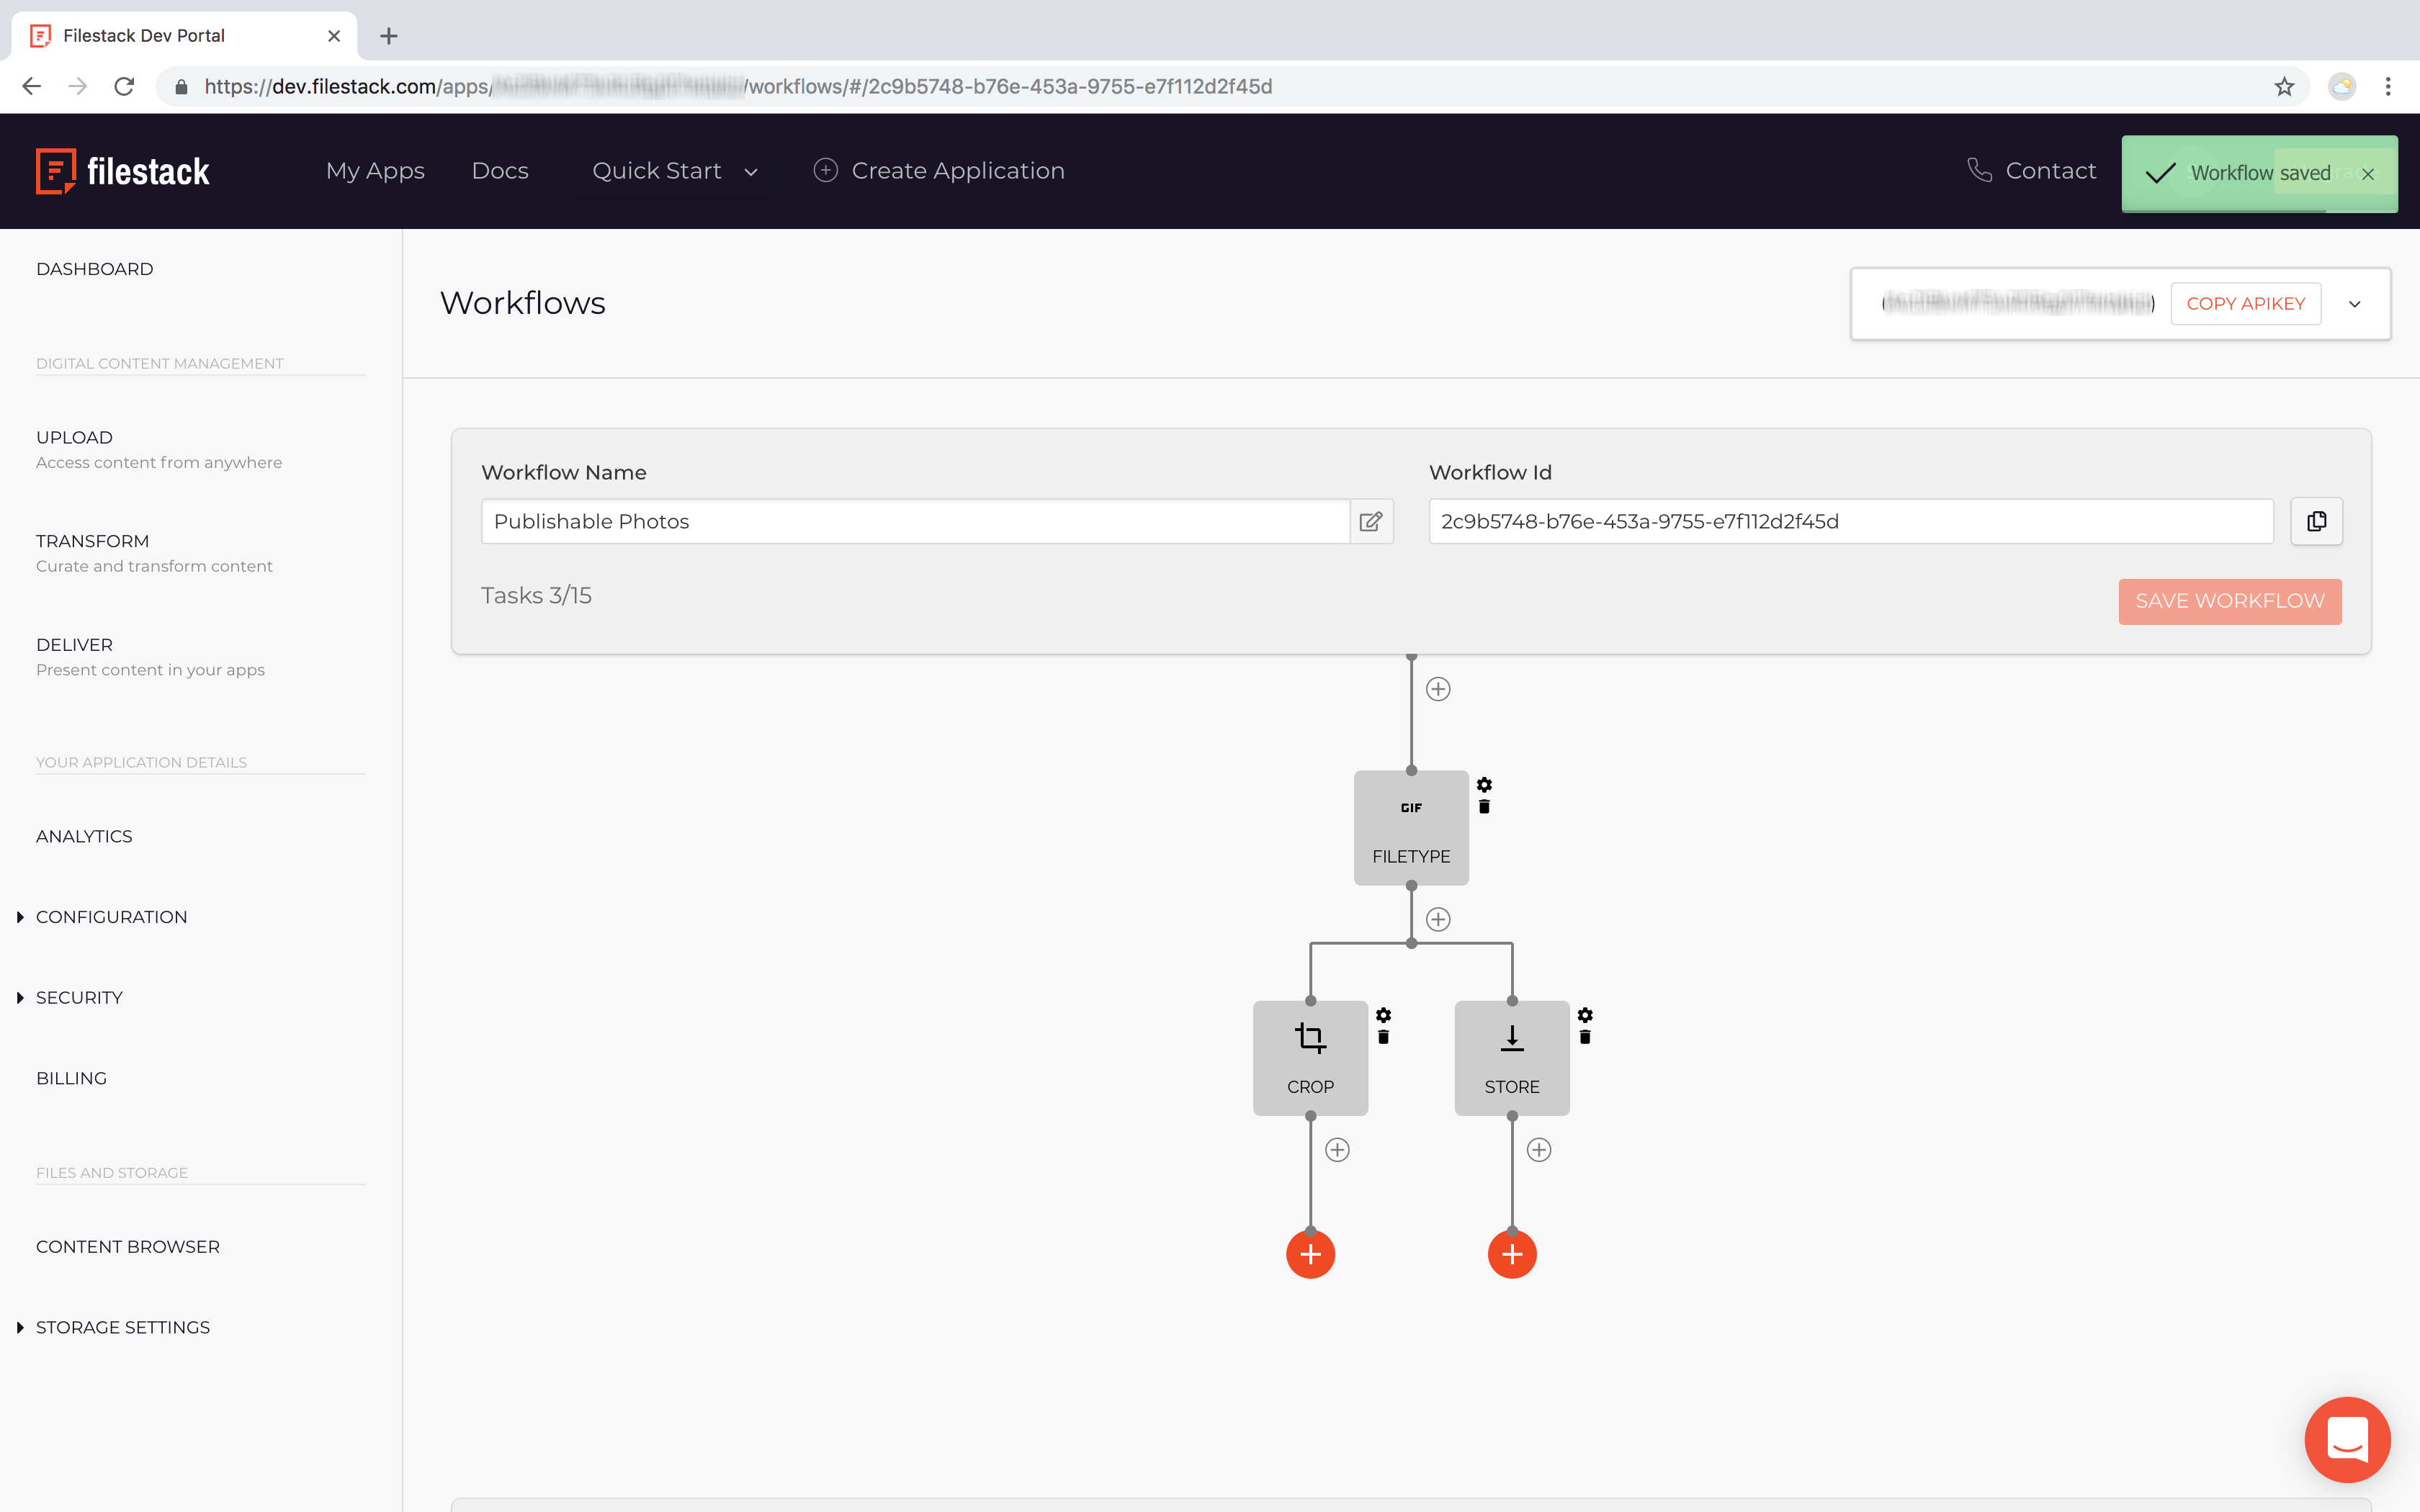
Select new task, in this example, the Black and White filter (100% Threshold will return an entirely black image, so for that particular transformation, start with a mid-range value like 50% and test your results for a proper aesthetic balance!), for PNG images:
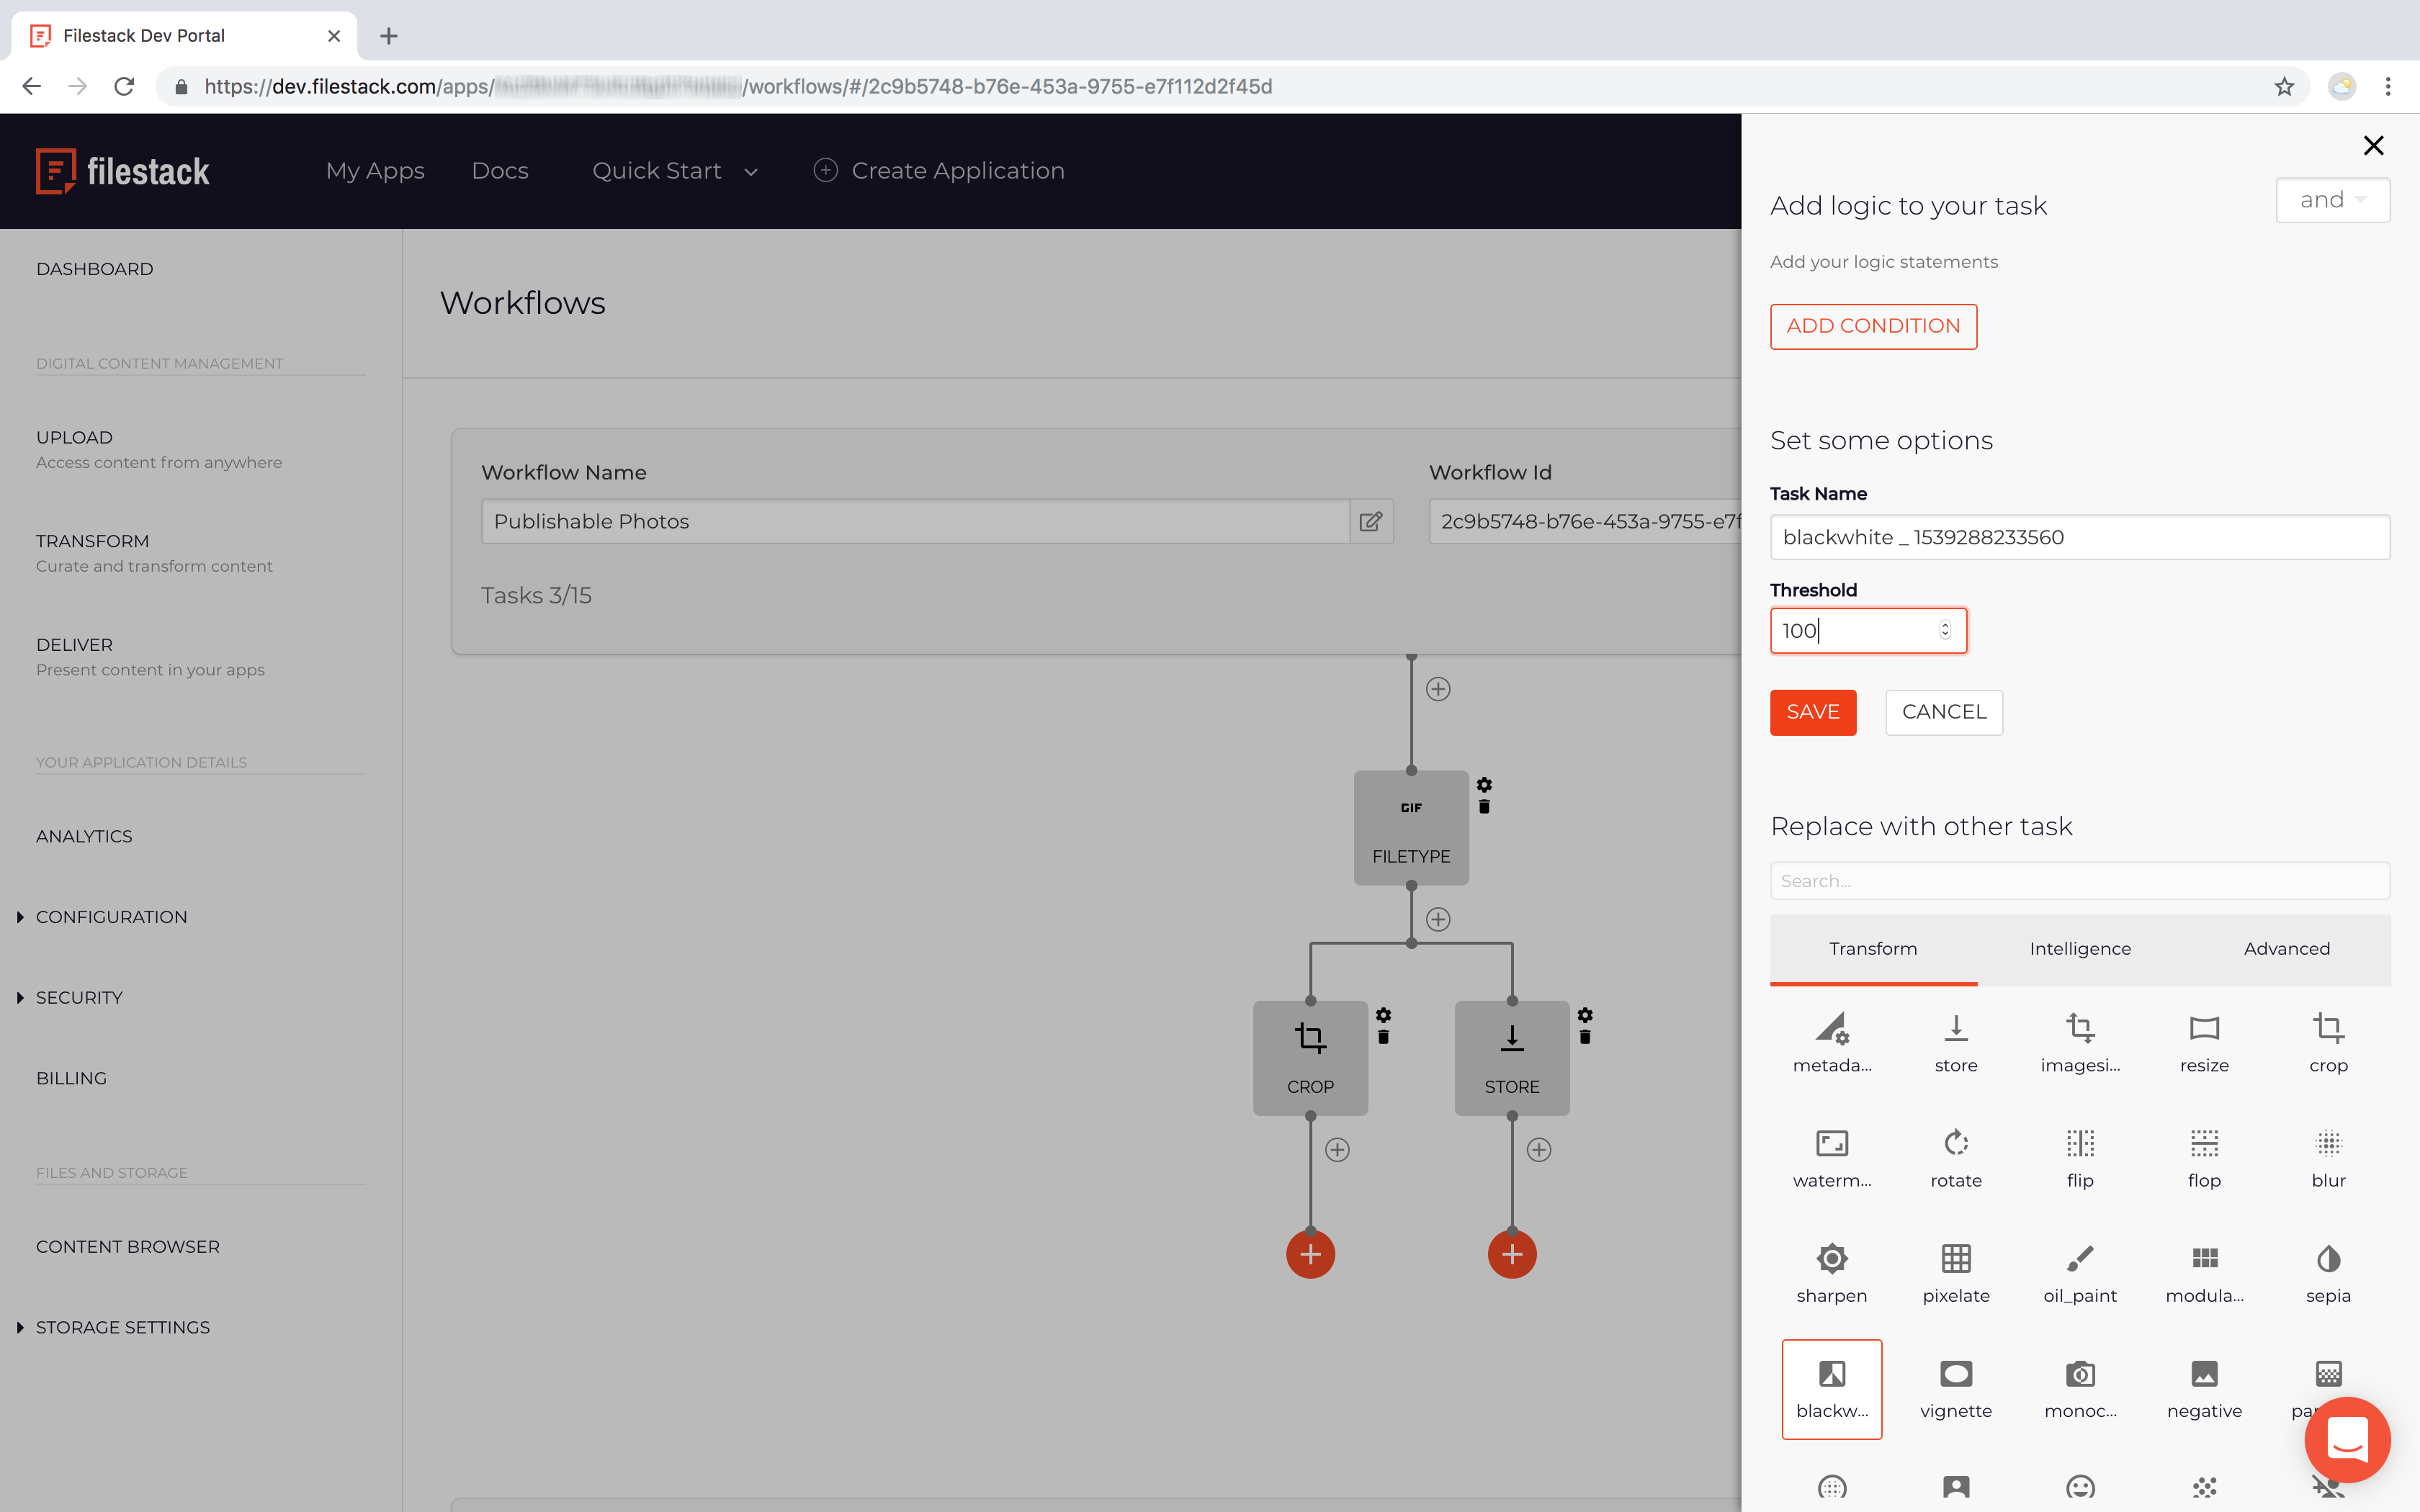
Save
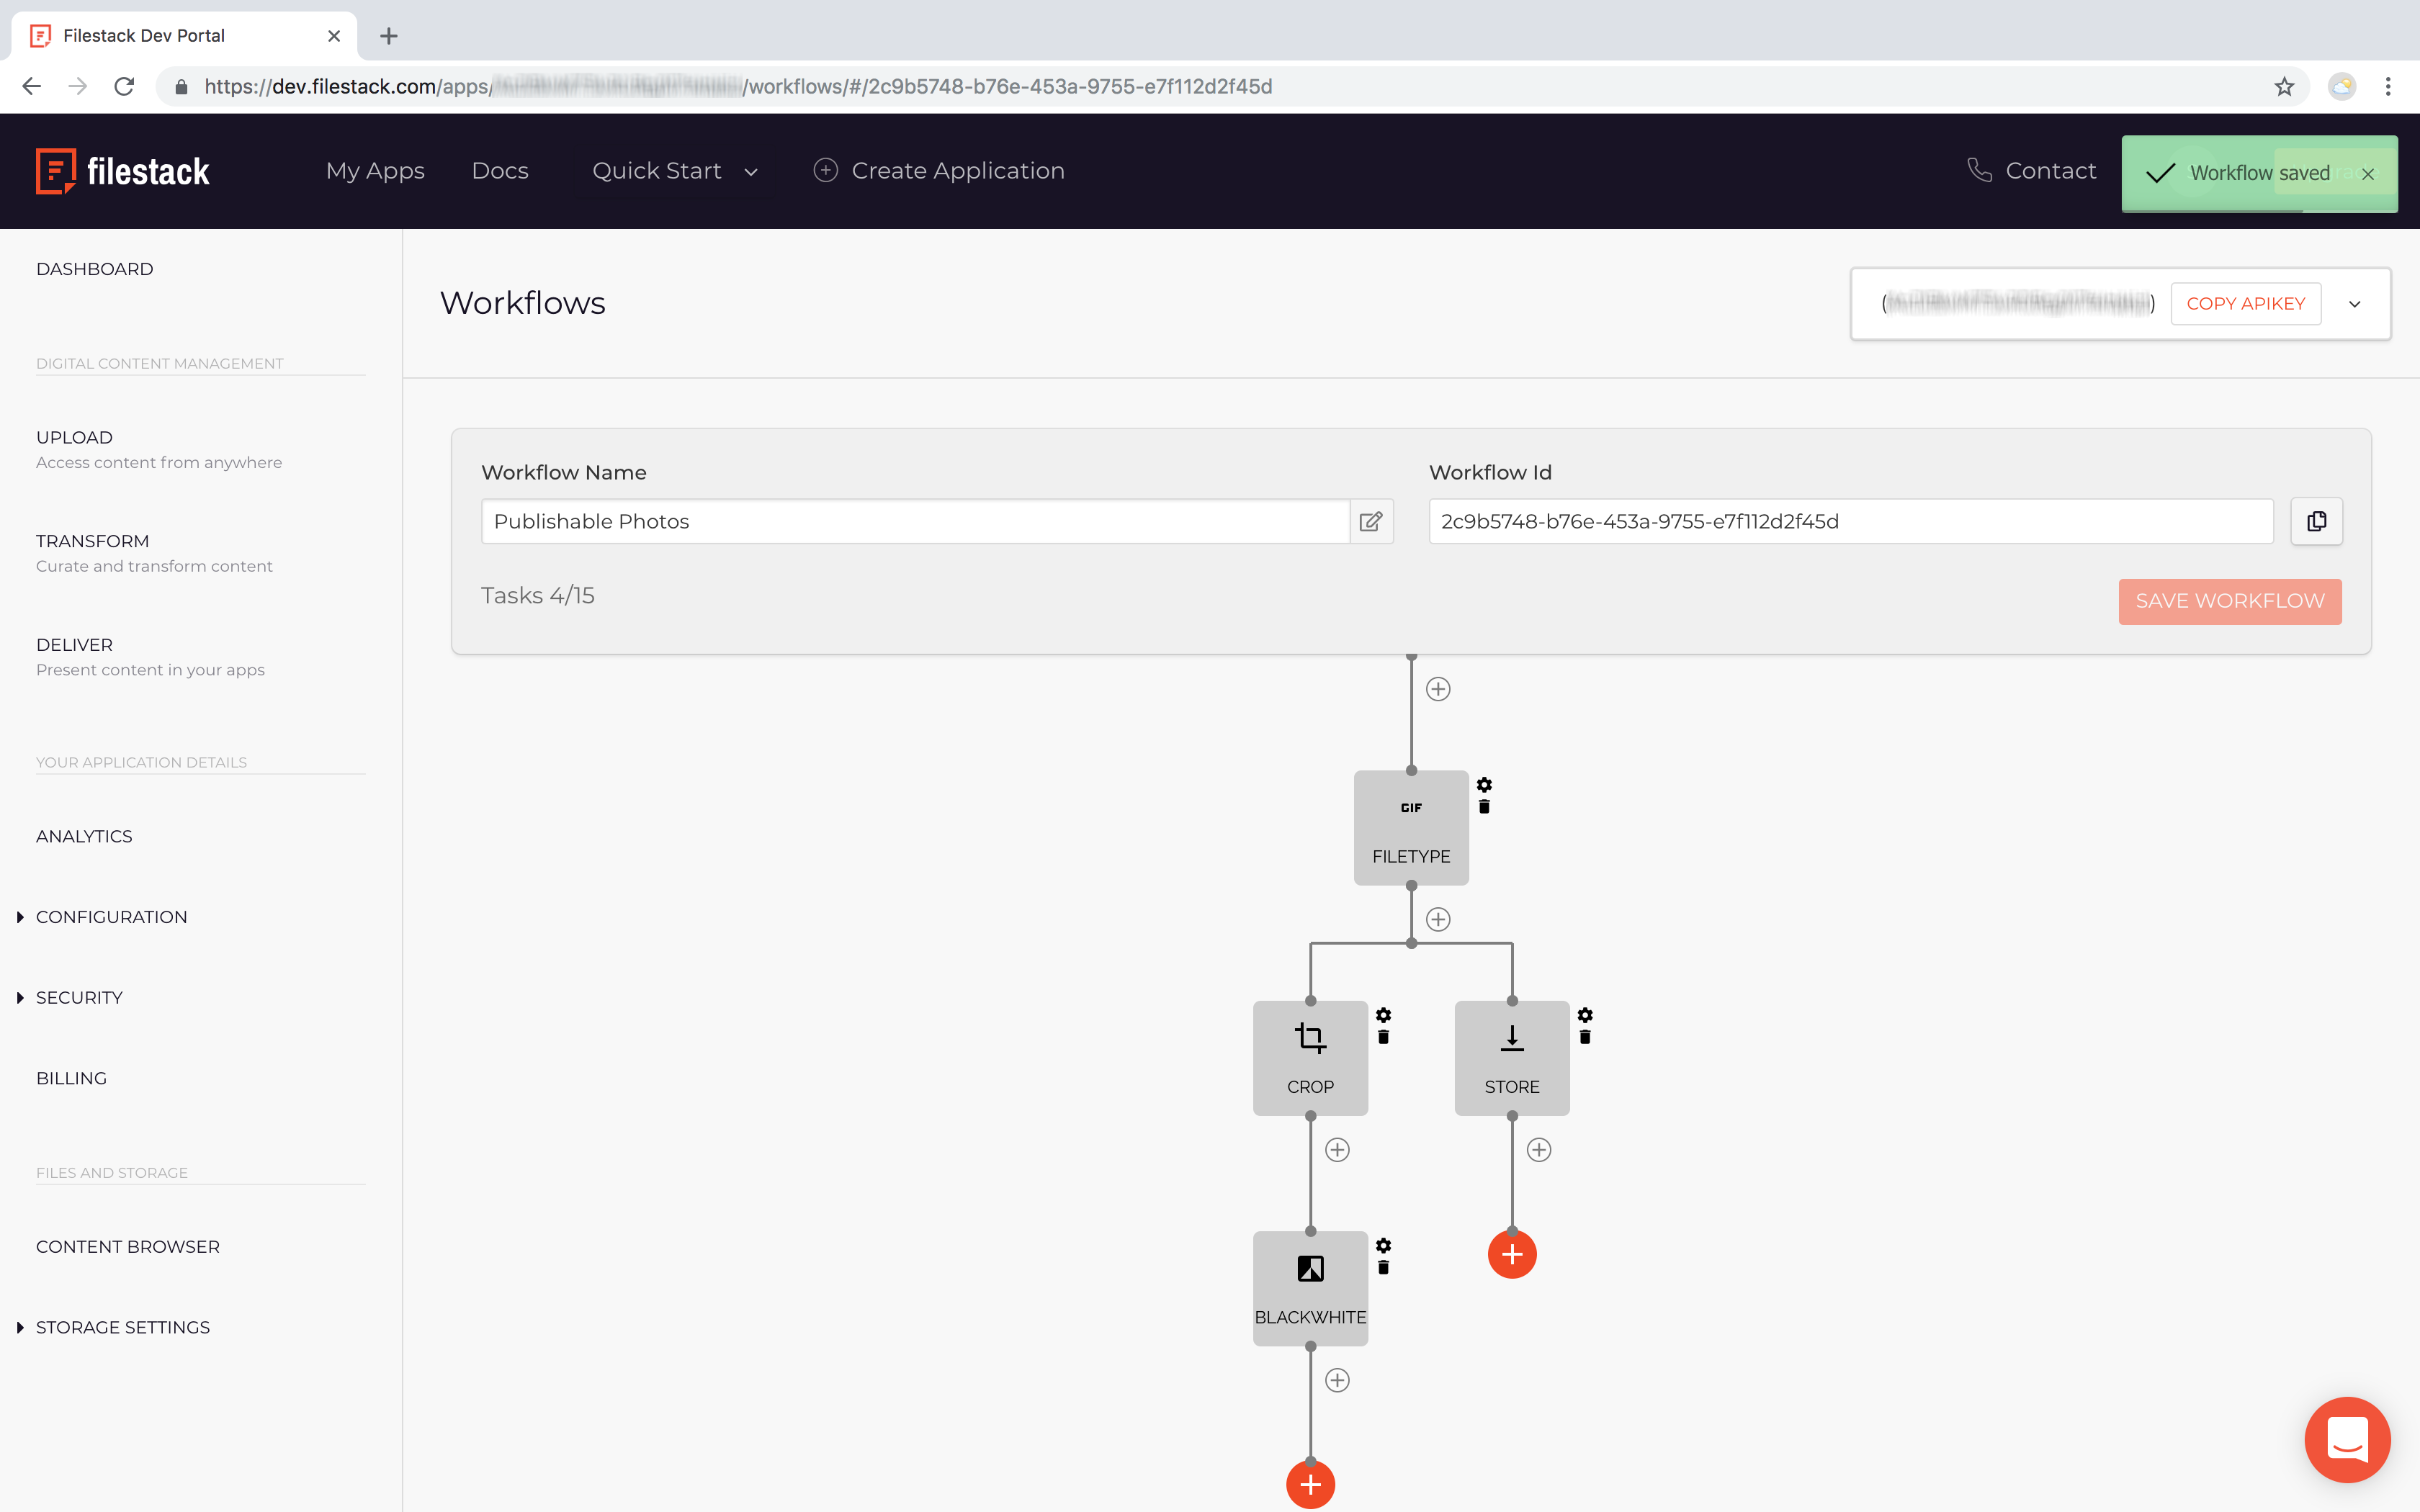
Select new task to store BW-converted PNG’s
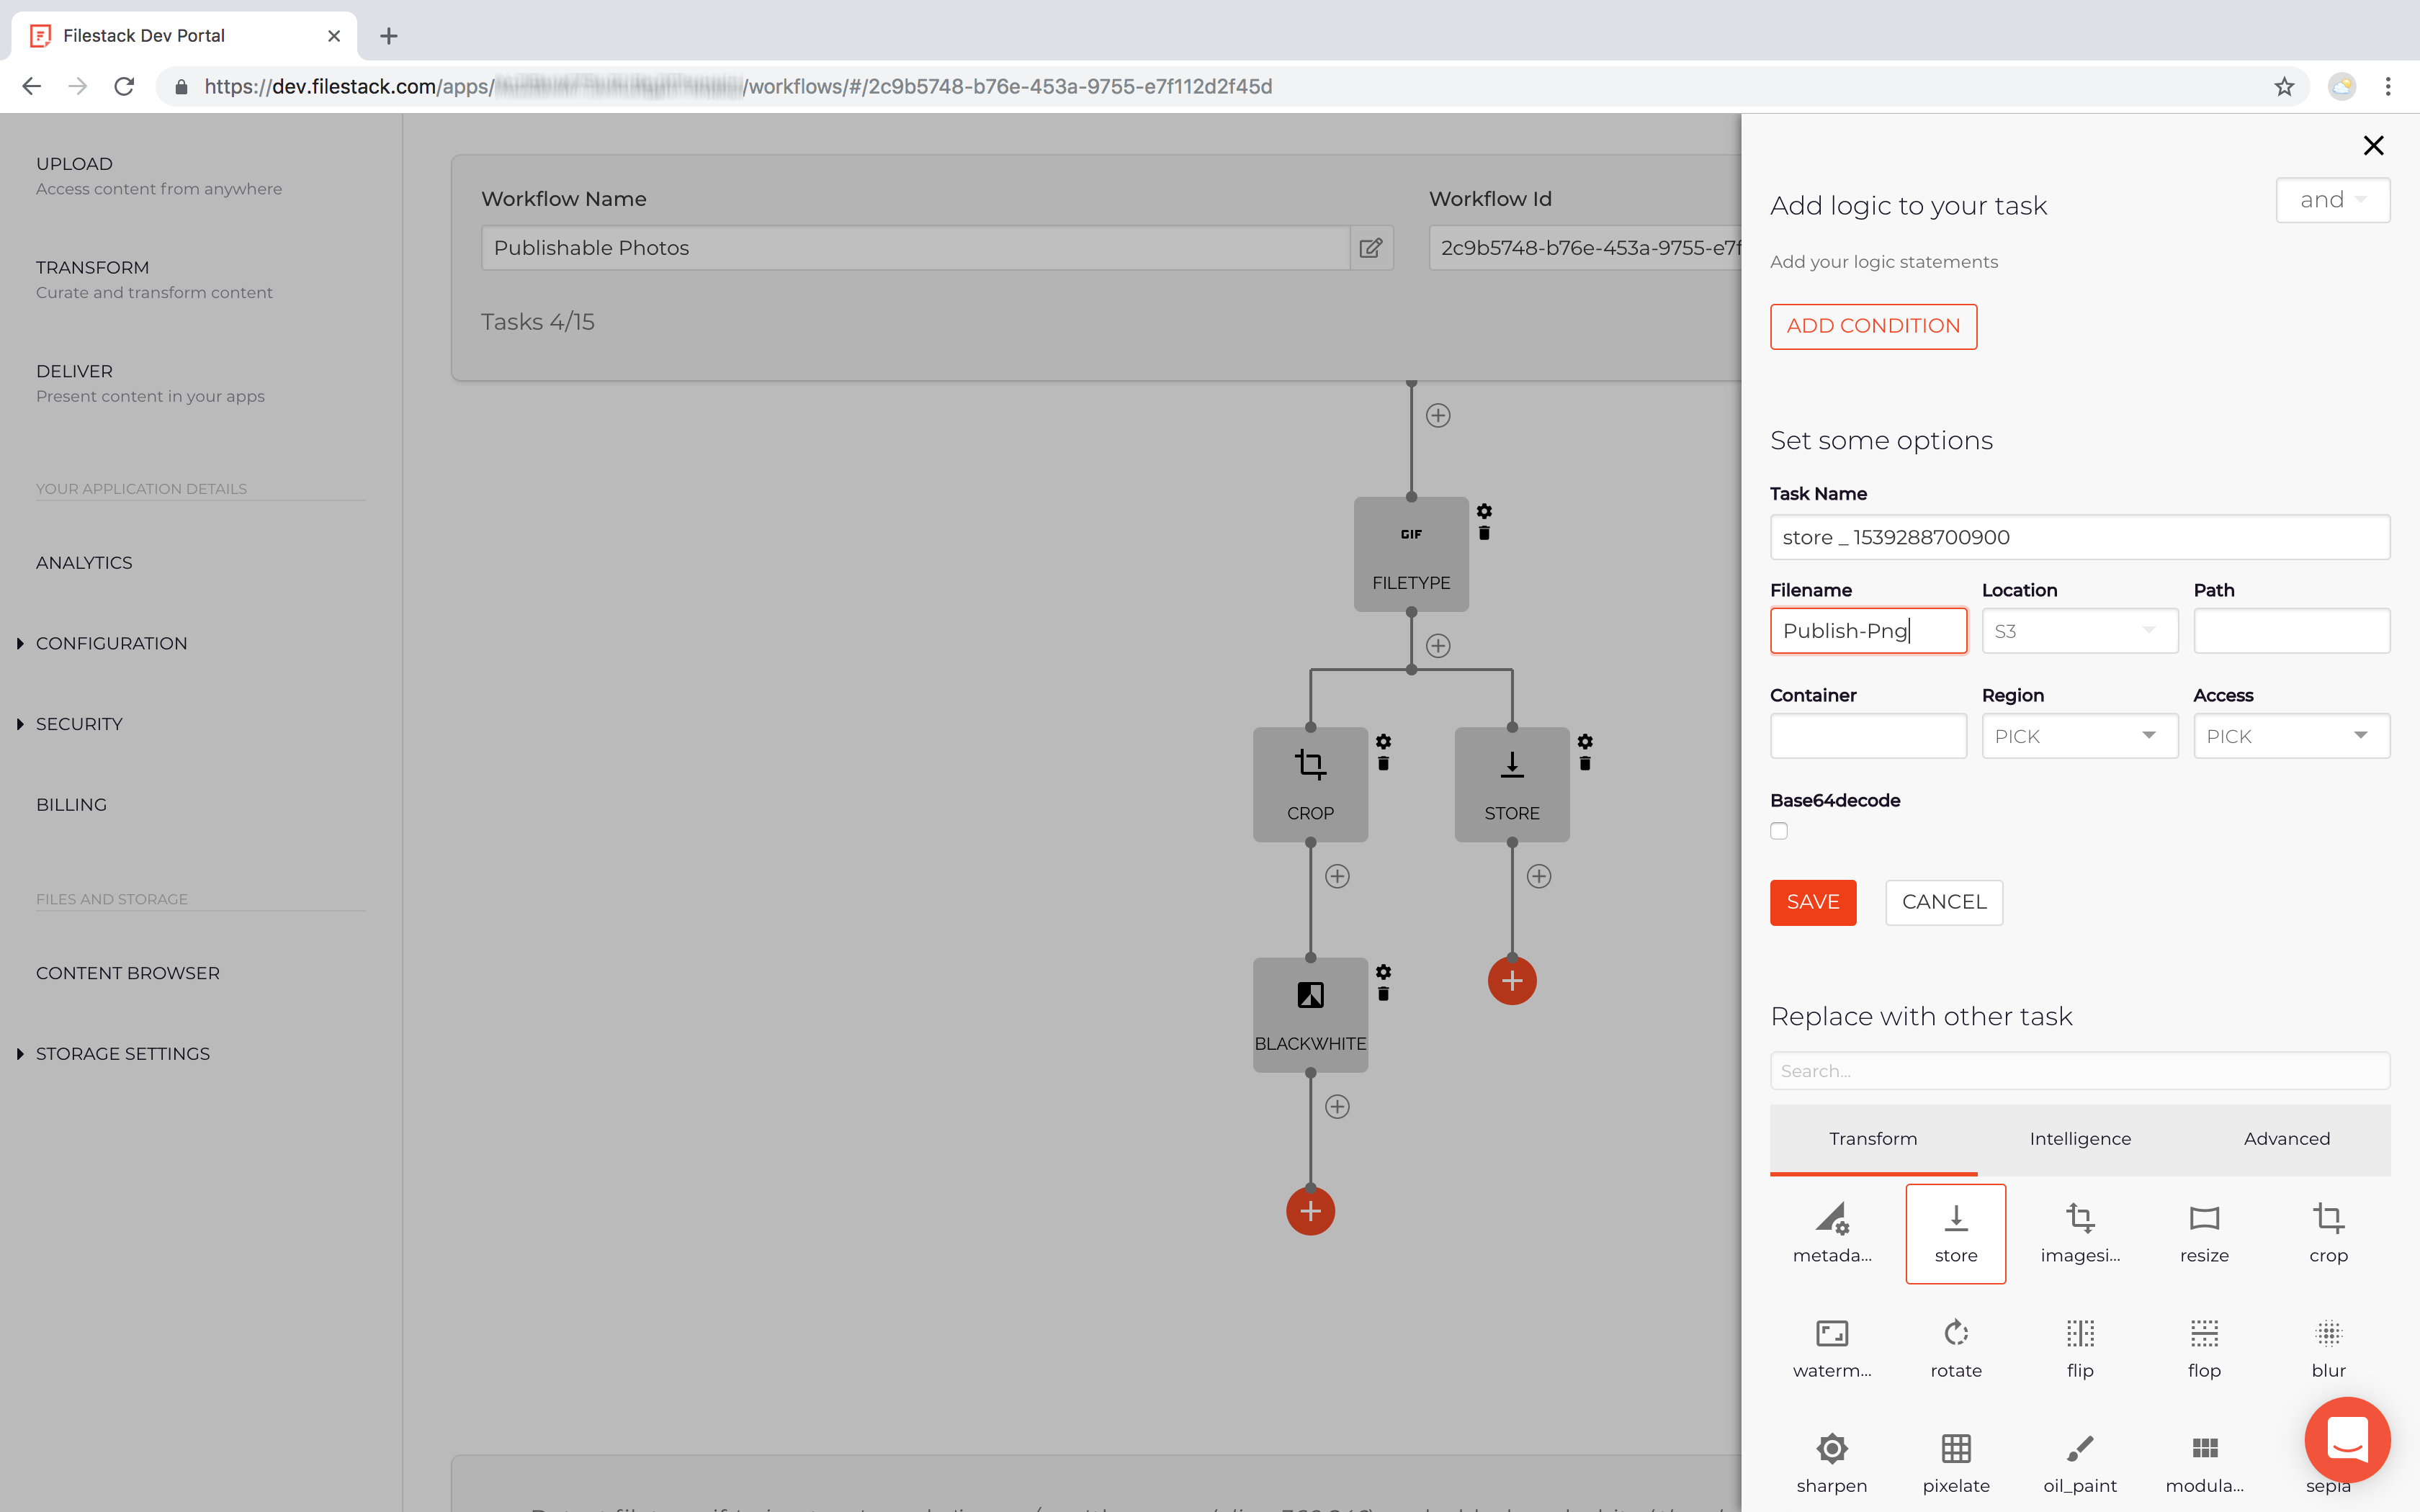
Save
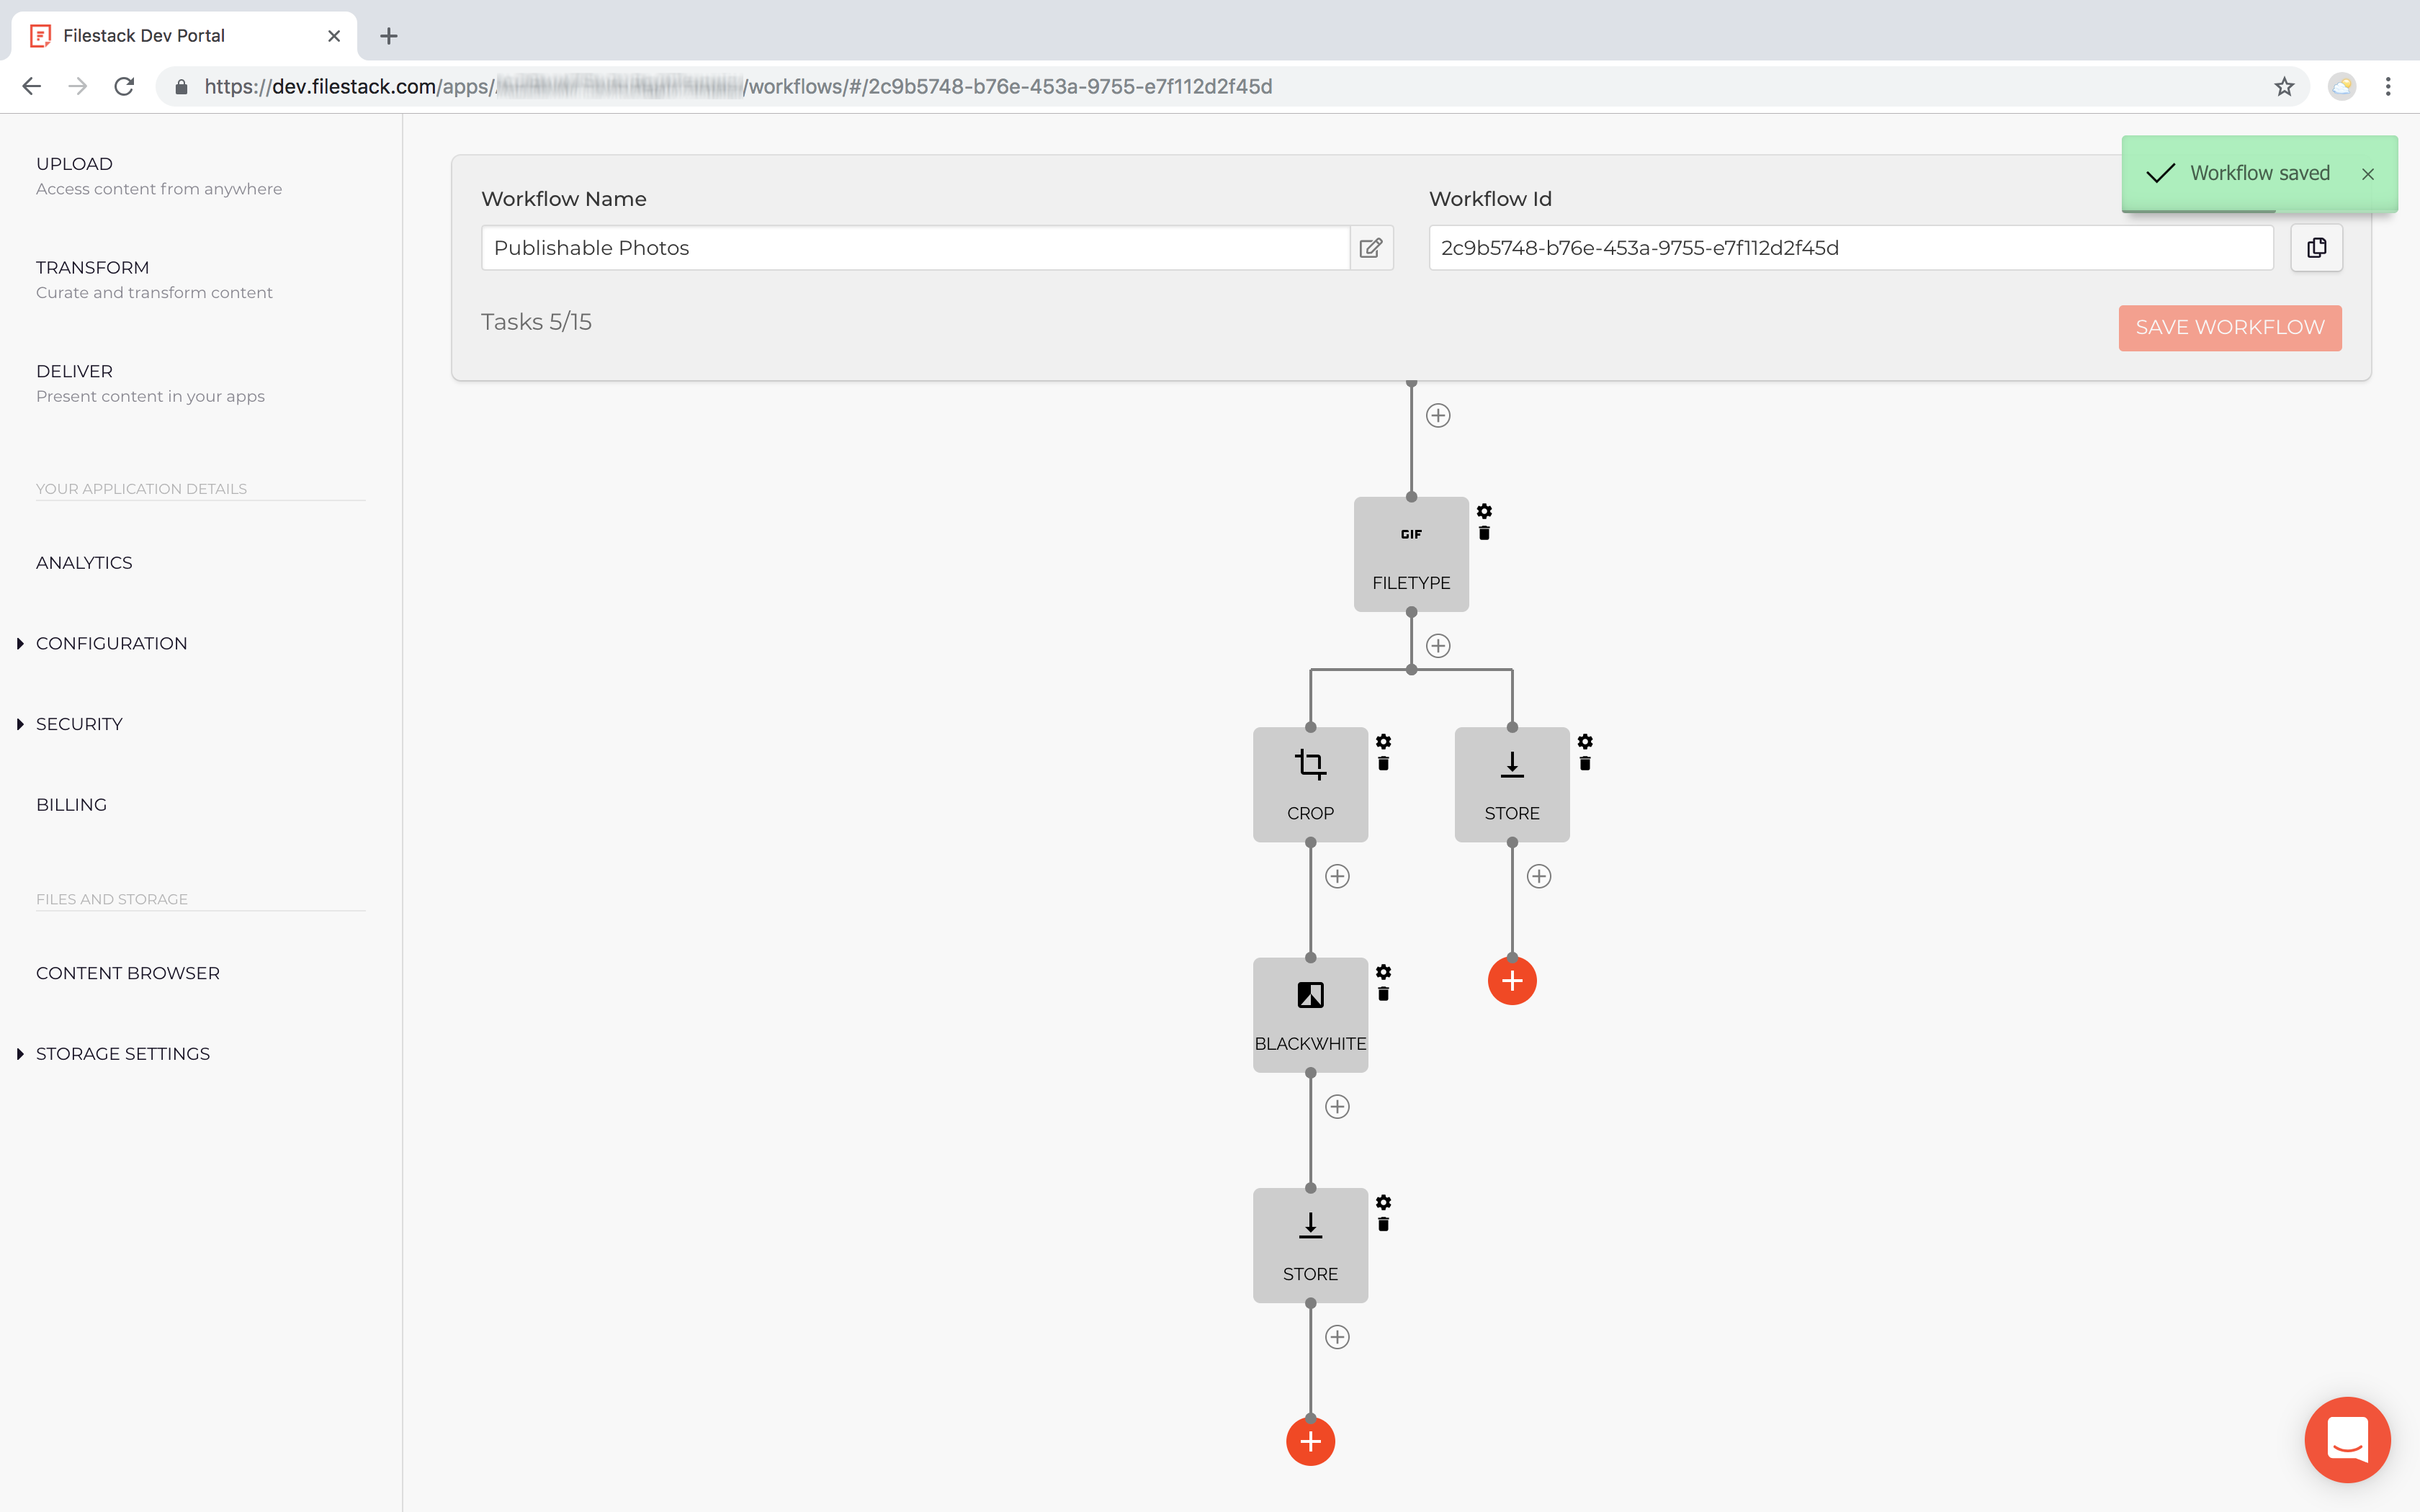
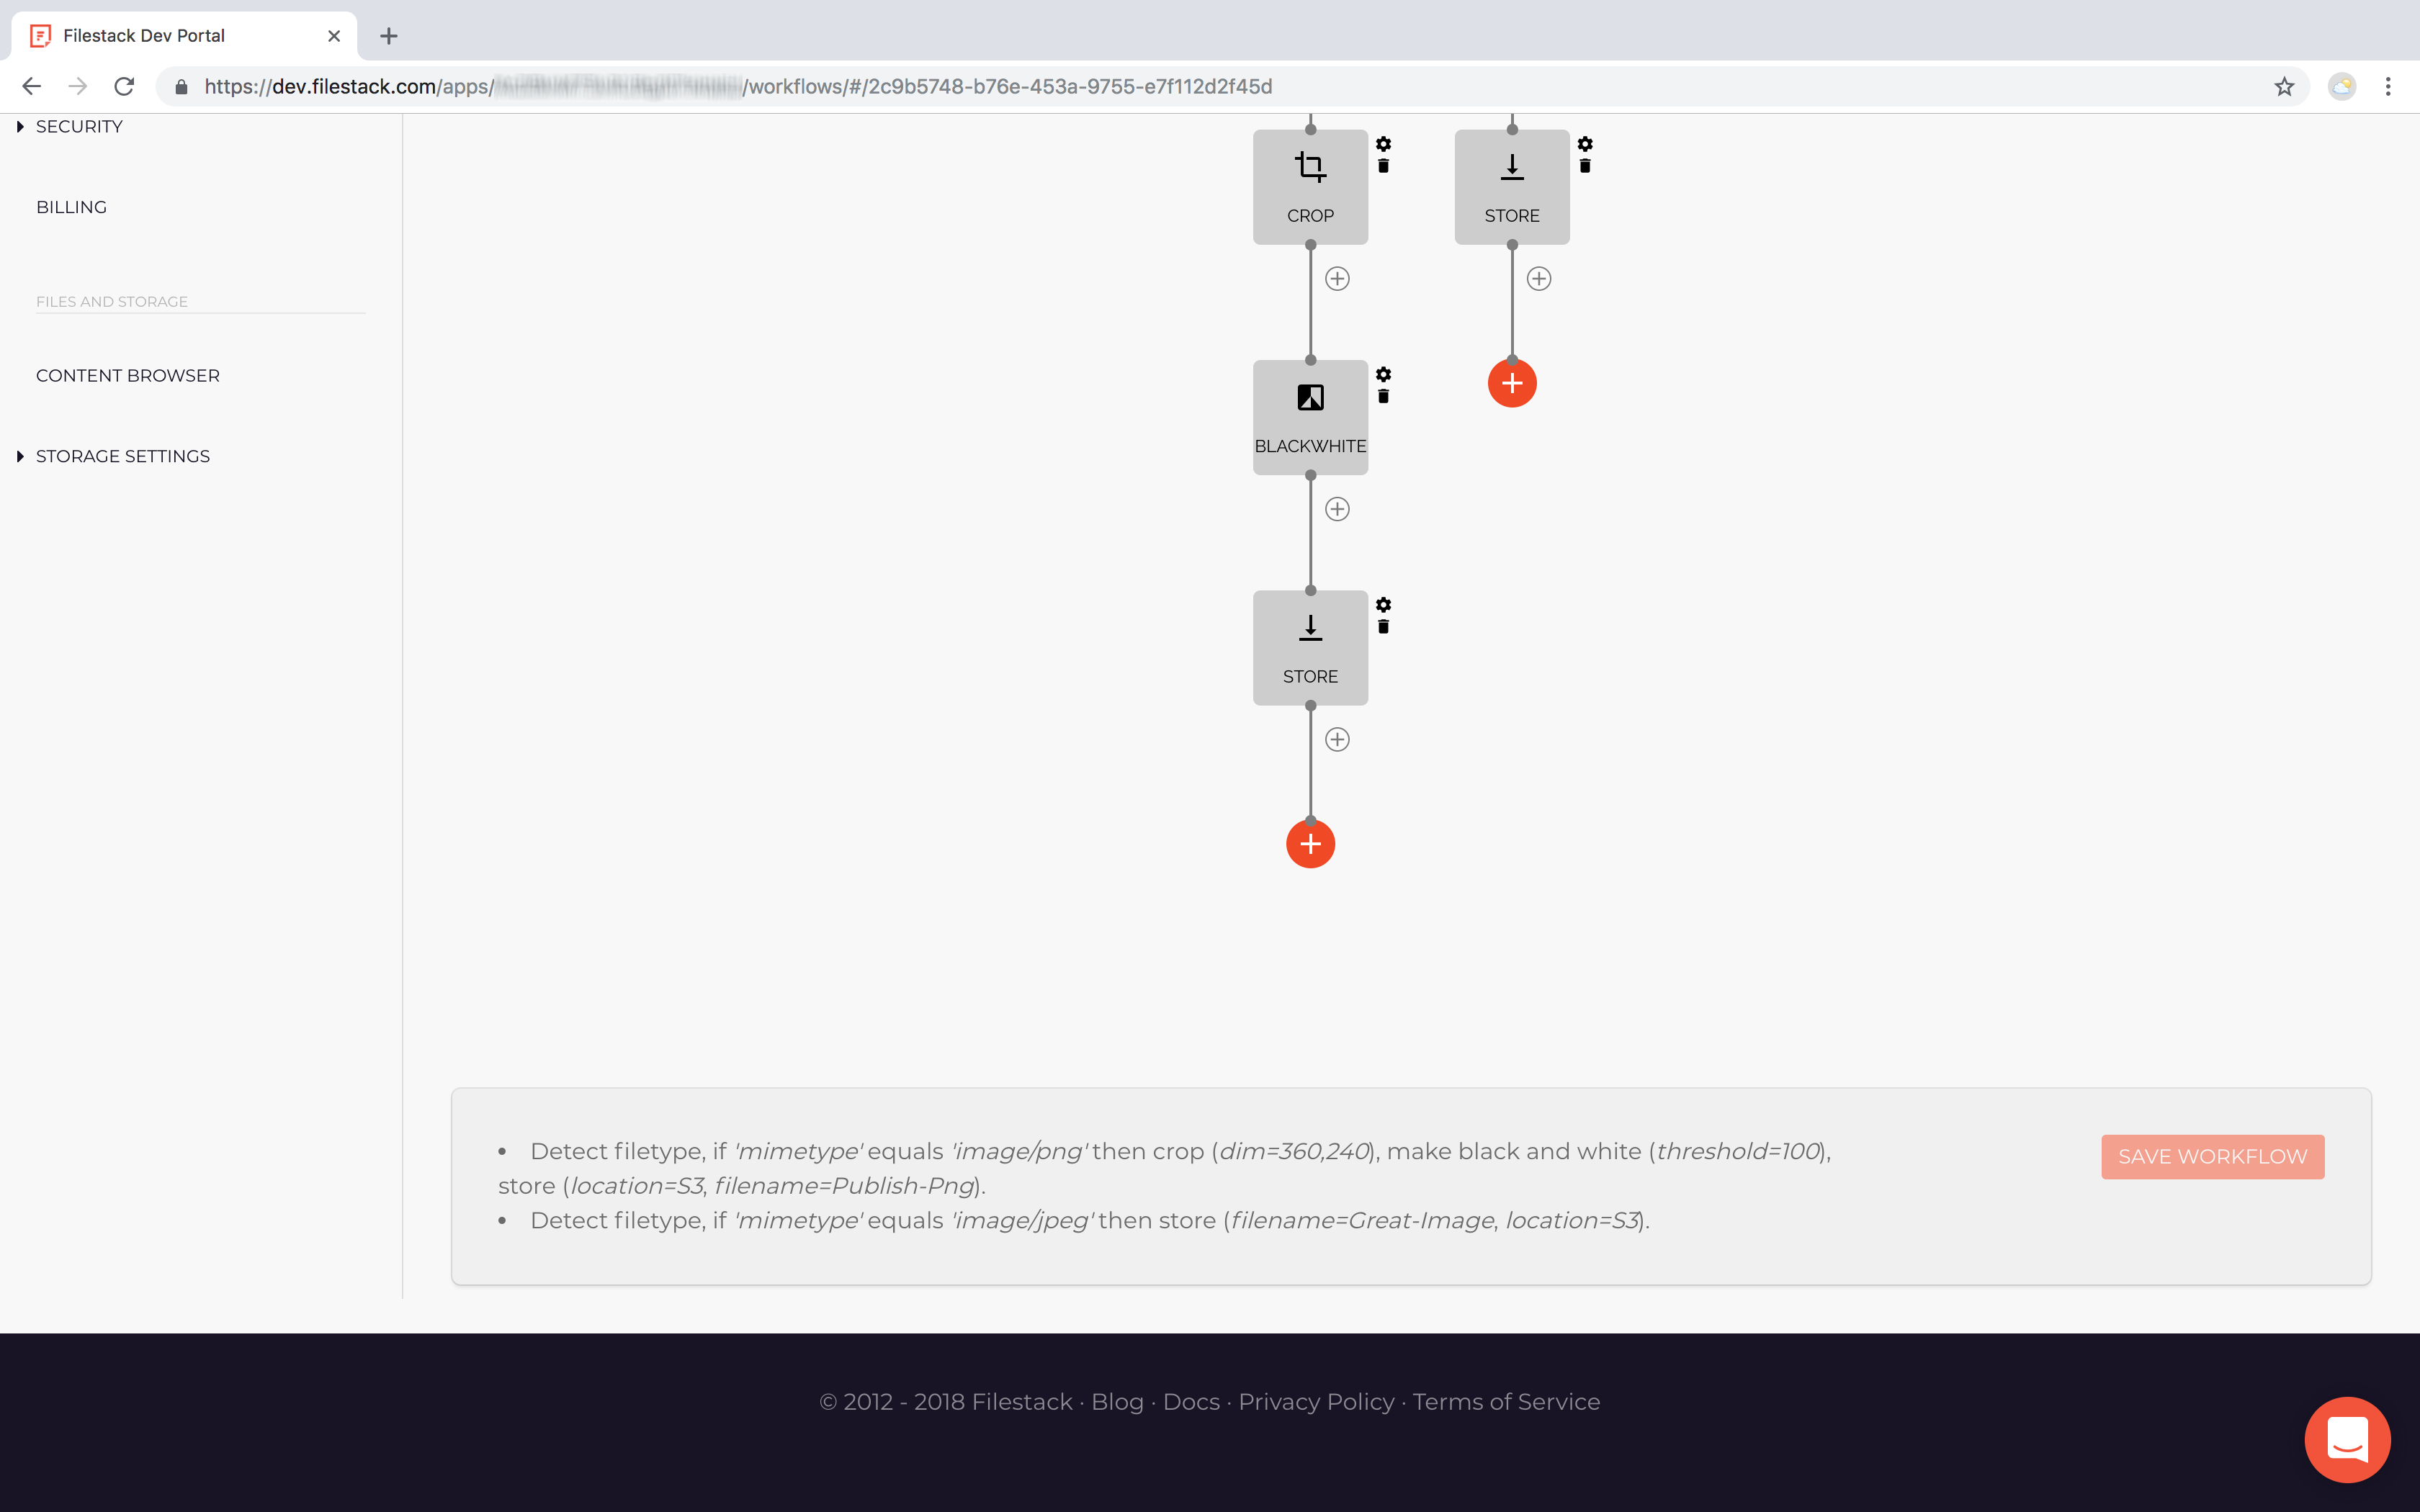
Review final description
Configure Webhook
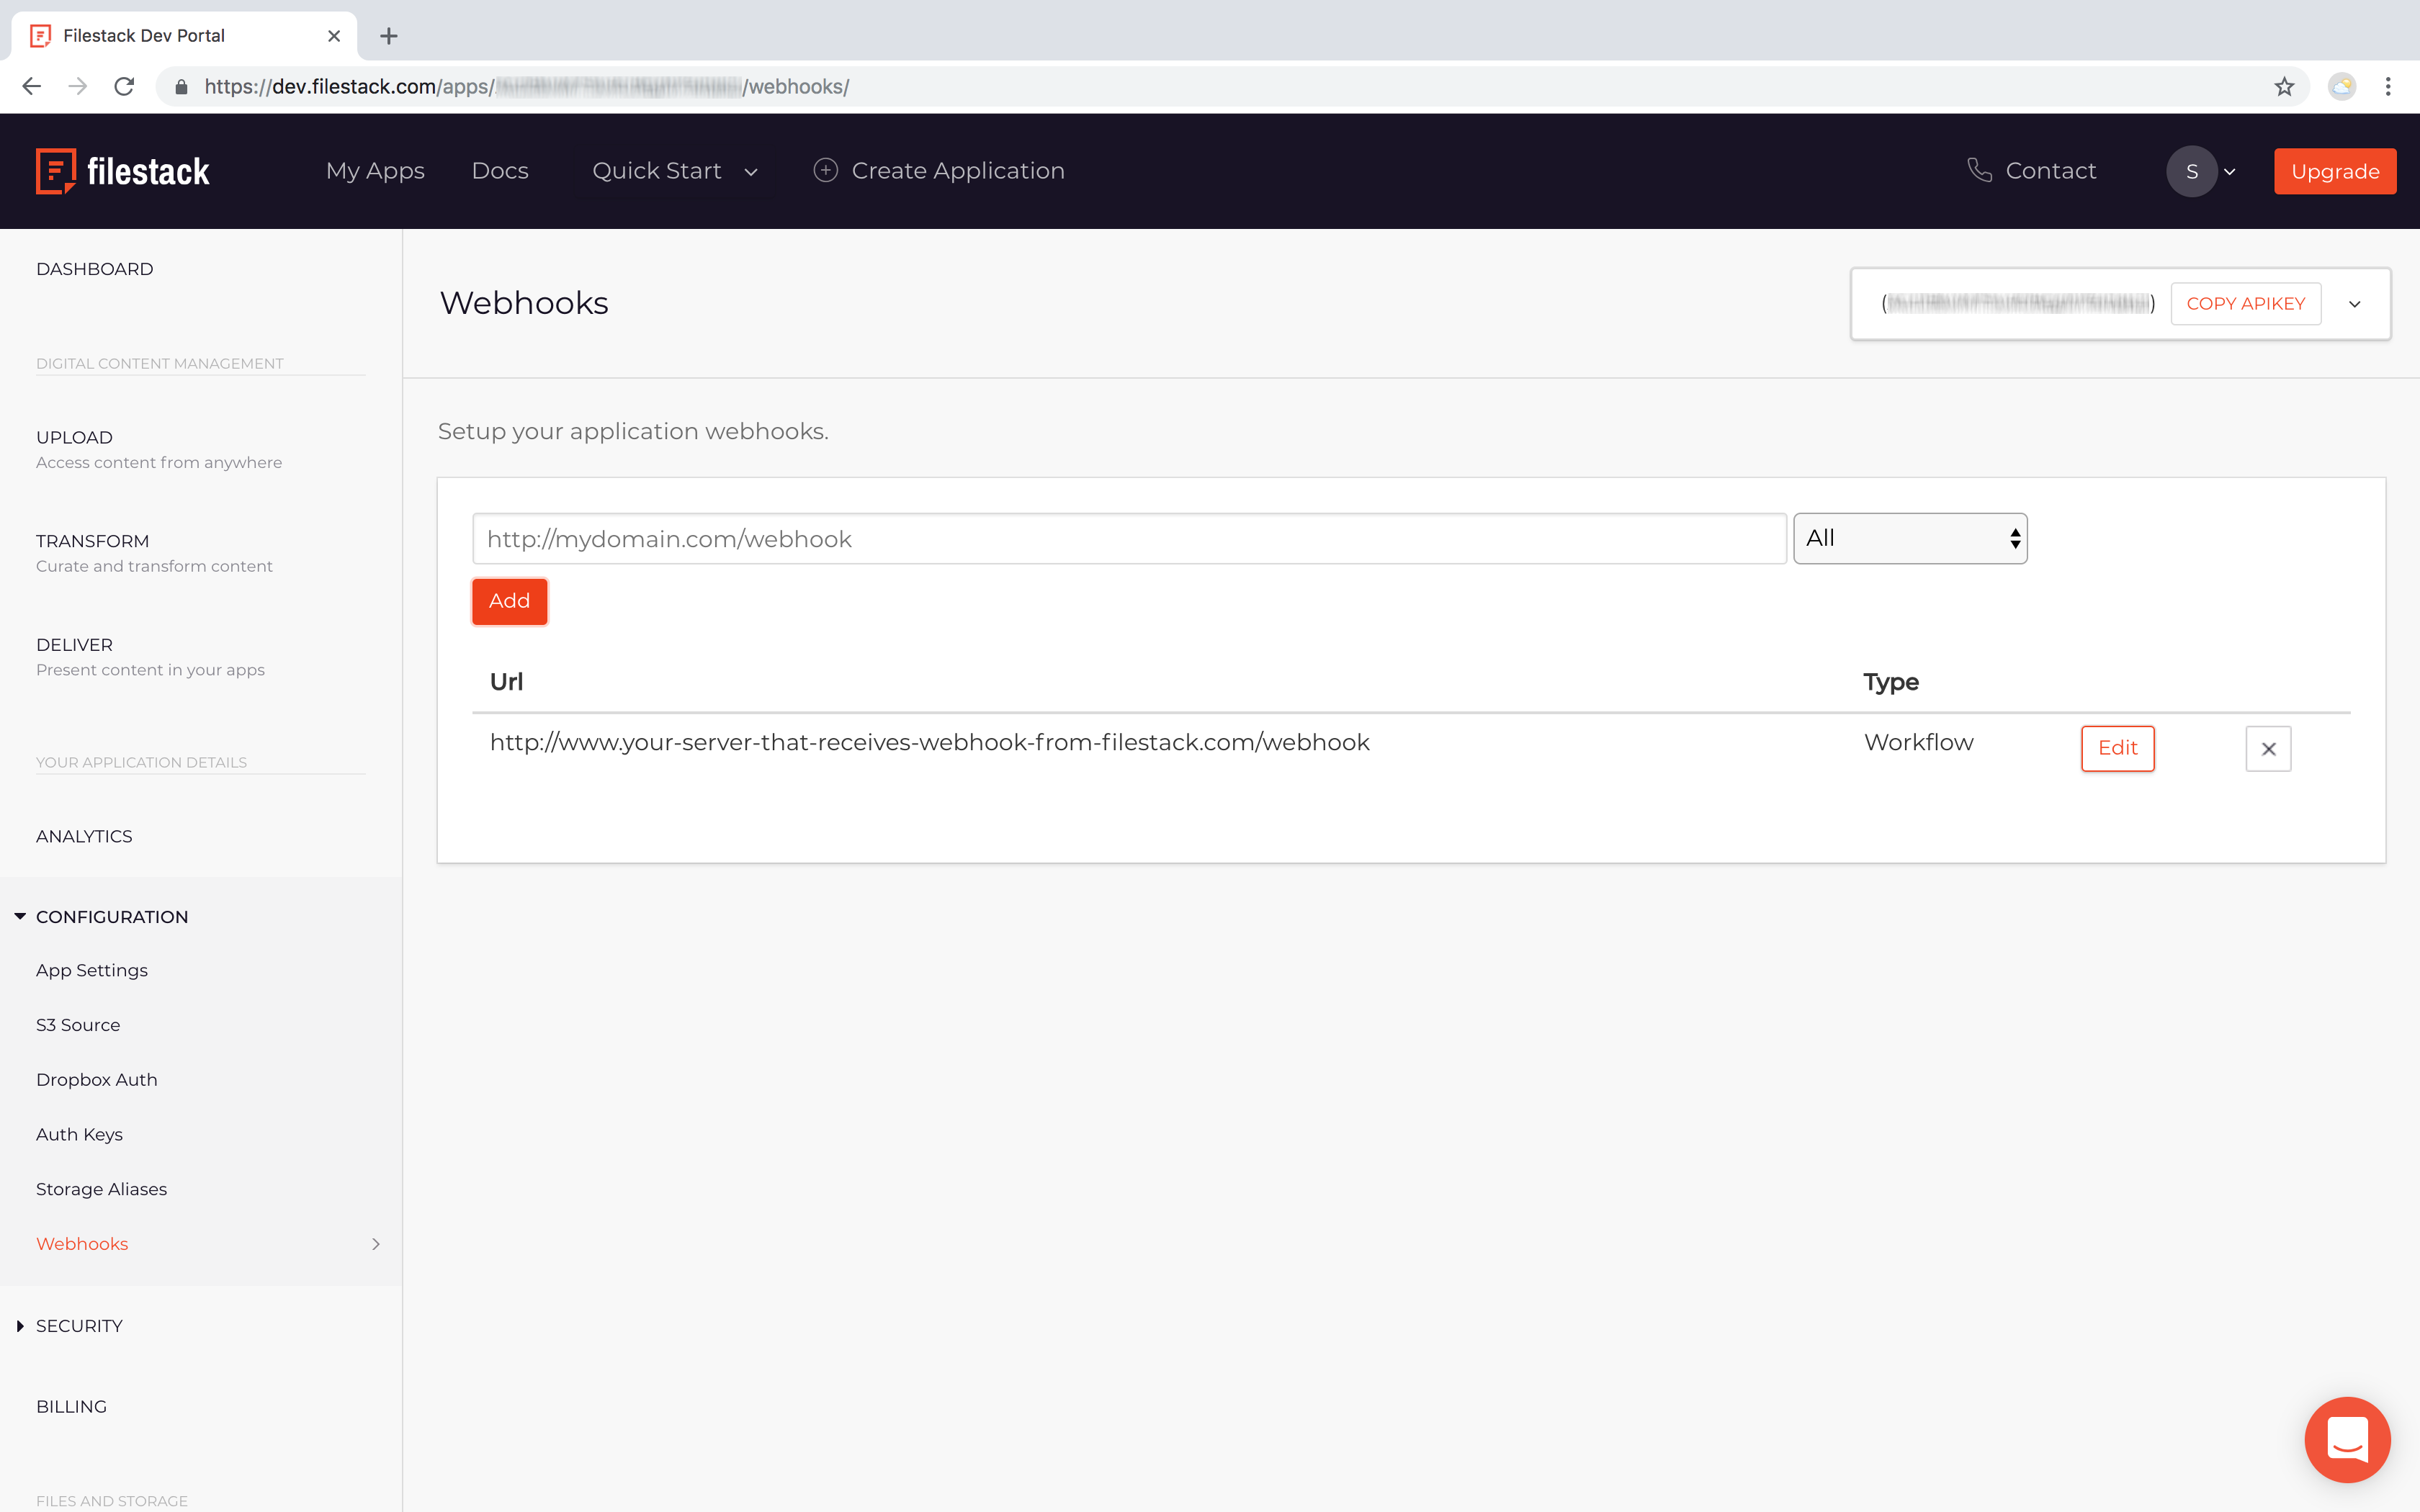
Create A Webhook > Configurations > Webhooks > Create a webhook, for the ‘workflow’ type.
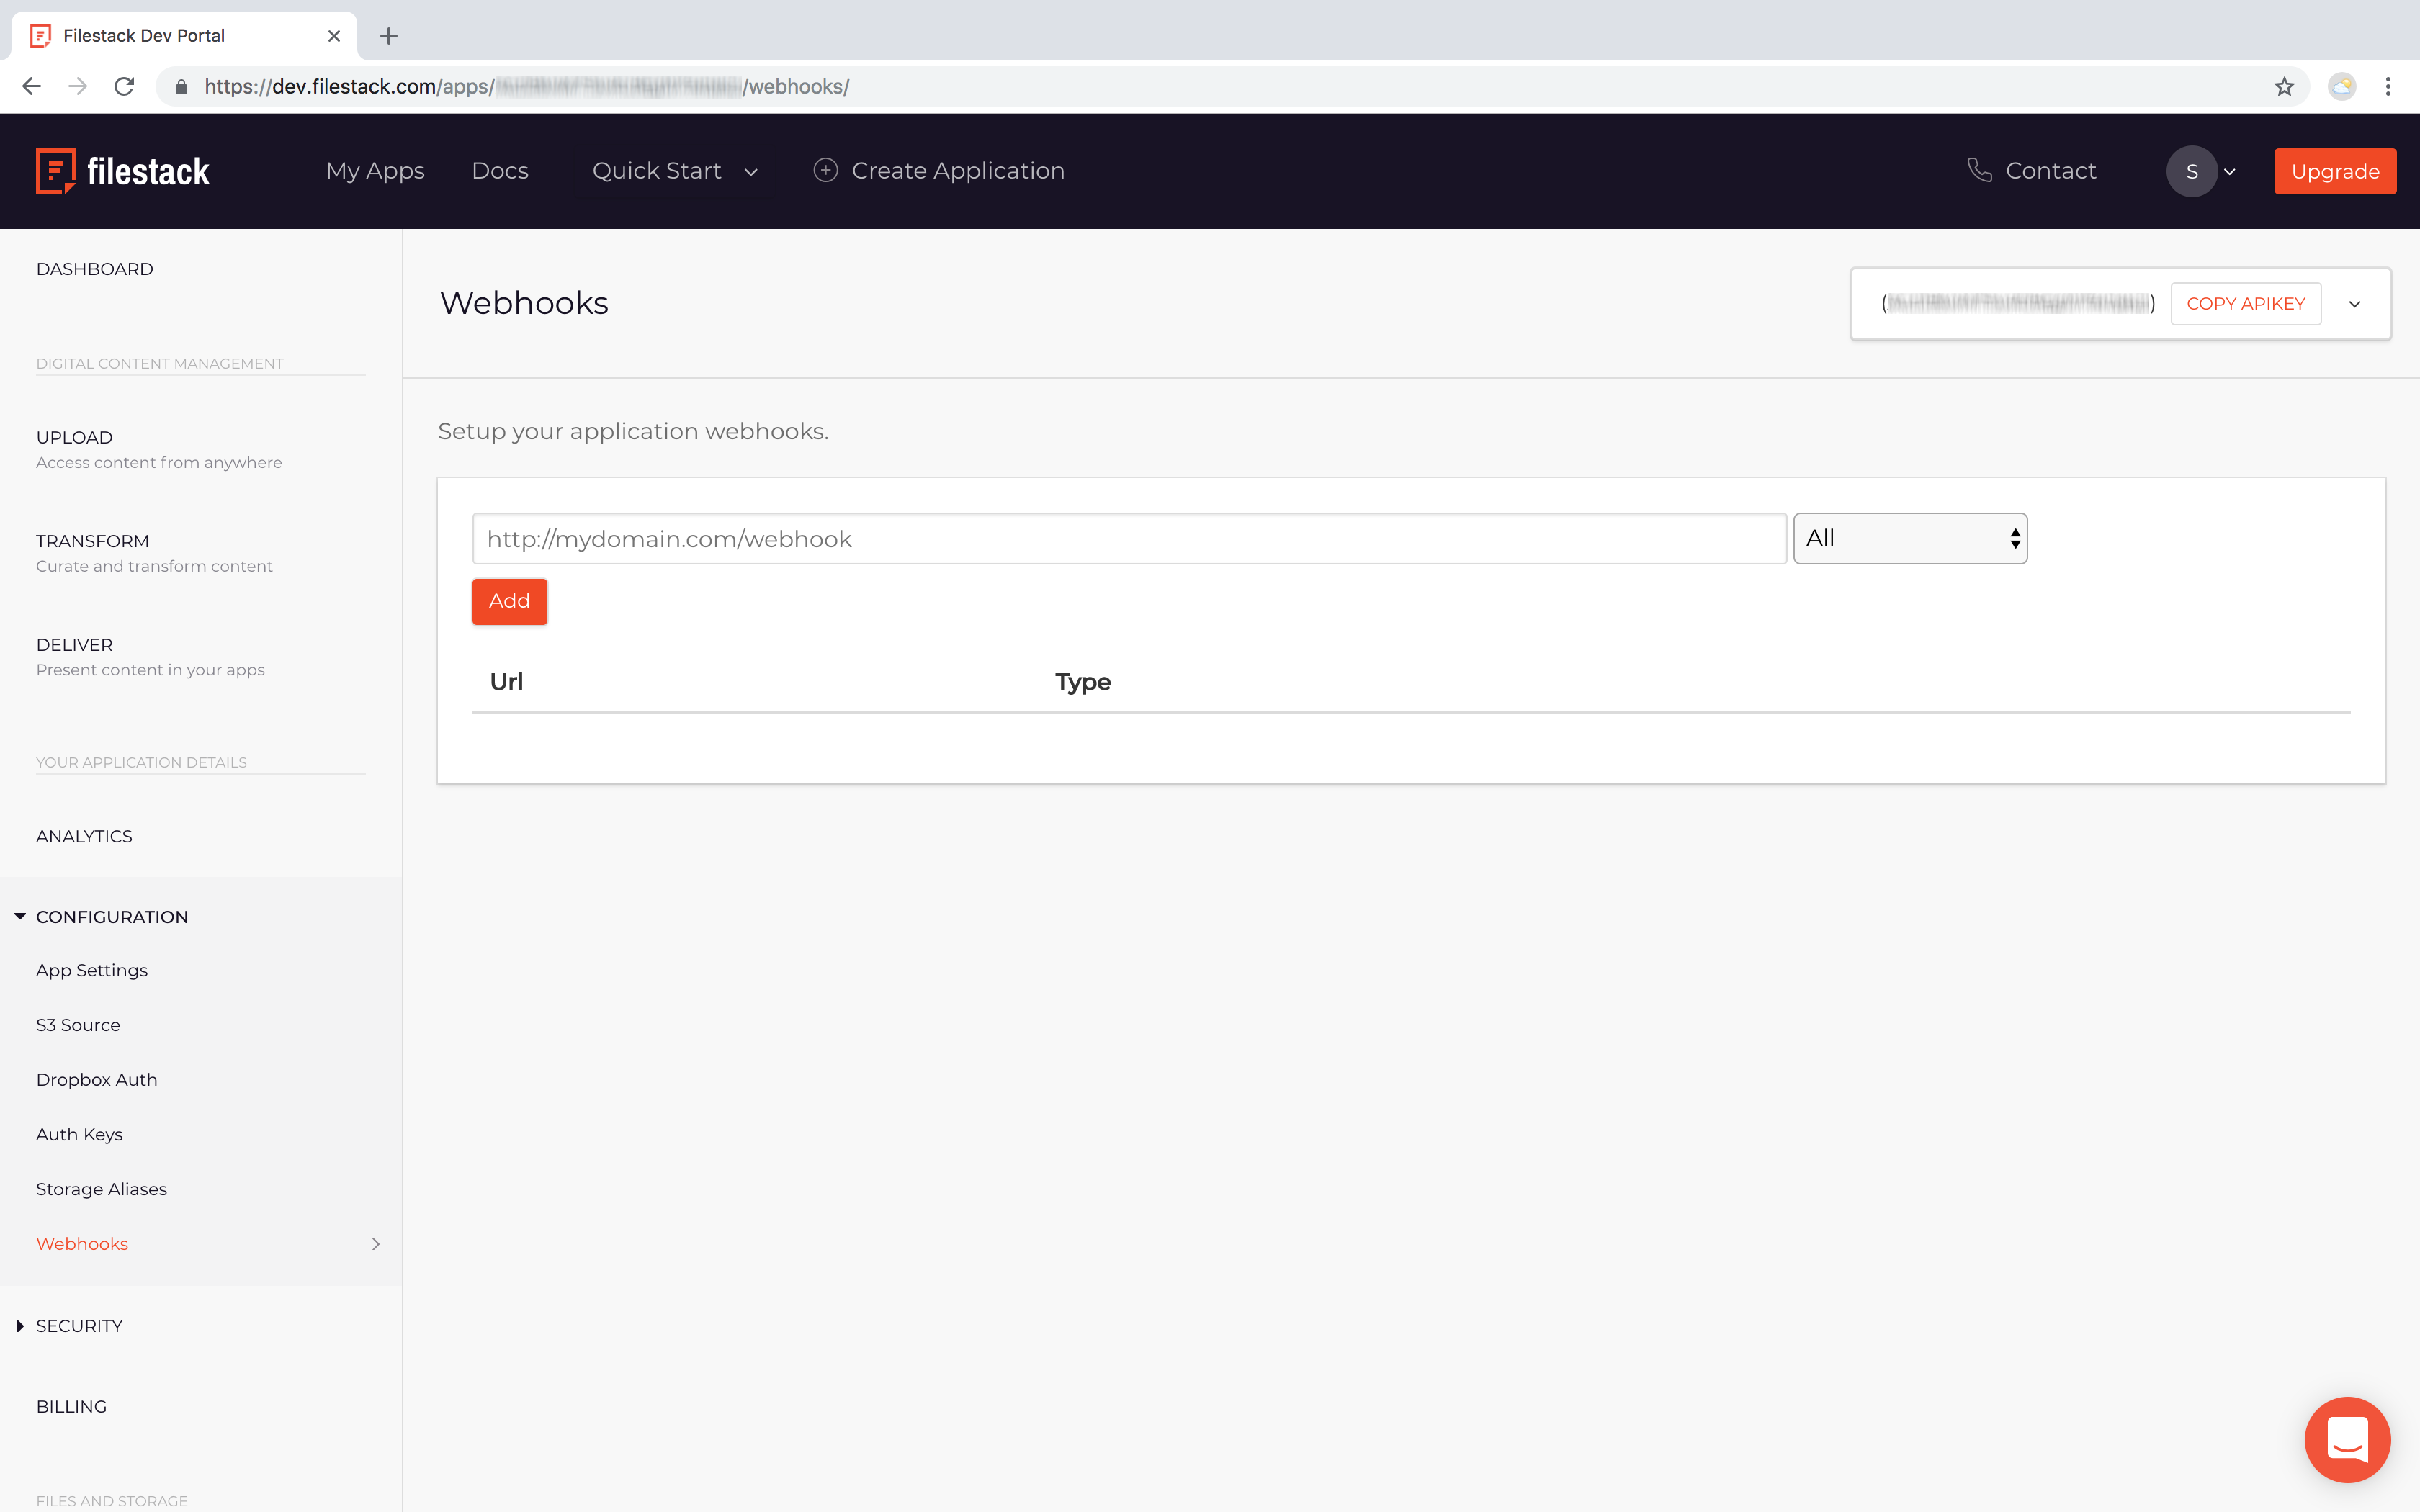
Add a Webhook
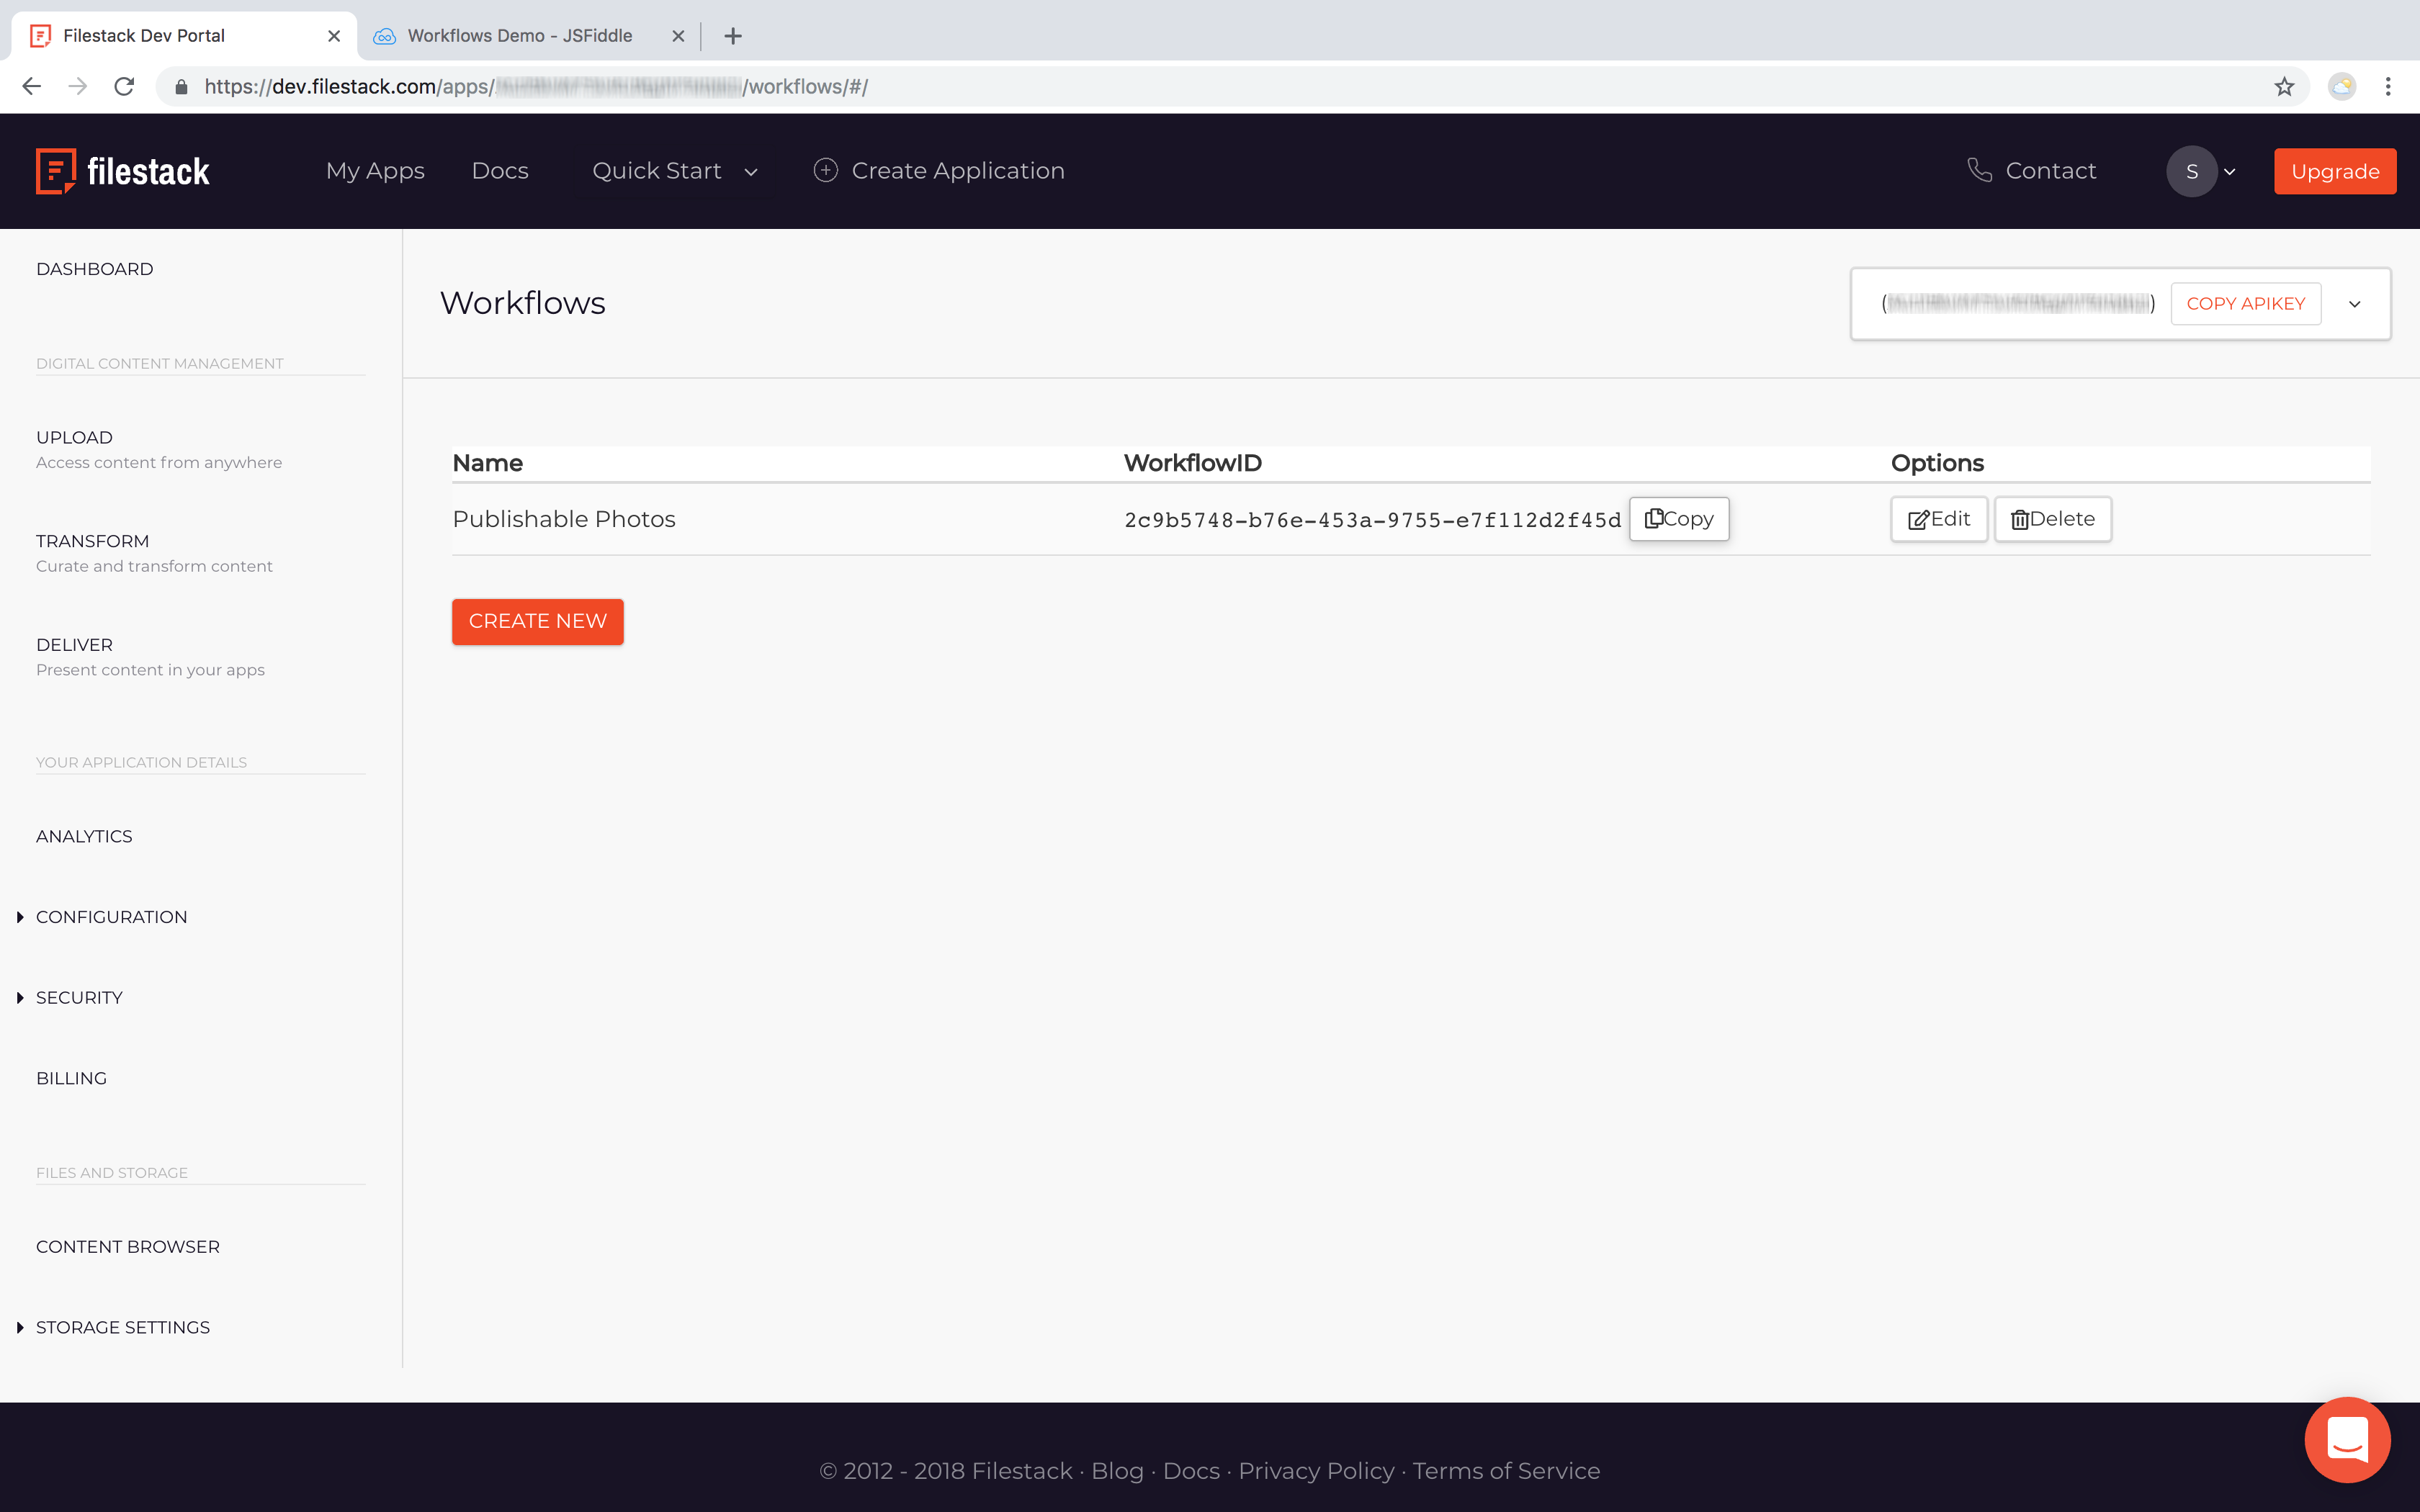
Copy the Workflow ID (From List page or Workflow page)
Run Workflow
Paste ID in Picker Configuration, also remembers to update the API key in the example. For this example, we have spun up a simple JSFiddle. Select Image
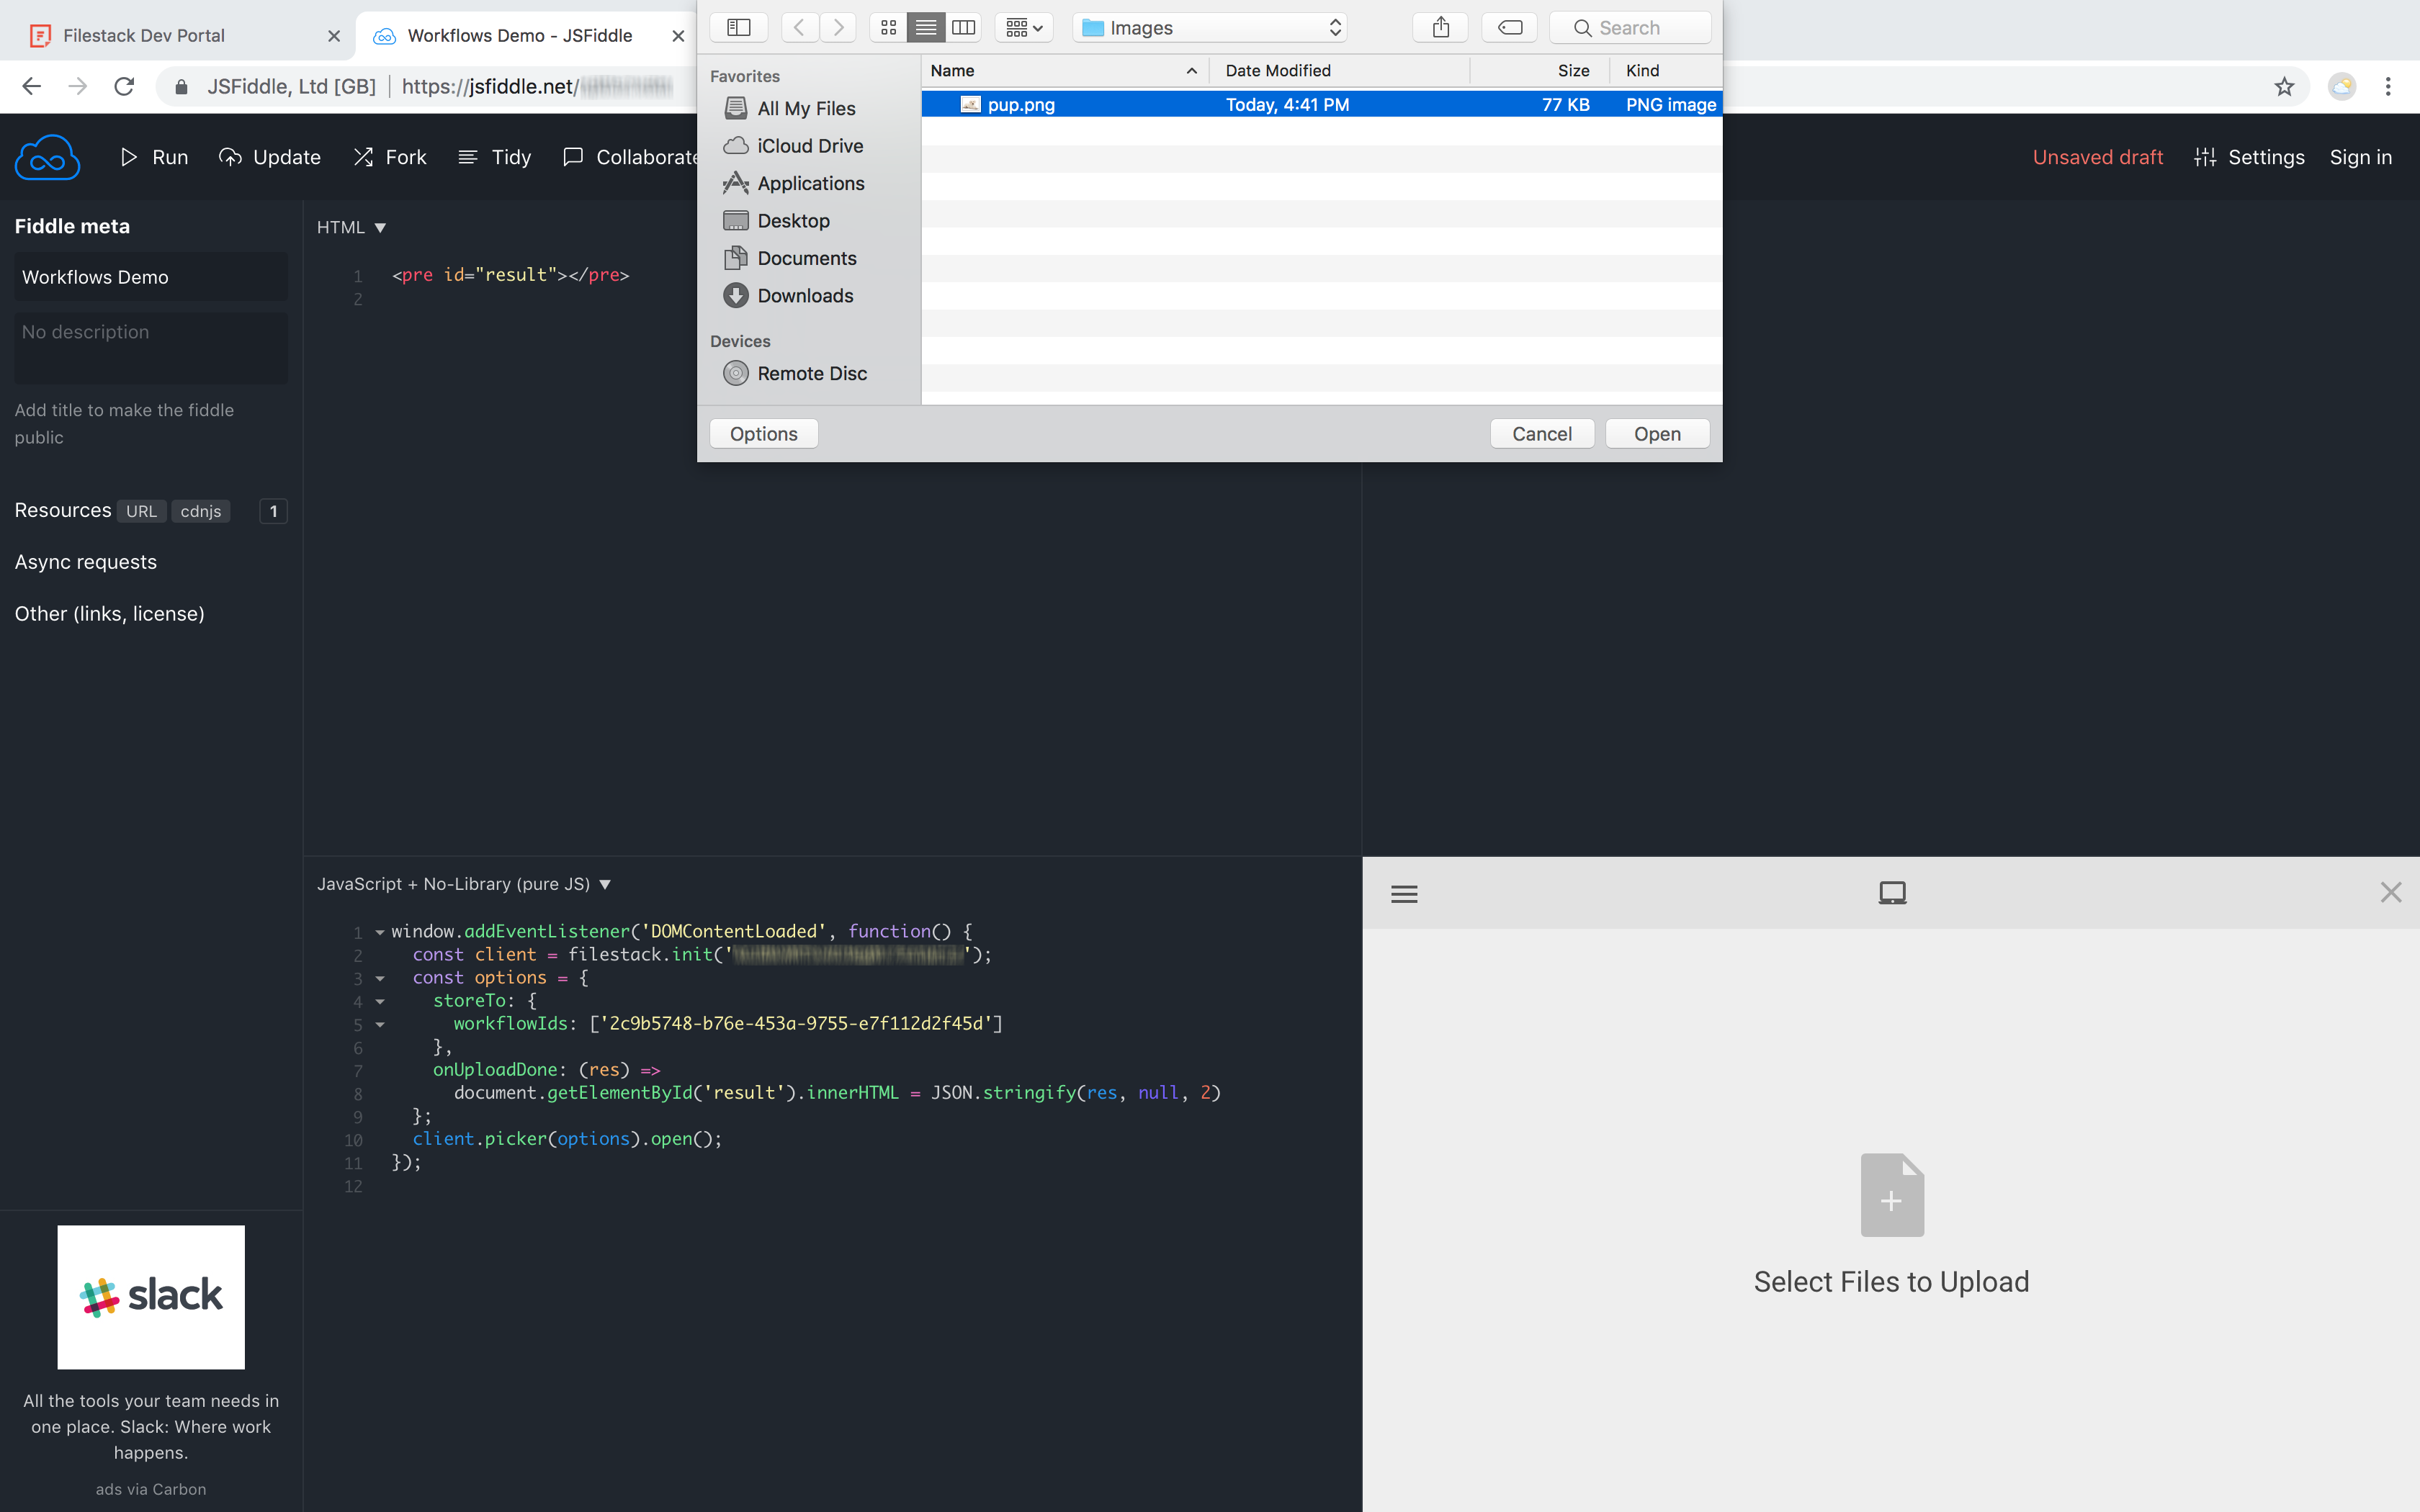
Click Upload
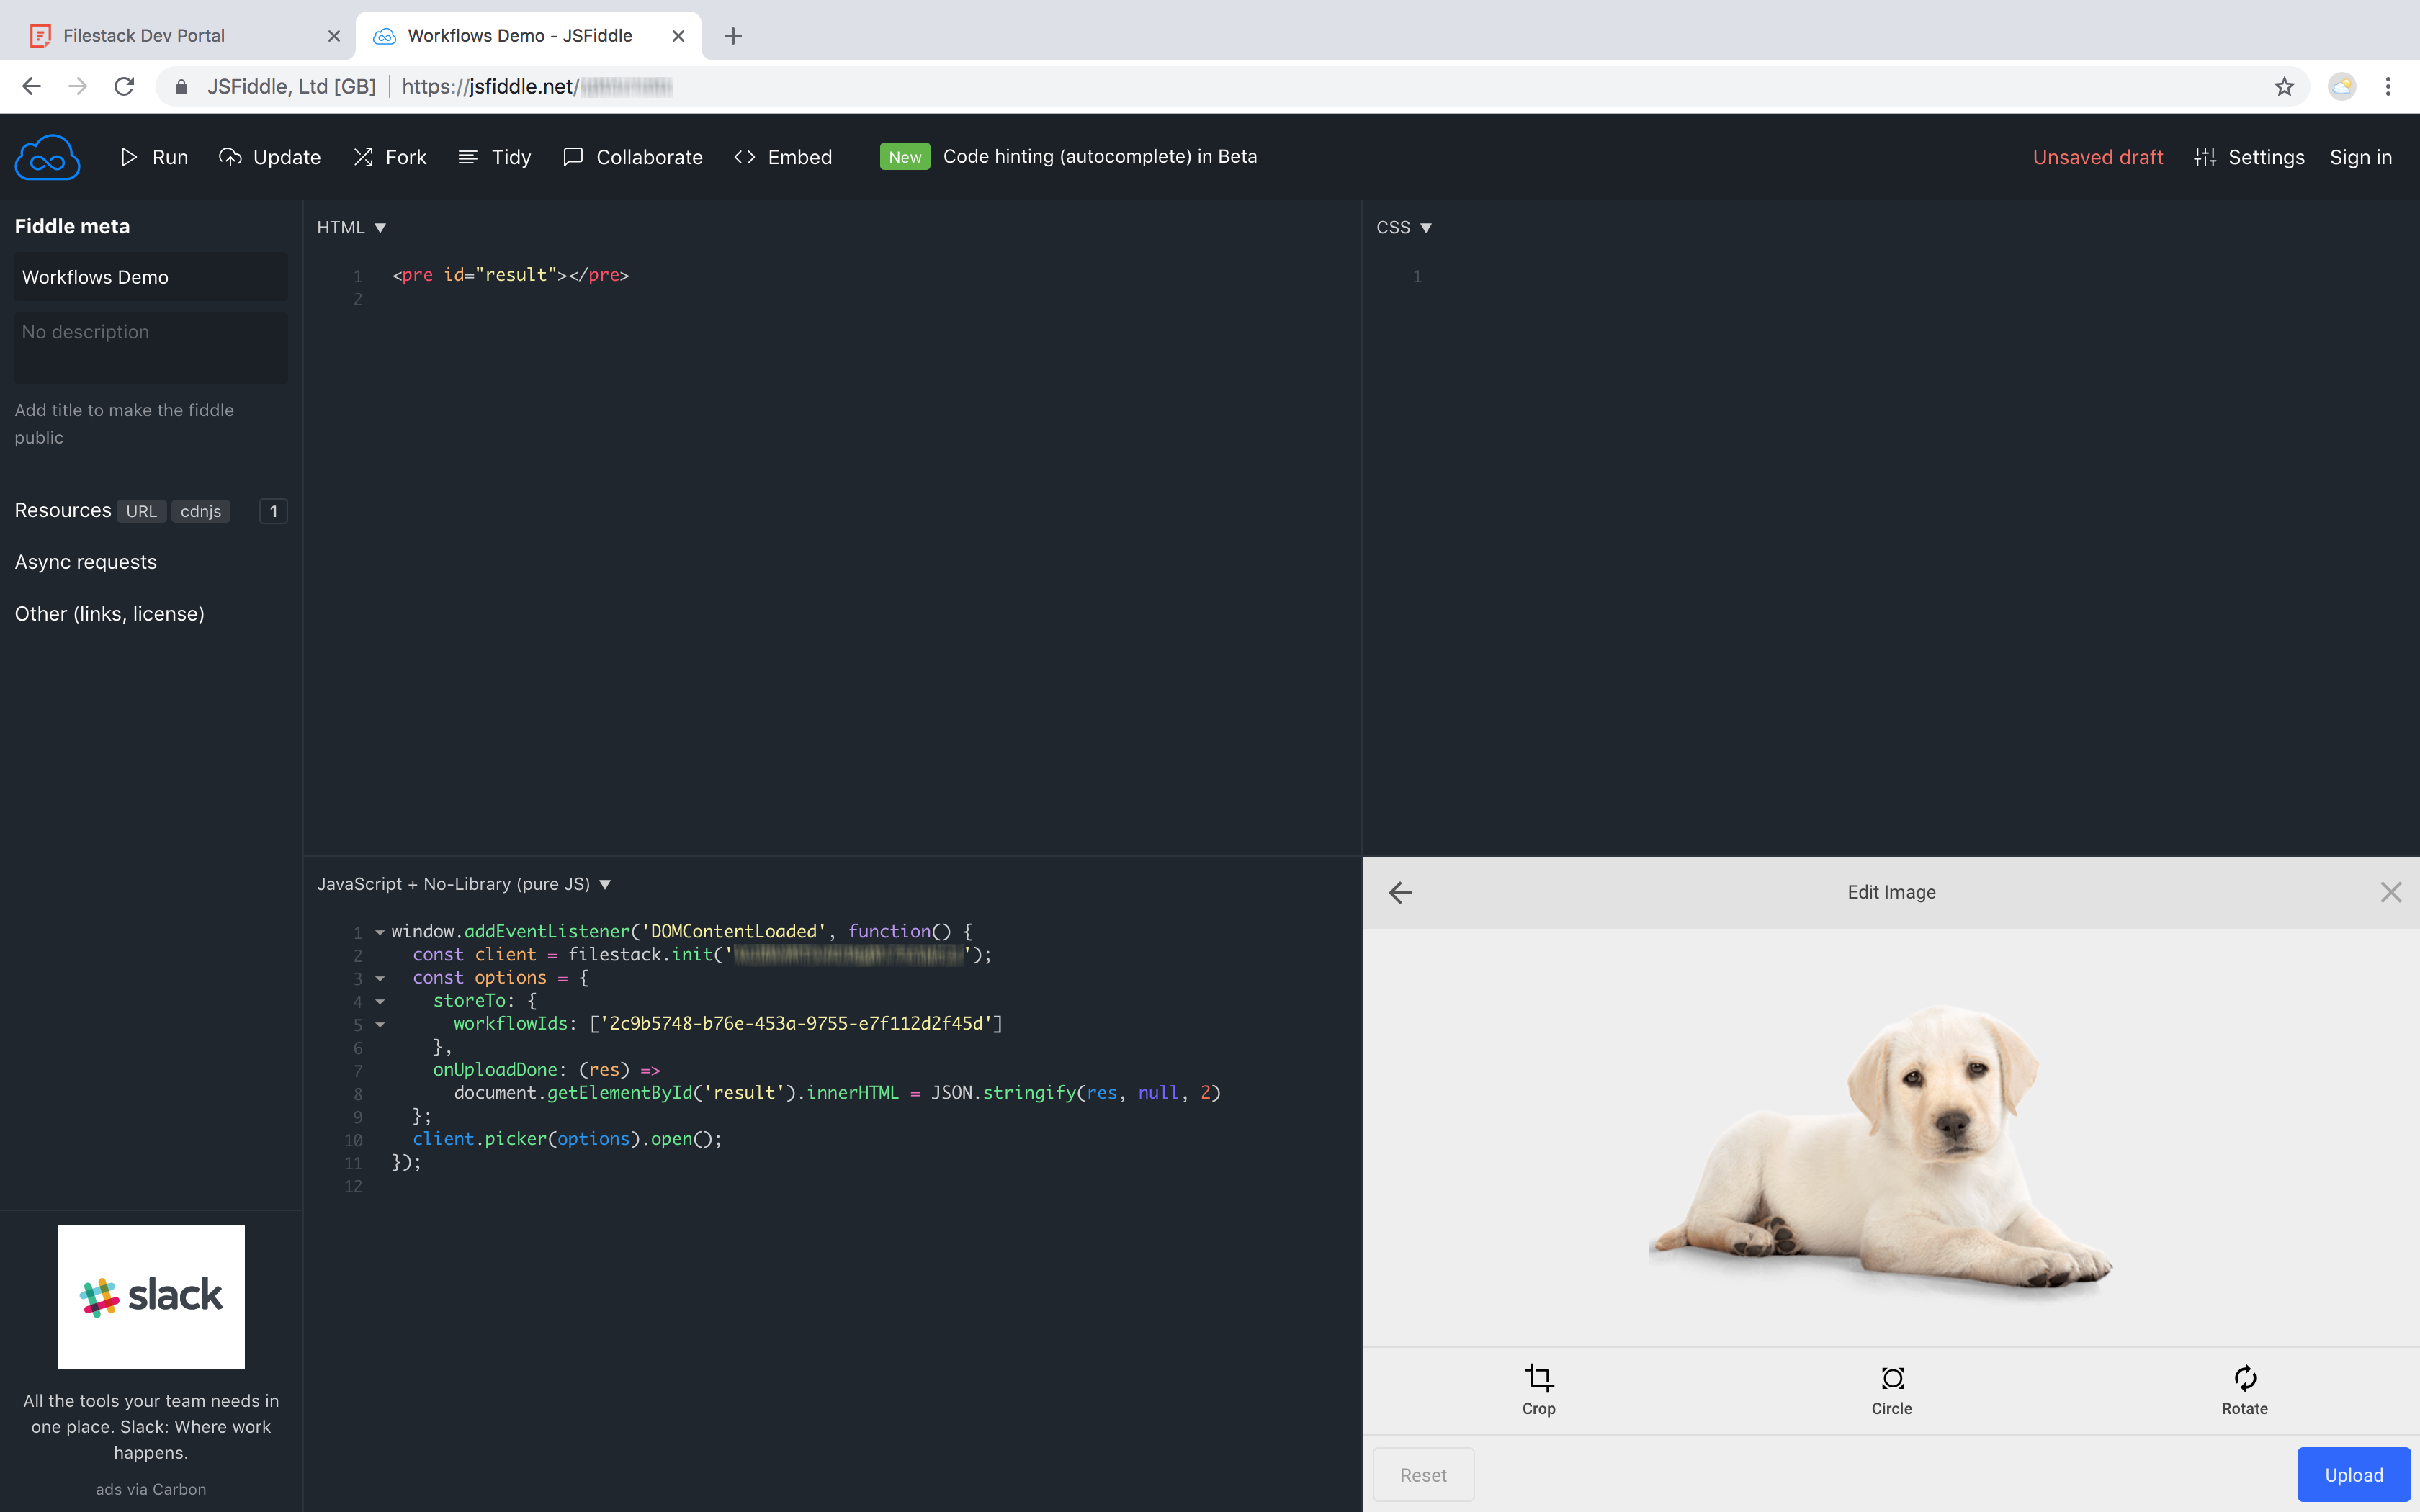
Wait for the webhook to deliver the result (JSON from picker)
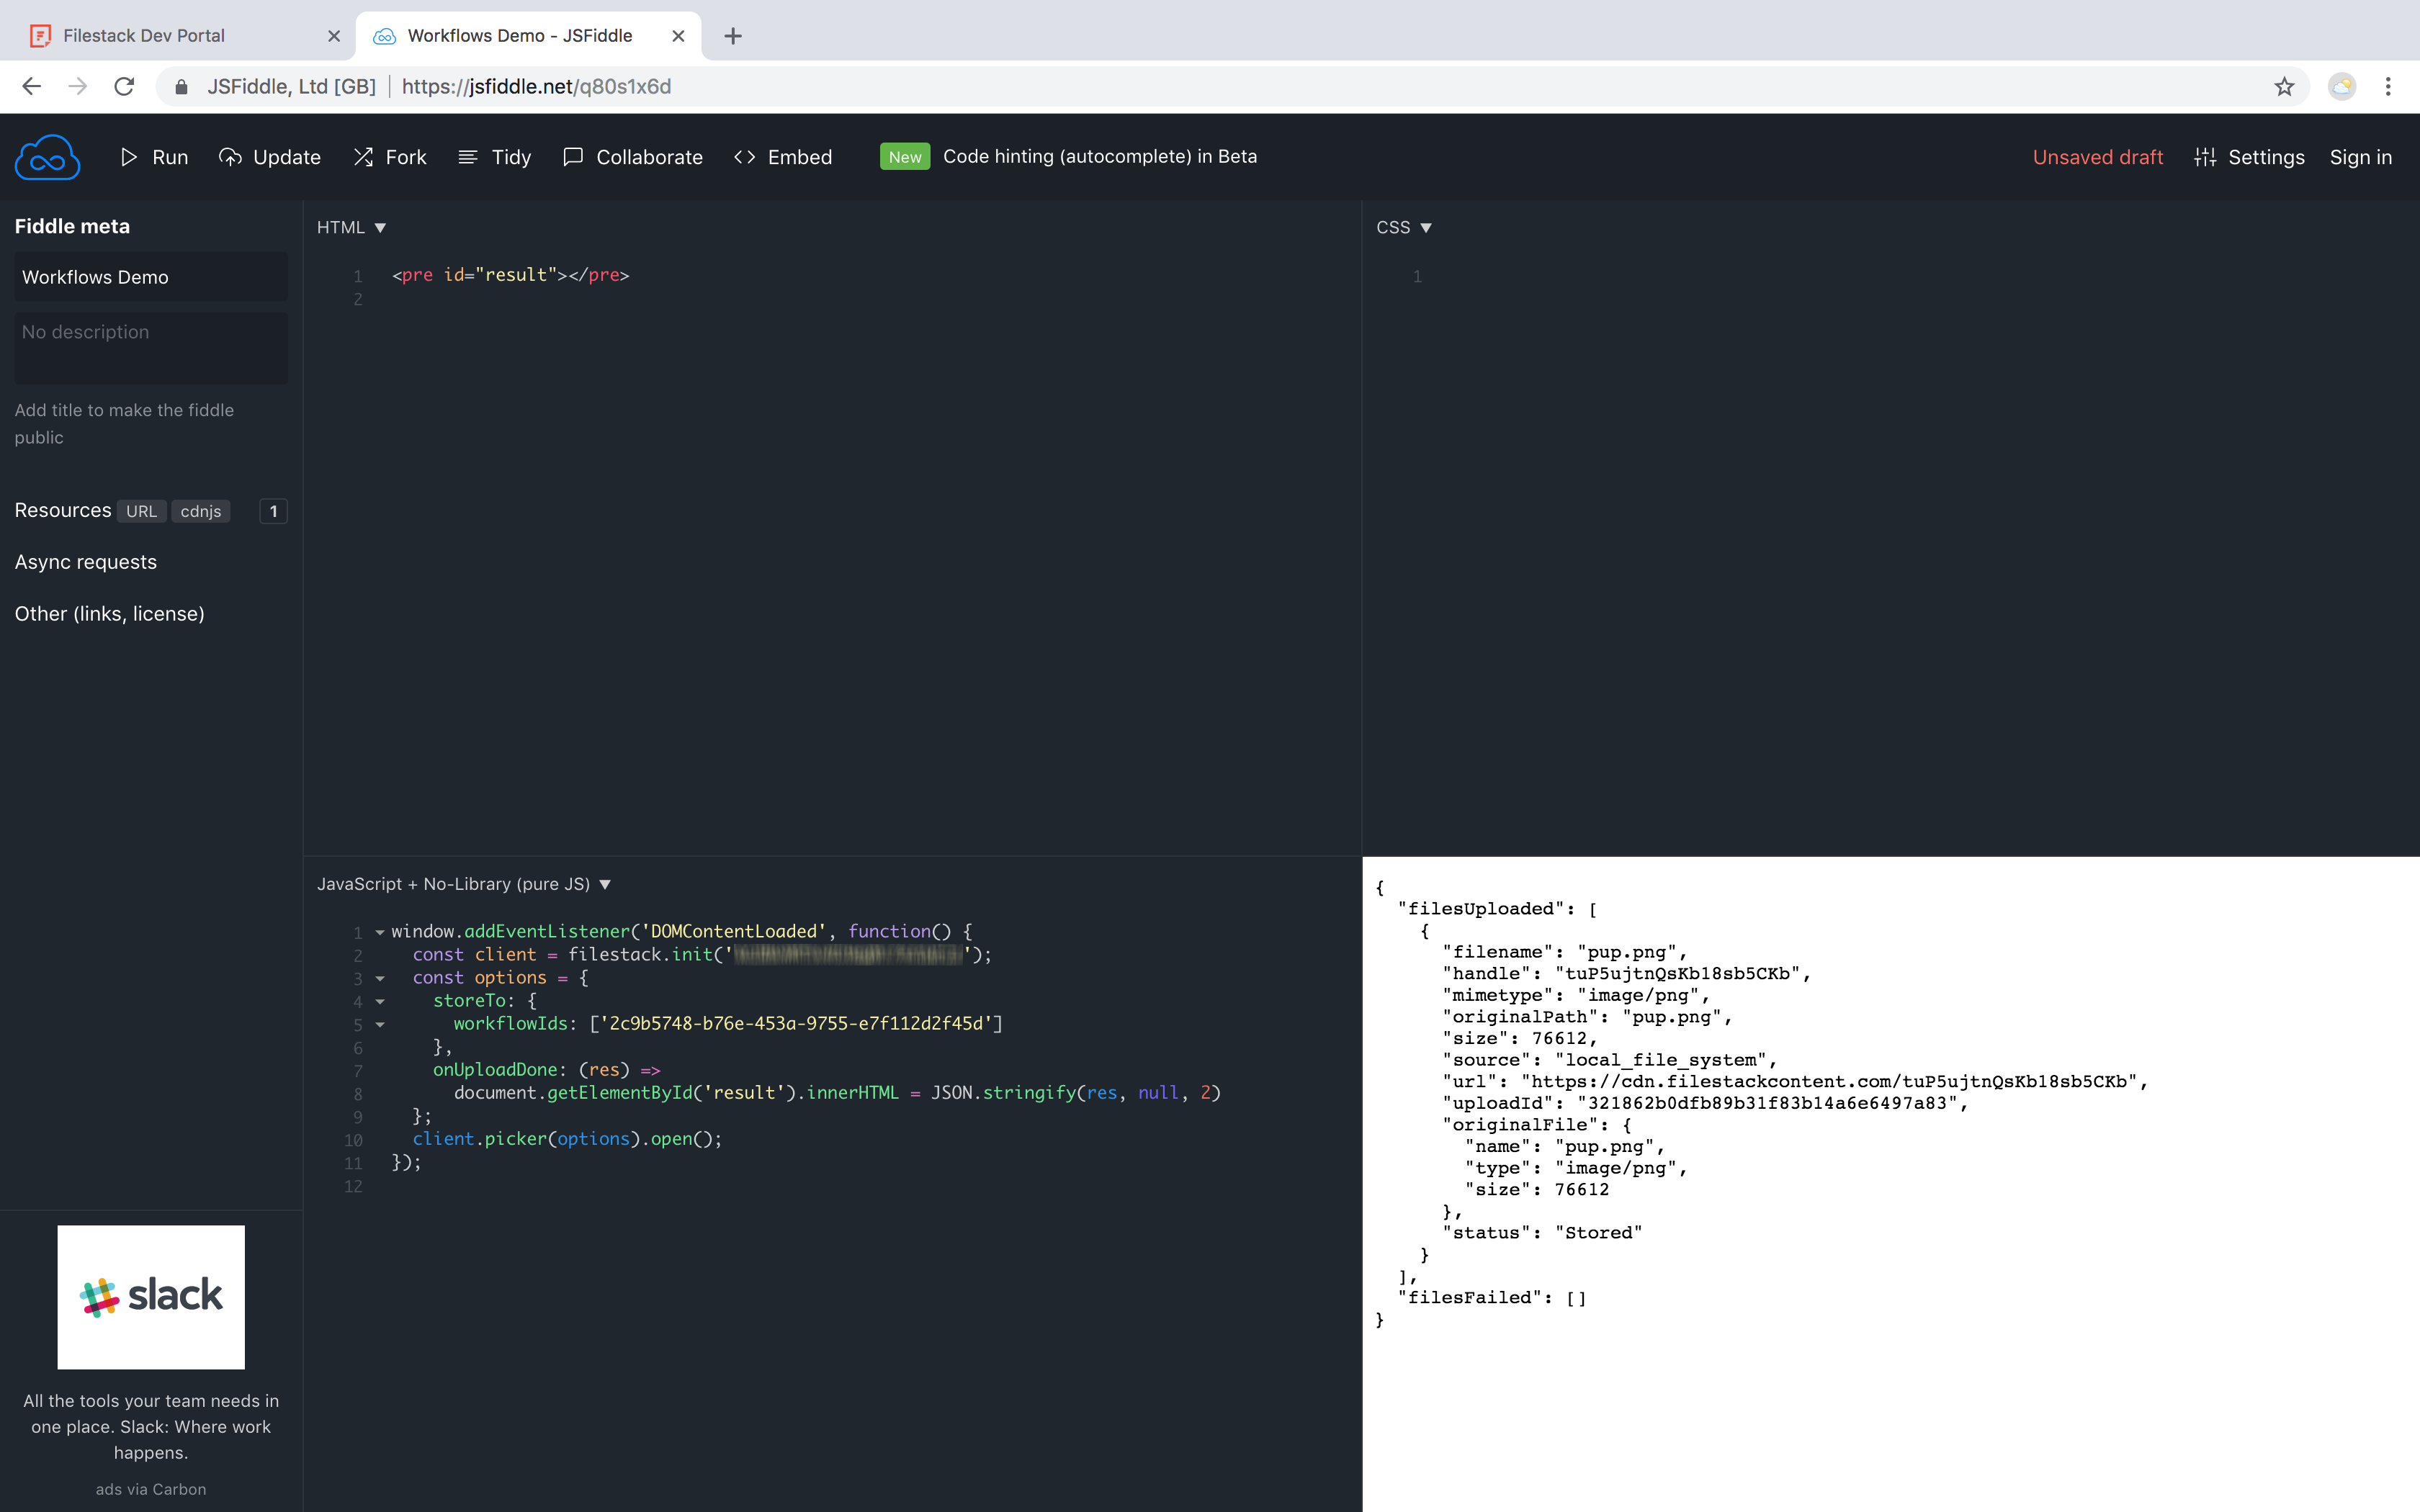
Via the webhook, this is the response payload example:
{
    "workflow": "2c9b6198-b76r-451a-9755-e7f345d2f45d",
    "createdAt": "2018-10-15T21:57:08.830541141Z",
    "updatedAt": "2018-10-15T21:57:09.612782093Z",
    "sources": [
        "0ih46emUS5qJ1H8G08ag"
    ],
    "results": {
        "filetype _ 1539287408985": {
            "data": {
                "filetype": "image",
                "mimetype": "image/png"
            }
        },
        "store _ 1539288700900": {
            "data": {
                "filename": "Publish-Png",
                "handle": "WeixbzAkS5iZhD0RTMTD",
                "size": 15834,
                "type": "image/png",
                "url": "https://cdn.filestackcontent.com/WerlmbDkS3iZhB0EUATD"
            },
            "url": "https://filestack-converse-production.s3.amazonaws.com/_wf/AcCAvMTSvRJ6e0i7eIqkjz/2c9b5749-b76e-453a-9756-e7f112d2f45d/0ih45emUS5eJ1H5G08ag/16d76a18-422f-4478-af77-b4c62e21e456/3bf255c1e548e4557c786a6b9ae14f0a?AWSAccessKeyId=AKIAINGKEZAPX6H5LB7Q&Expires=1339644229&Signature=b3y3RqnMS8gYZ0z3SOsPld7Rr3c%3D",
            "mimetype": "image/png",
            "size": 15834
        }
    },
    "status": "Finished"
}
Final Result

Workflow Tour
The following is an interactive tour of our workflow.
Have questions? We’re here to help! Contact Support